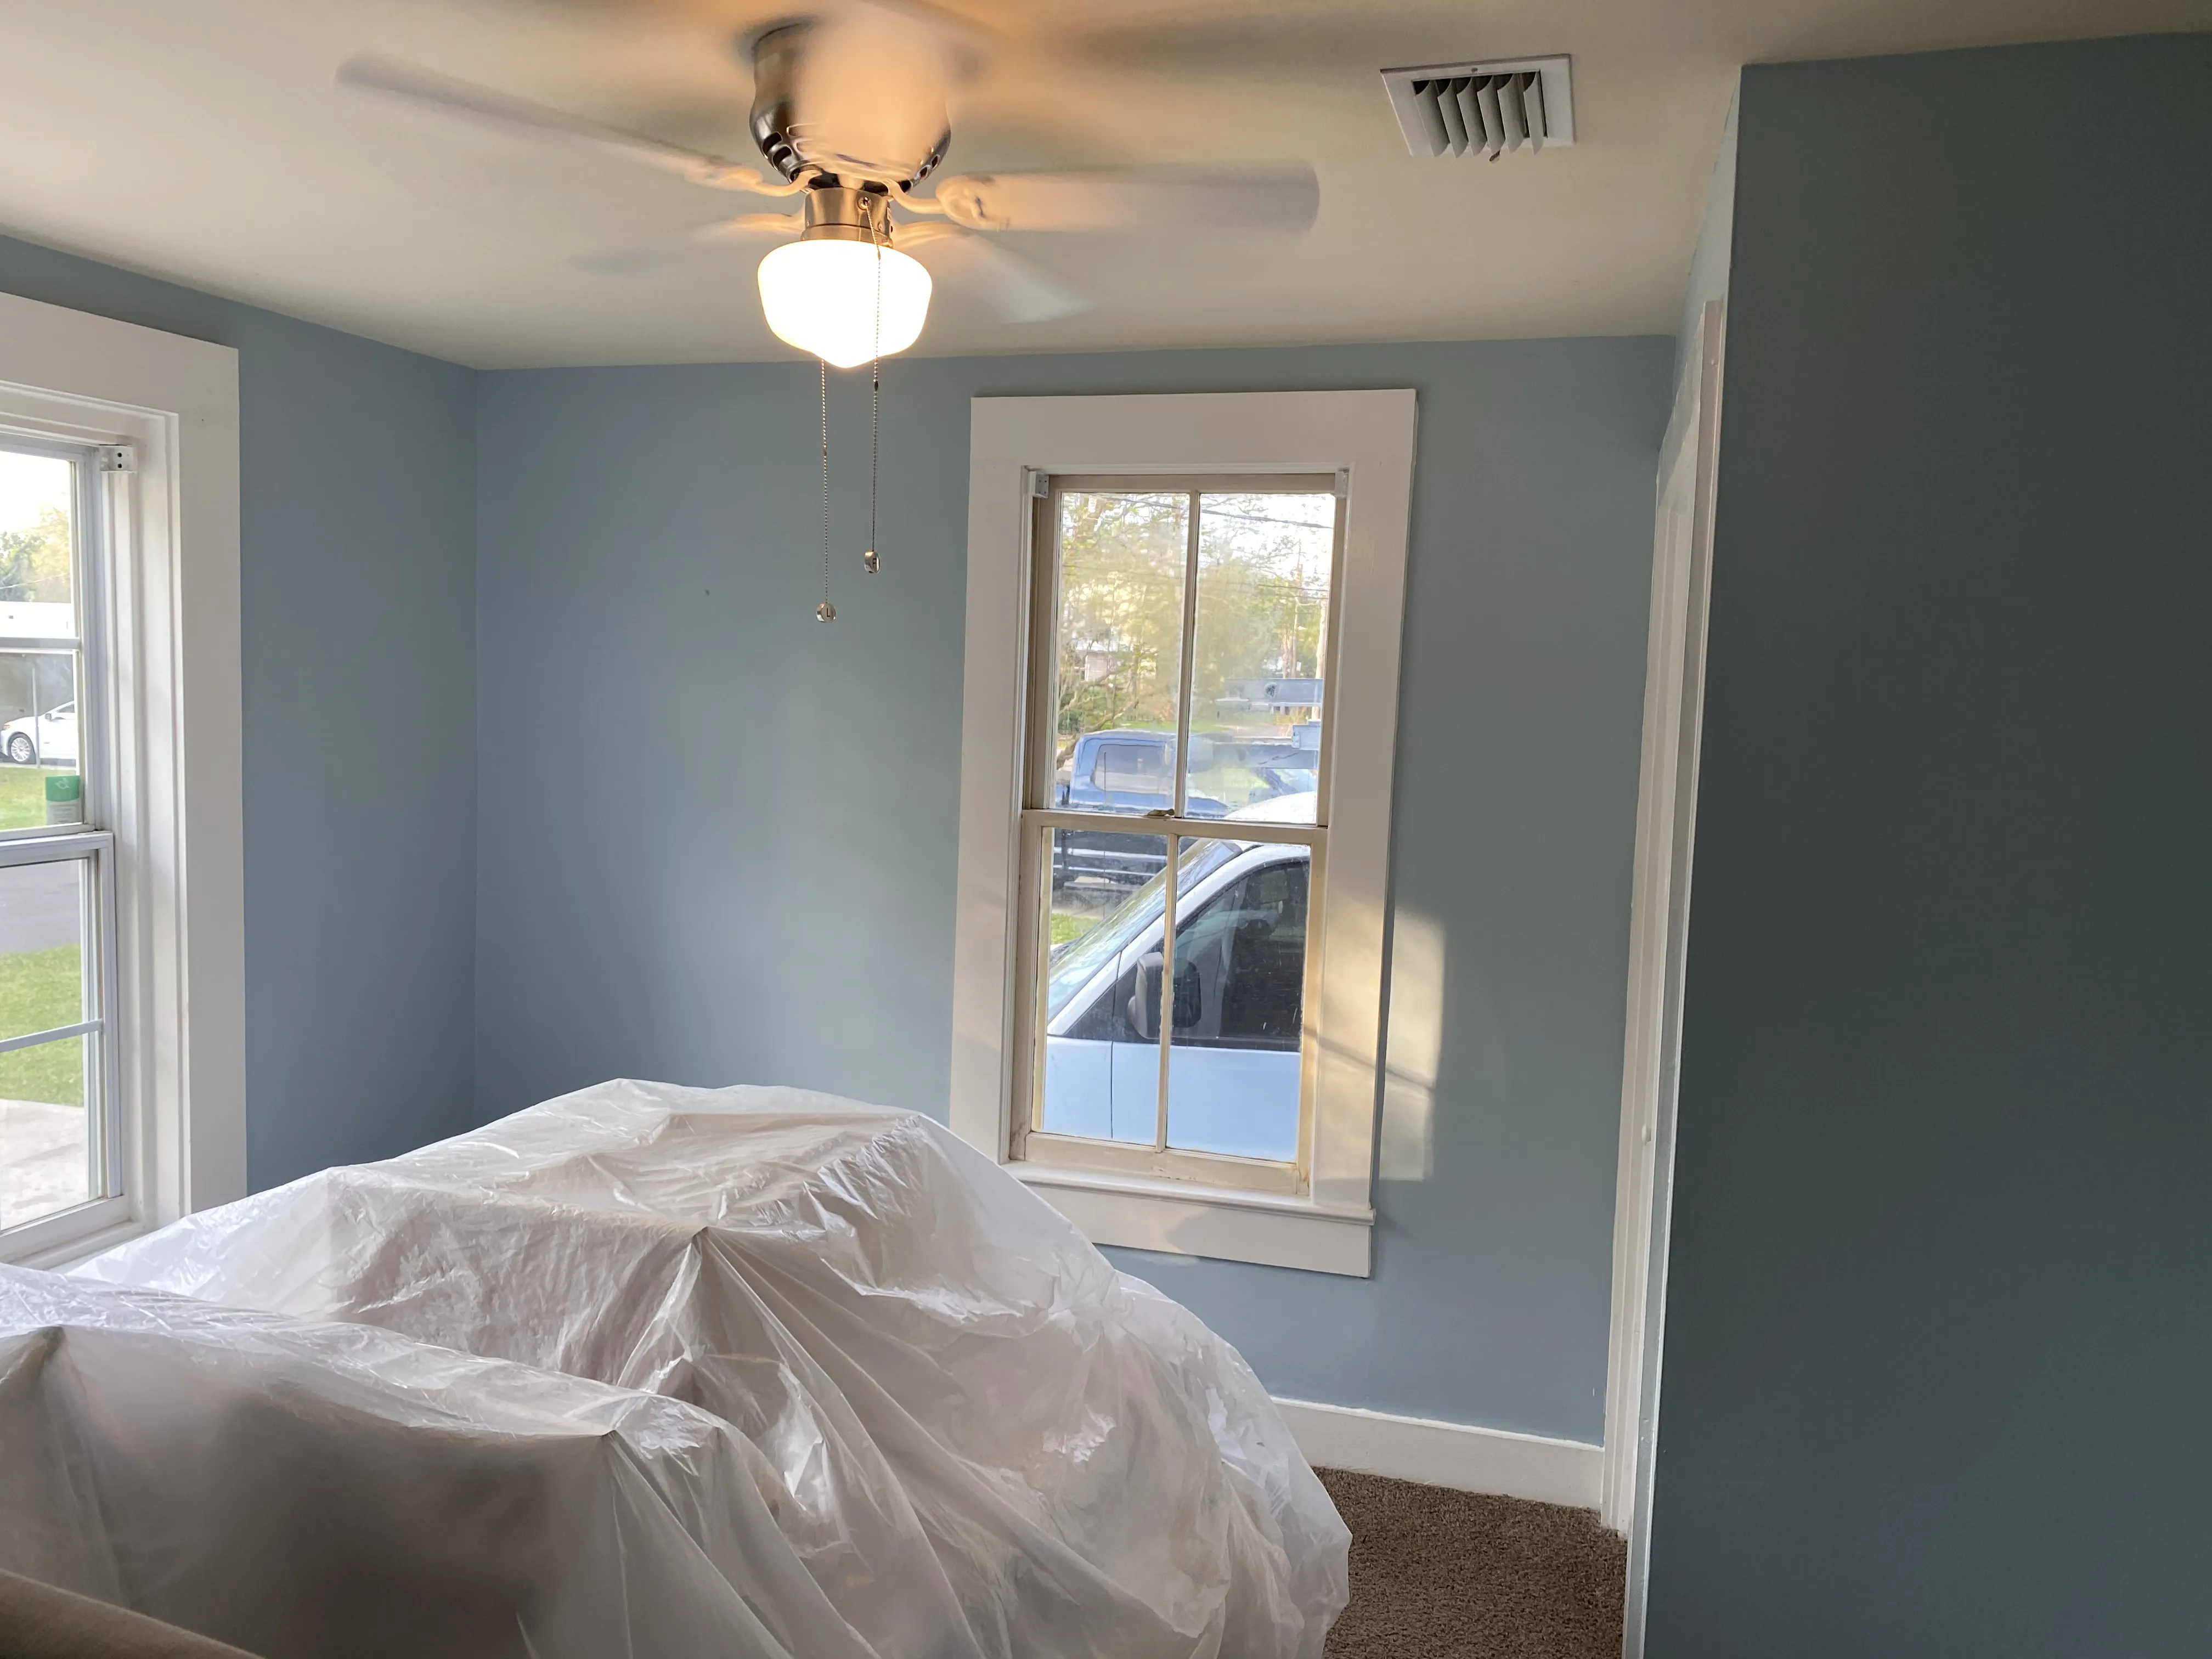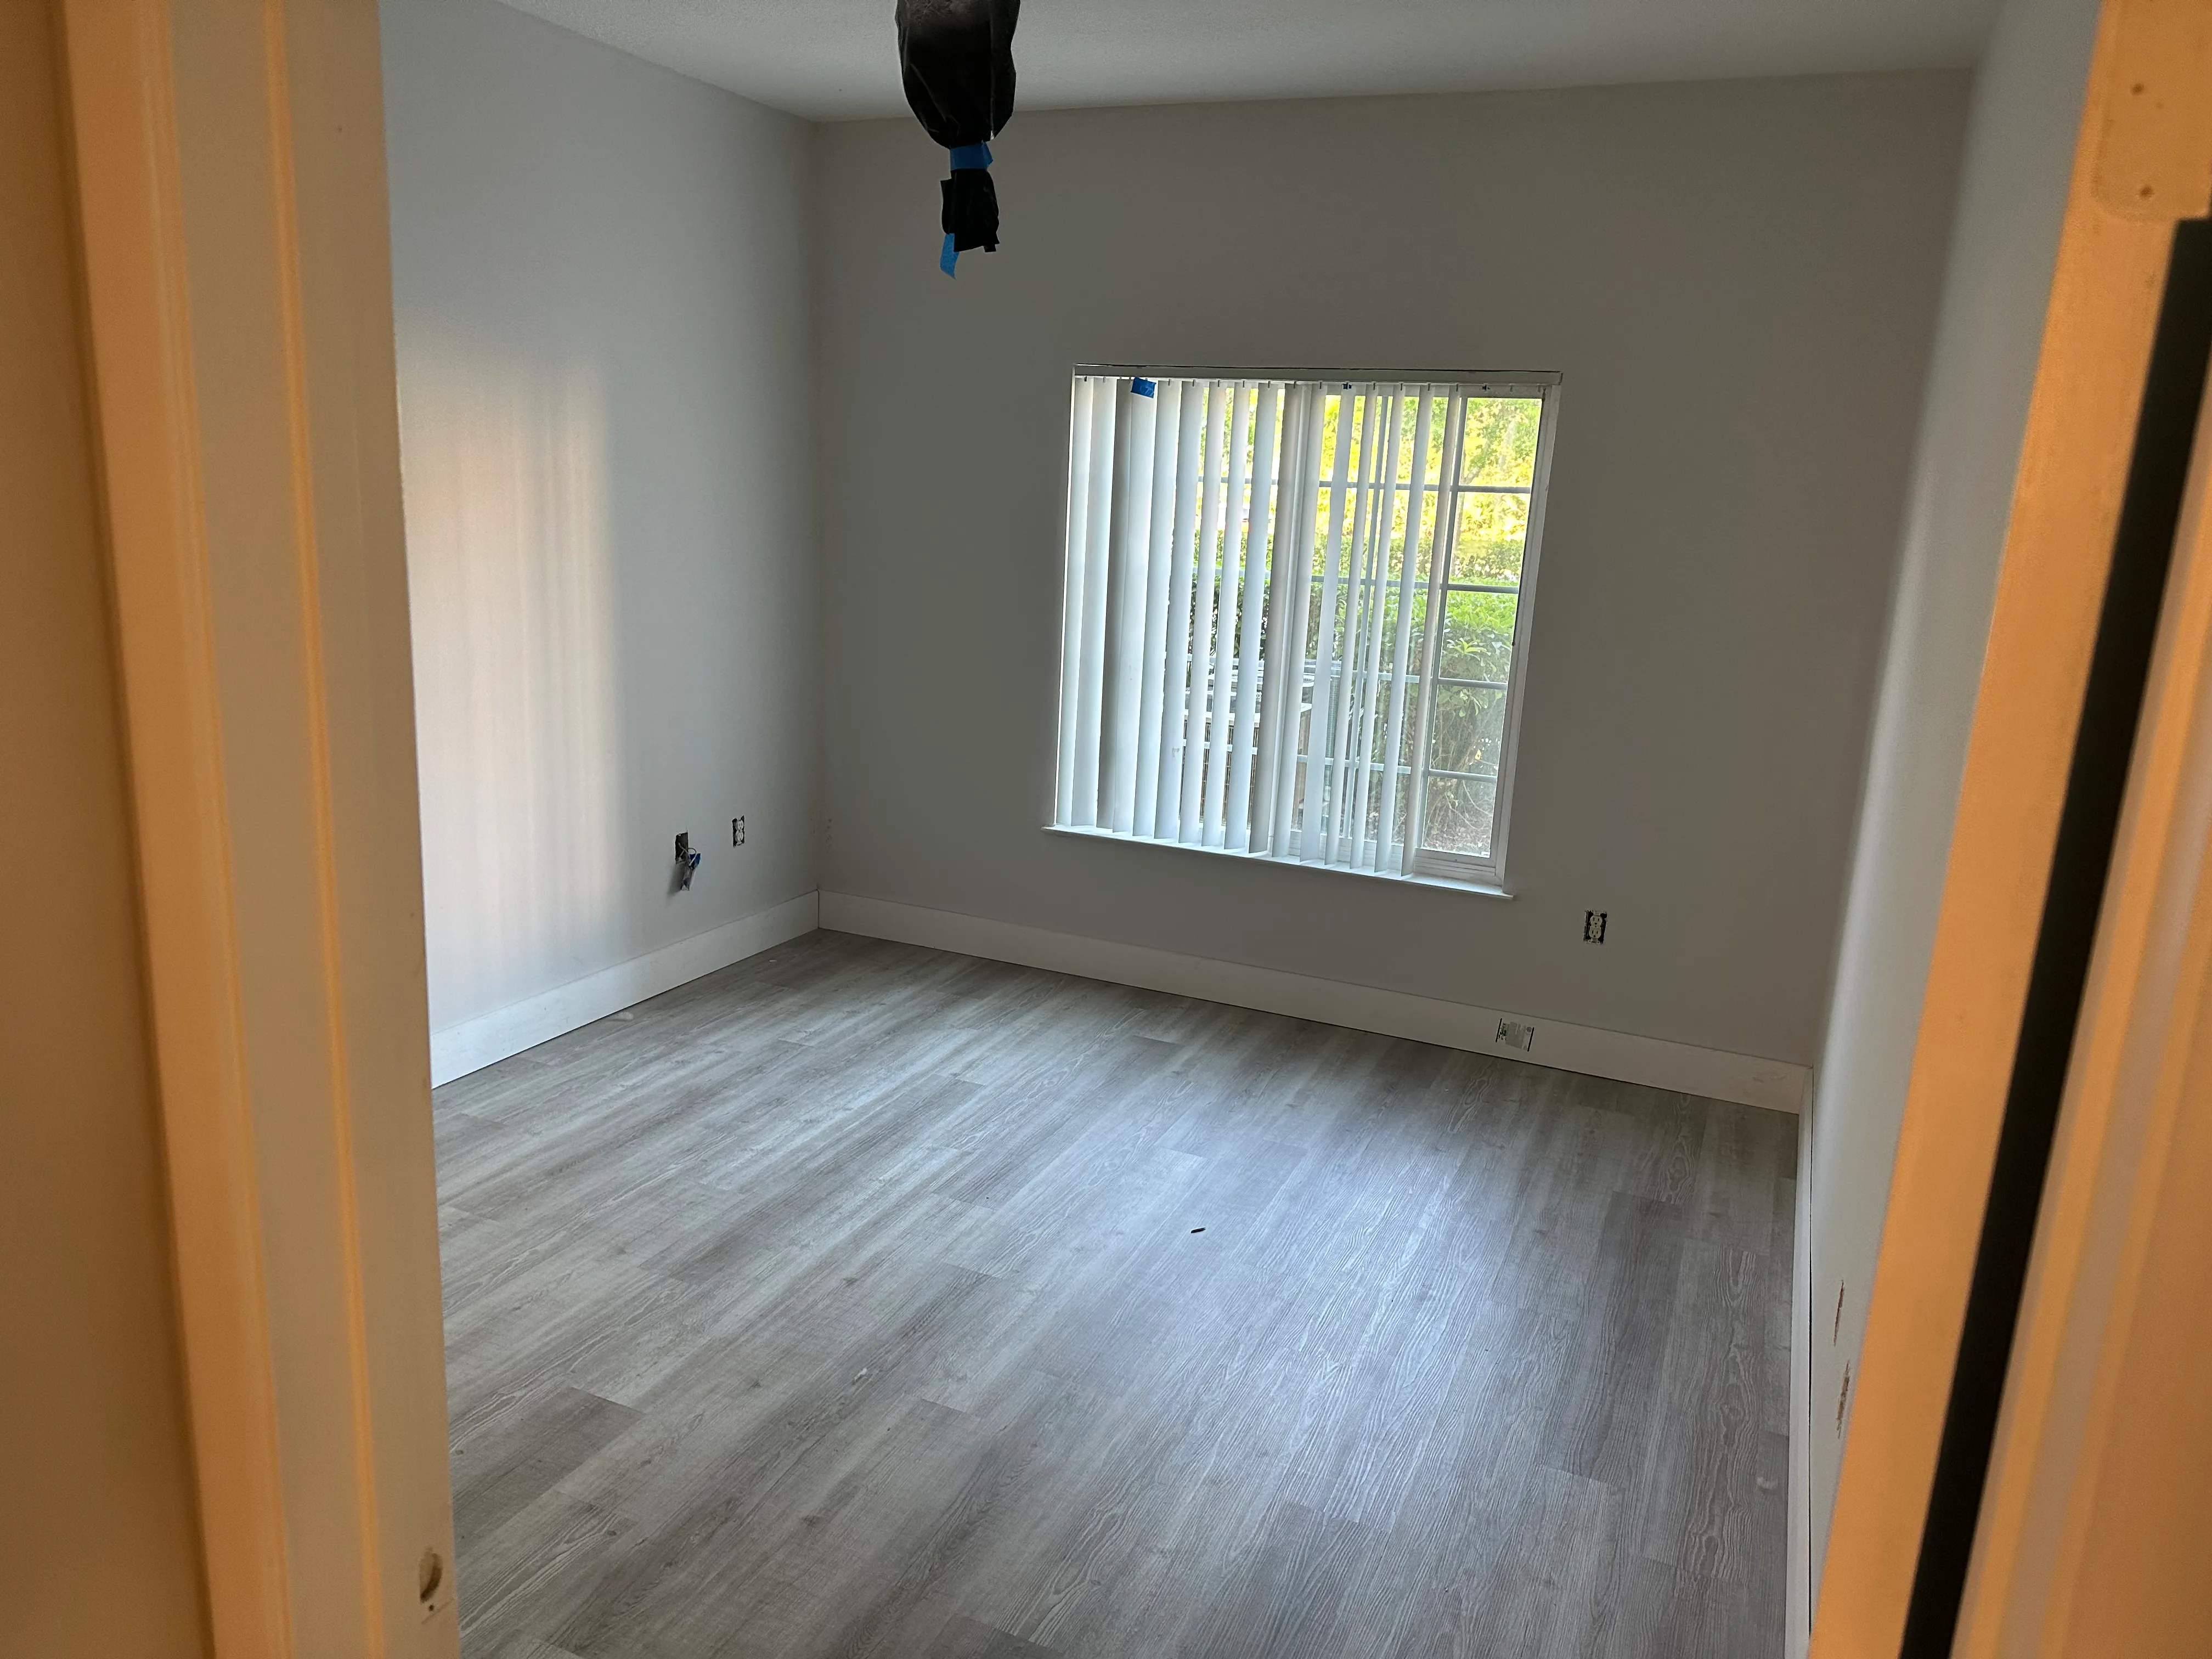
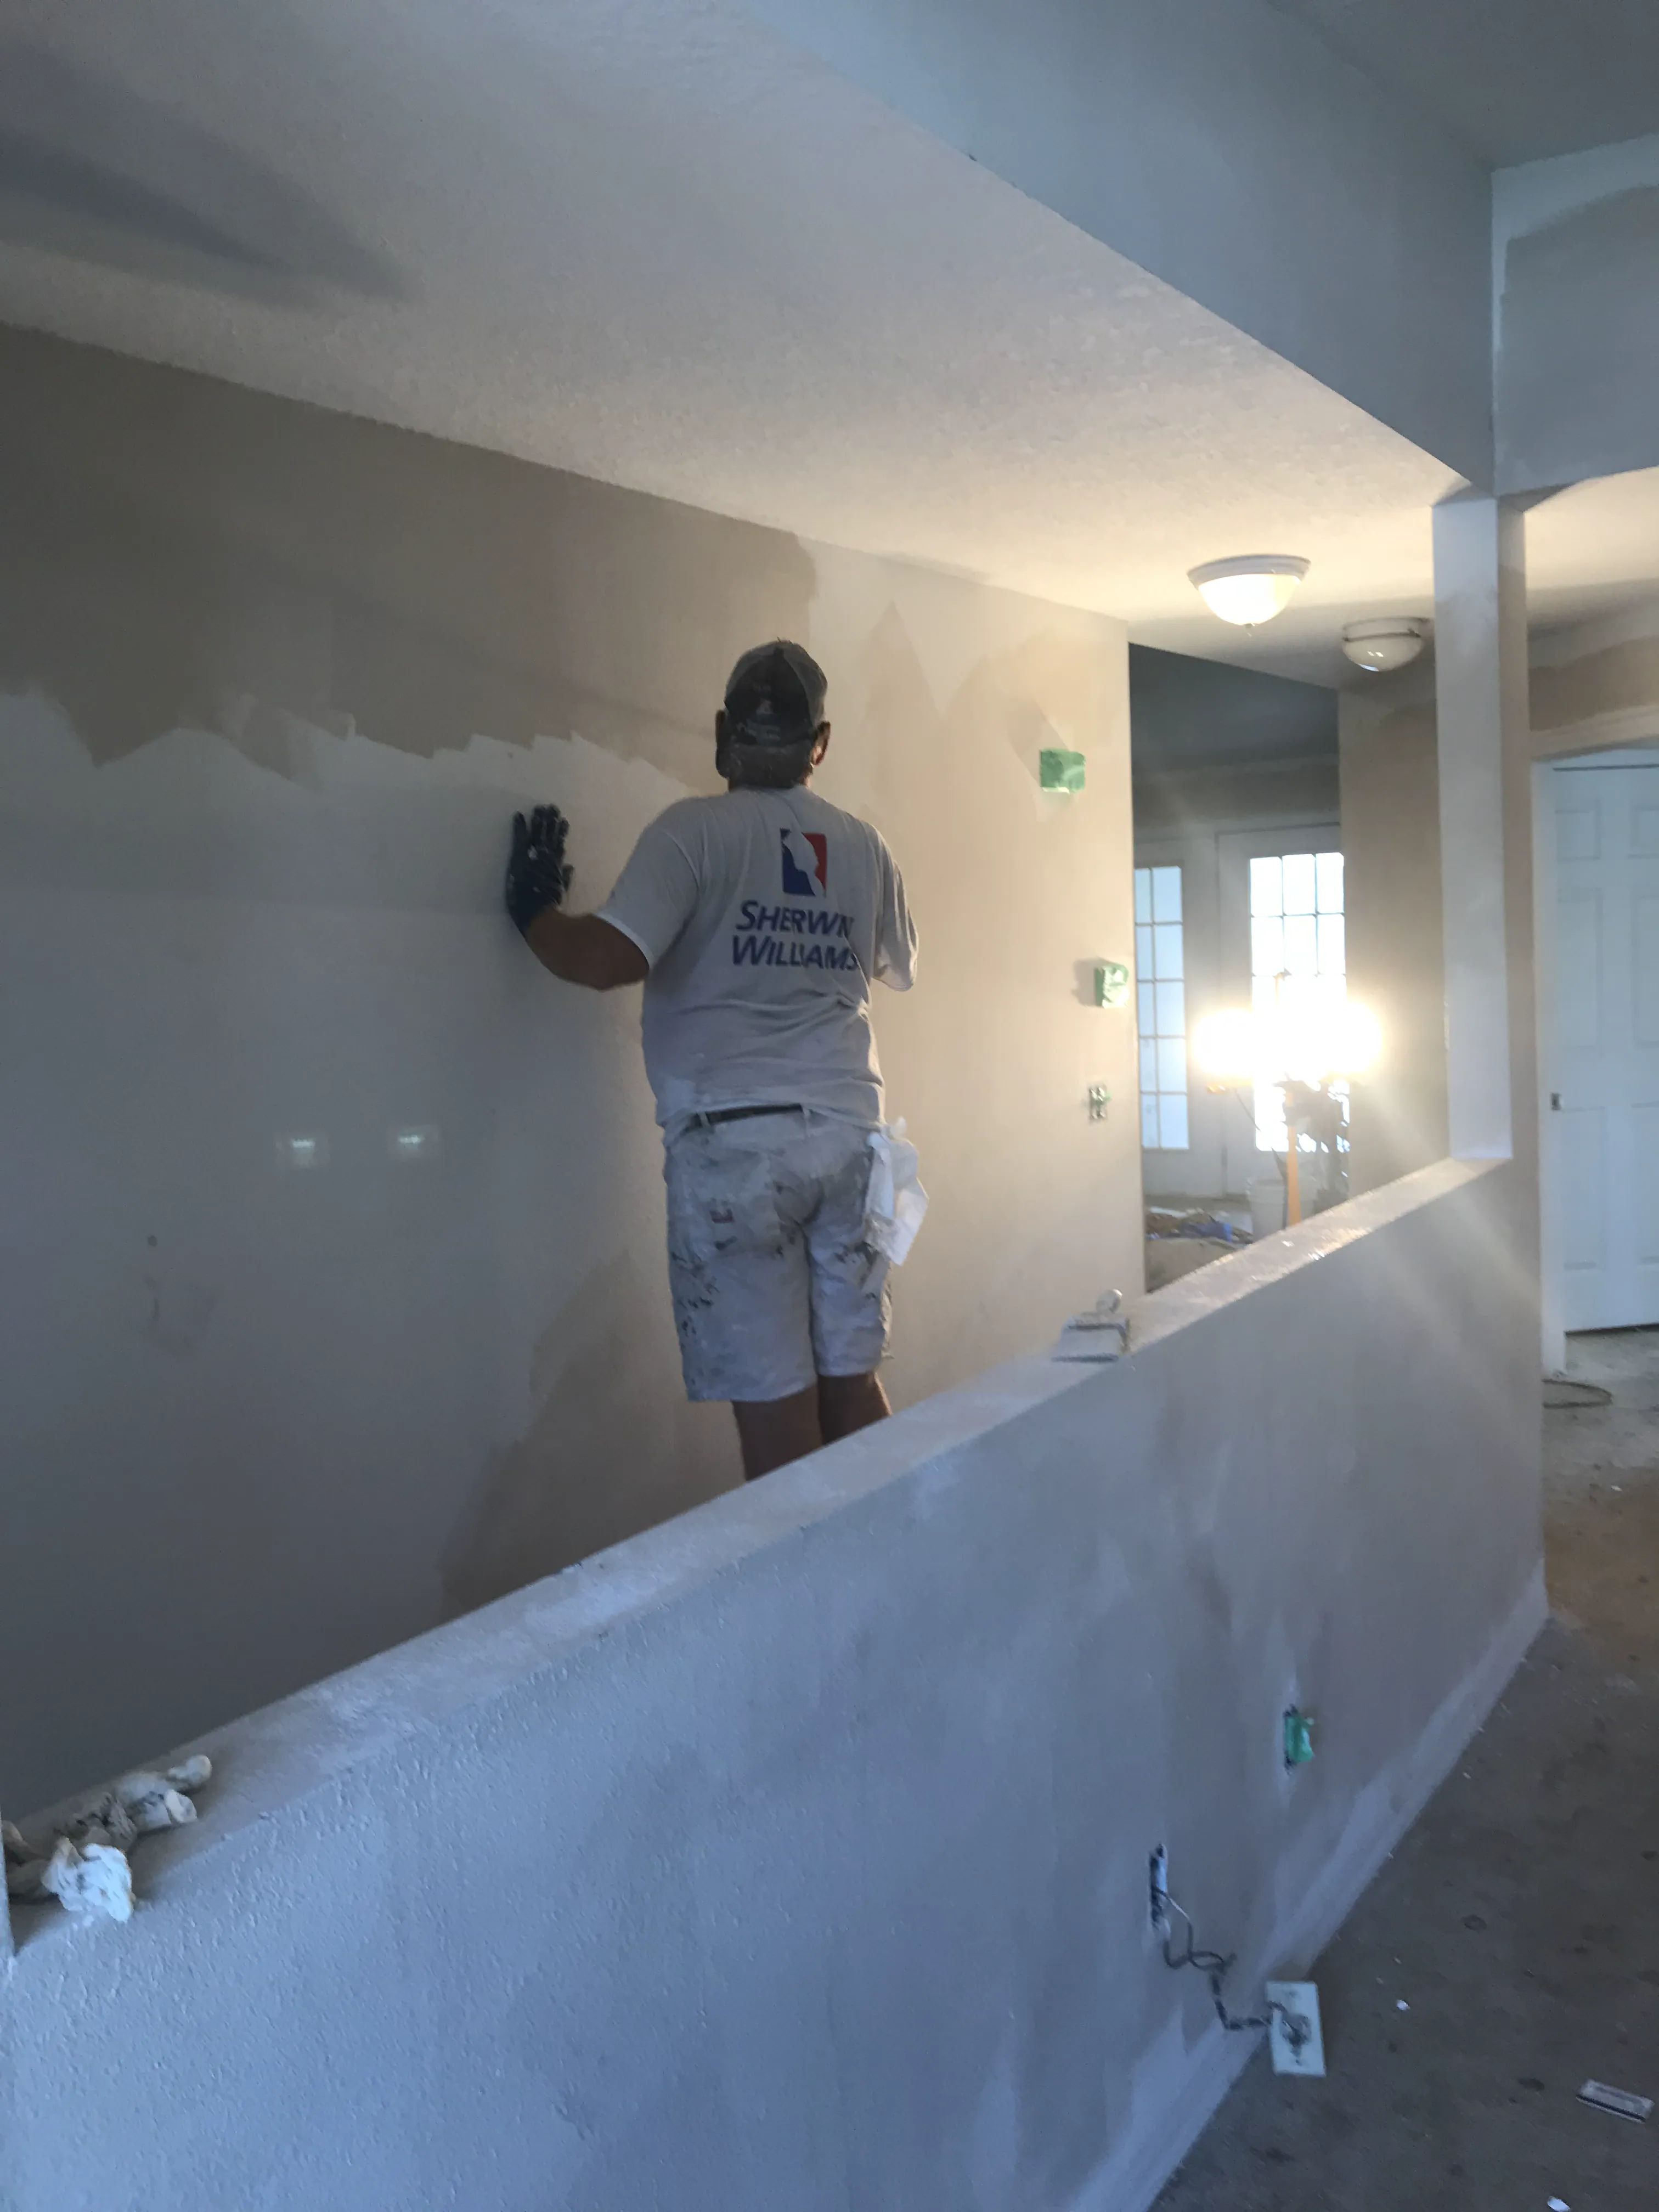
A crack in drywall is easy to notice and tempting to cover quickly. Sometimes that is all it needs. A fine, stable line at a seam can often be repaired with the right preparation, tape and thin coats of compound. Other cracks are doing a more useful job: they are showing where a joint has moved, where tape has let go, where moisture has affected the wall, or where the finish repair needs to be part of a larger conversation.
The good approach is to look at the crack before choosing a patch. Notice its location, direction, width and whether it is new, recurring or changing. Then decide whether it is a contained surface repair or a reason to pause. That little bit of diagnosis is what keeps a wall from looking good for one month and opening right back up.
The Short Answer: Fix the Cause Before You Finish the Line
For a small crack in a stable drywall seam, the repair is usually straightforward: remove anything loose, make room for a sound repair, embed tape where the seam has opened, apply joint compound in thin coats, let each coat dry, sand gently, prime and paint. The broad goal is to rebuild a smooth transition rather than leave a raised stripe under fresh paint.
What should not be treated as a simple patch? A crack that is widening, returns after a recent repair, runs beside an active stain, appears with soft drywall, follows a door or window that has started sticking, or shows up with several new cracks nearby. None of those signs tells you the exact cause alone. They do tell you to look beyond the face of the wall before spending time on the finish.
First, Read the Crack Before You Repair It
Start by looking at the wall in daylight and then with light coming across it from the side. A hairline crack may sit only in paint or compound. A seam crack often follows a straight line where two drywall panels meet. A crack at the corner of a door or window can develop where the wall has more stress around an opening. A horizontal or diagonal line may deserve a slower look, especially when it is new or part of a pattern.
Press very gently around the area. You are not trying to test the strength of the entire wall. You are checking whether the surface feels dry, firm and well attached. Look for loose tape, a hollow sound, a ridge around the seam, soft paper, bubbling paint, staining or a crack that opens and closes when the room is used. Photograph the crack before you touch it, then take another photo after a few weeks if you are watching a small line for changes.
Also think about timing. A small crack can appear as a newer home settles, after a heavy door has repeatedly slammed, or where seasonal indoor conditions make a weak seam more visible. Water is different. If the crack is near a stain, a bathroom, a roofline, a window, plumbing or a recently damp area, confirm that the wall is dry and the source is addressed before opening the surface or repainting it.
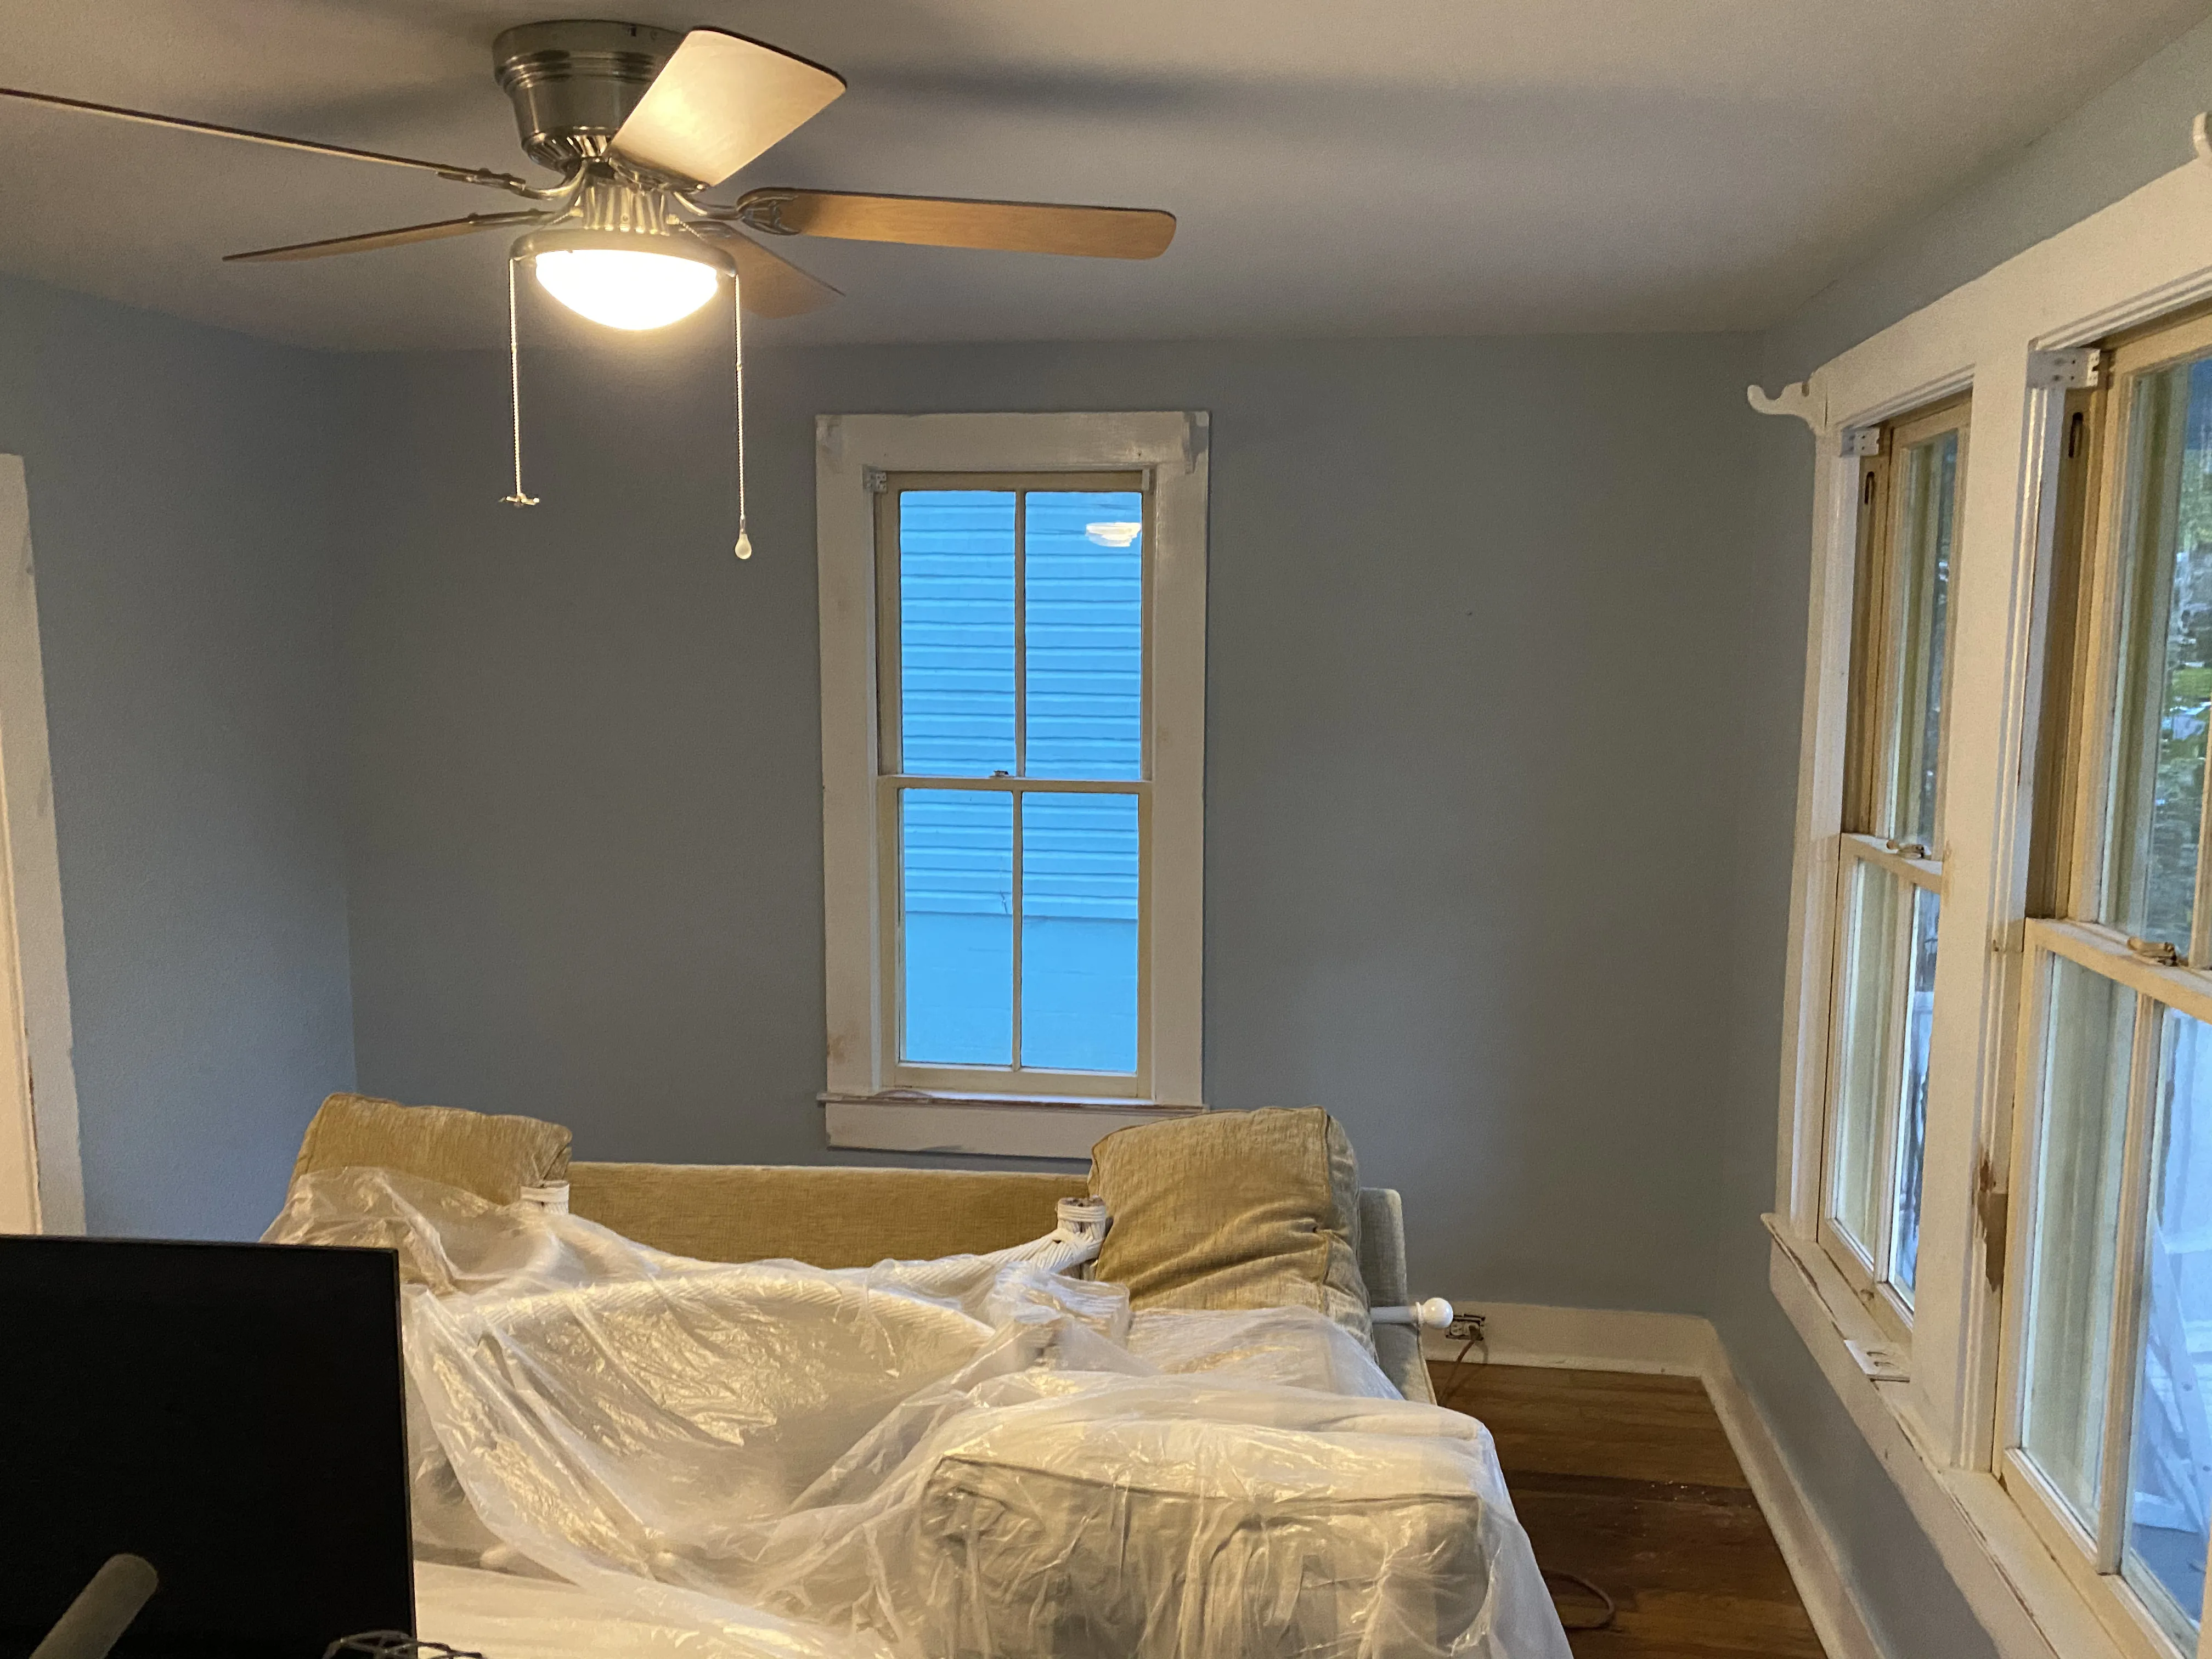
Gather the Right Materials for a Small, Stable Repair
A modest seam repair does not require a truck full of tools, but it does reward patience. Have a utility knife, drywall knife, joint compound suited to the repair, compatible tape, sanding sponge, dust control, primer and matching wall paint ready before you start. A wider drywall knife is useful for the later coats because it lets the repair feather gradually into the wall instead of leaving a narrow hump.
Use the instructions on the patching products you choose. Drying time changes with the material, thickness, room temperature and humidity. A heavier coat does not save time if it shrinks, cracks or forces you to sand a mound back down. USG notes that patch-and-repair compound is intended for minor drywall cracks and damage, but the finish still depends on working the compound smoothly and allowing it to set as directed.
Before sanding or cutting into painted surfaces, consider the age of the home. The EPA's lead-safe renovation guidance warns that work disturbing old paint in pre-1978 homes can create hazardous dust. Protect the room, keep people out of the work area, control dust and use qualified help when the project requires it. A drywall repair is not worth treating casually when old paint may be involved.
How to Repair a Drywall Seam Crack
1. Remove what is loose. Carefully scrape away paint, dried compound and drywall tape that has already released. Leave sound material in place. The point is not to dig a trench into the wall. It is to get back to edges that are firmly attached, because a new repair cannot hold to a layer that is already letting go.
2. Open and clean the repair area. A small V-shaped opening along a tight crack can give fresh compound a place to bond. Brush or vacuum away loose dust. For a seam that has opened or lost tape, clean enough of the joint to lay new tape flat. Manufacturer and retailer repair guidance follows the same basic order: clear loose material, use thin compound, then build the finish in stages instead of trying to hide the line under one thick coat.
3. Embed the tape when the seam needs it. Spread a thin bed of joint compound, press the tape smoothly into it and remove excess compound without starving the tape. Wrinkles, dry spots and lifted edges become harder to correct after the first coat dries. A crack that is wide enough to accept a knife, or a seam where tape has failed, needs support beneath the finish, not just filler on top.
4. Add broad, thin coats. Let the embedded repair dry according to the product directions. Then use a wider knife for the next coat, extending the compound past the first pass so the edge fades into the wall. Add another light coat only if the surface still needs it. The repair should get wider and thinner with each step, not taller.
5. Sand lightly after it is fully dry. Use a fine sanding sponge with gentle pressure. Feel the transition with a clean hand and shine light across it. Stop when the repair disappears into the surrounding wall. Aggressive sanding can expose tape, roughen the drywall paper or create a low spot that will show as much as the original crack.
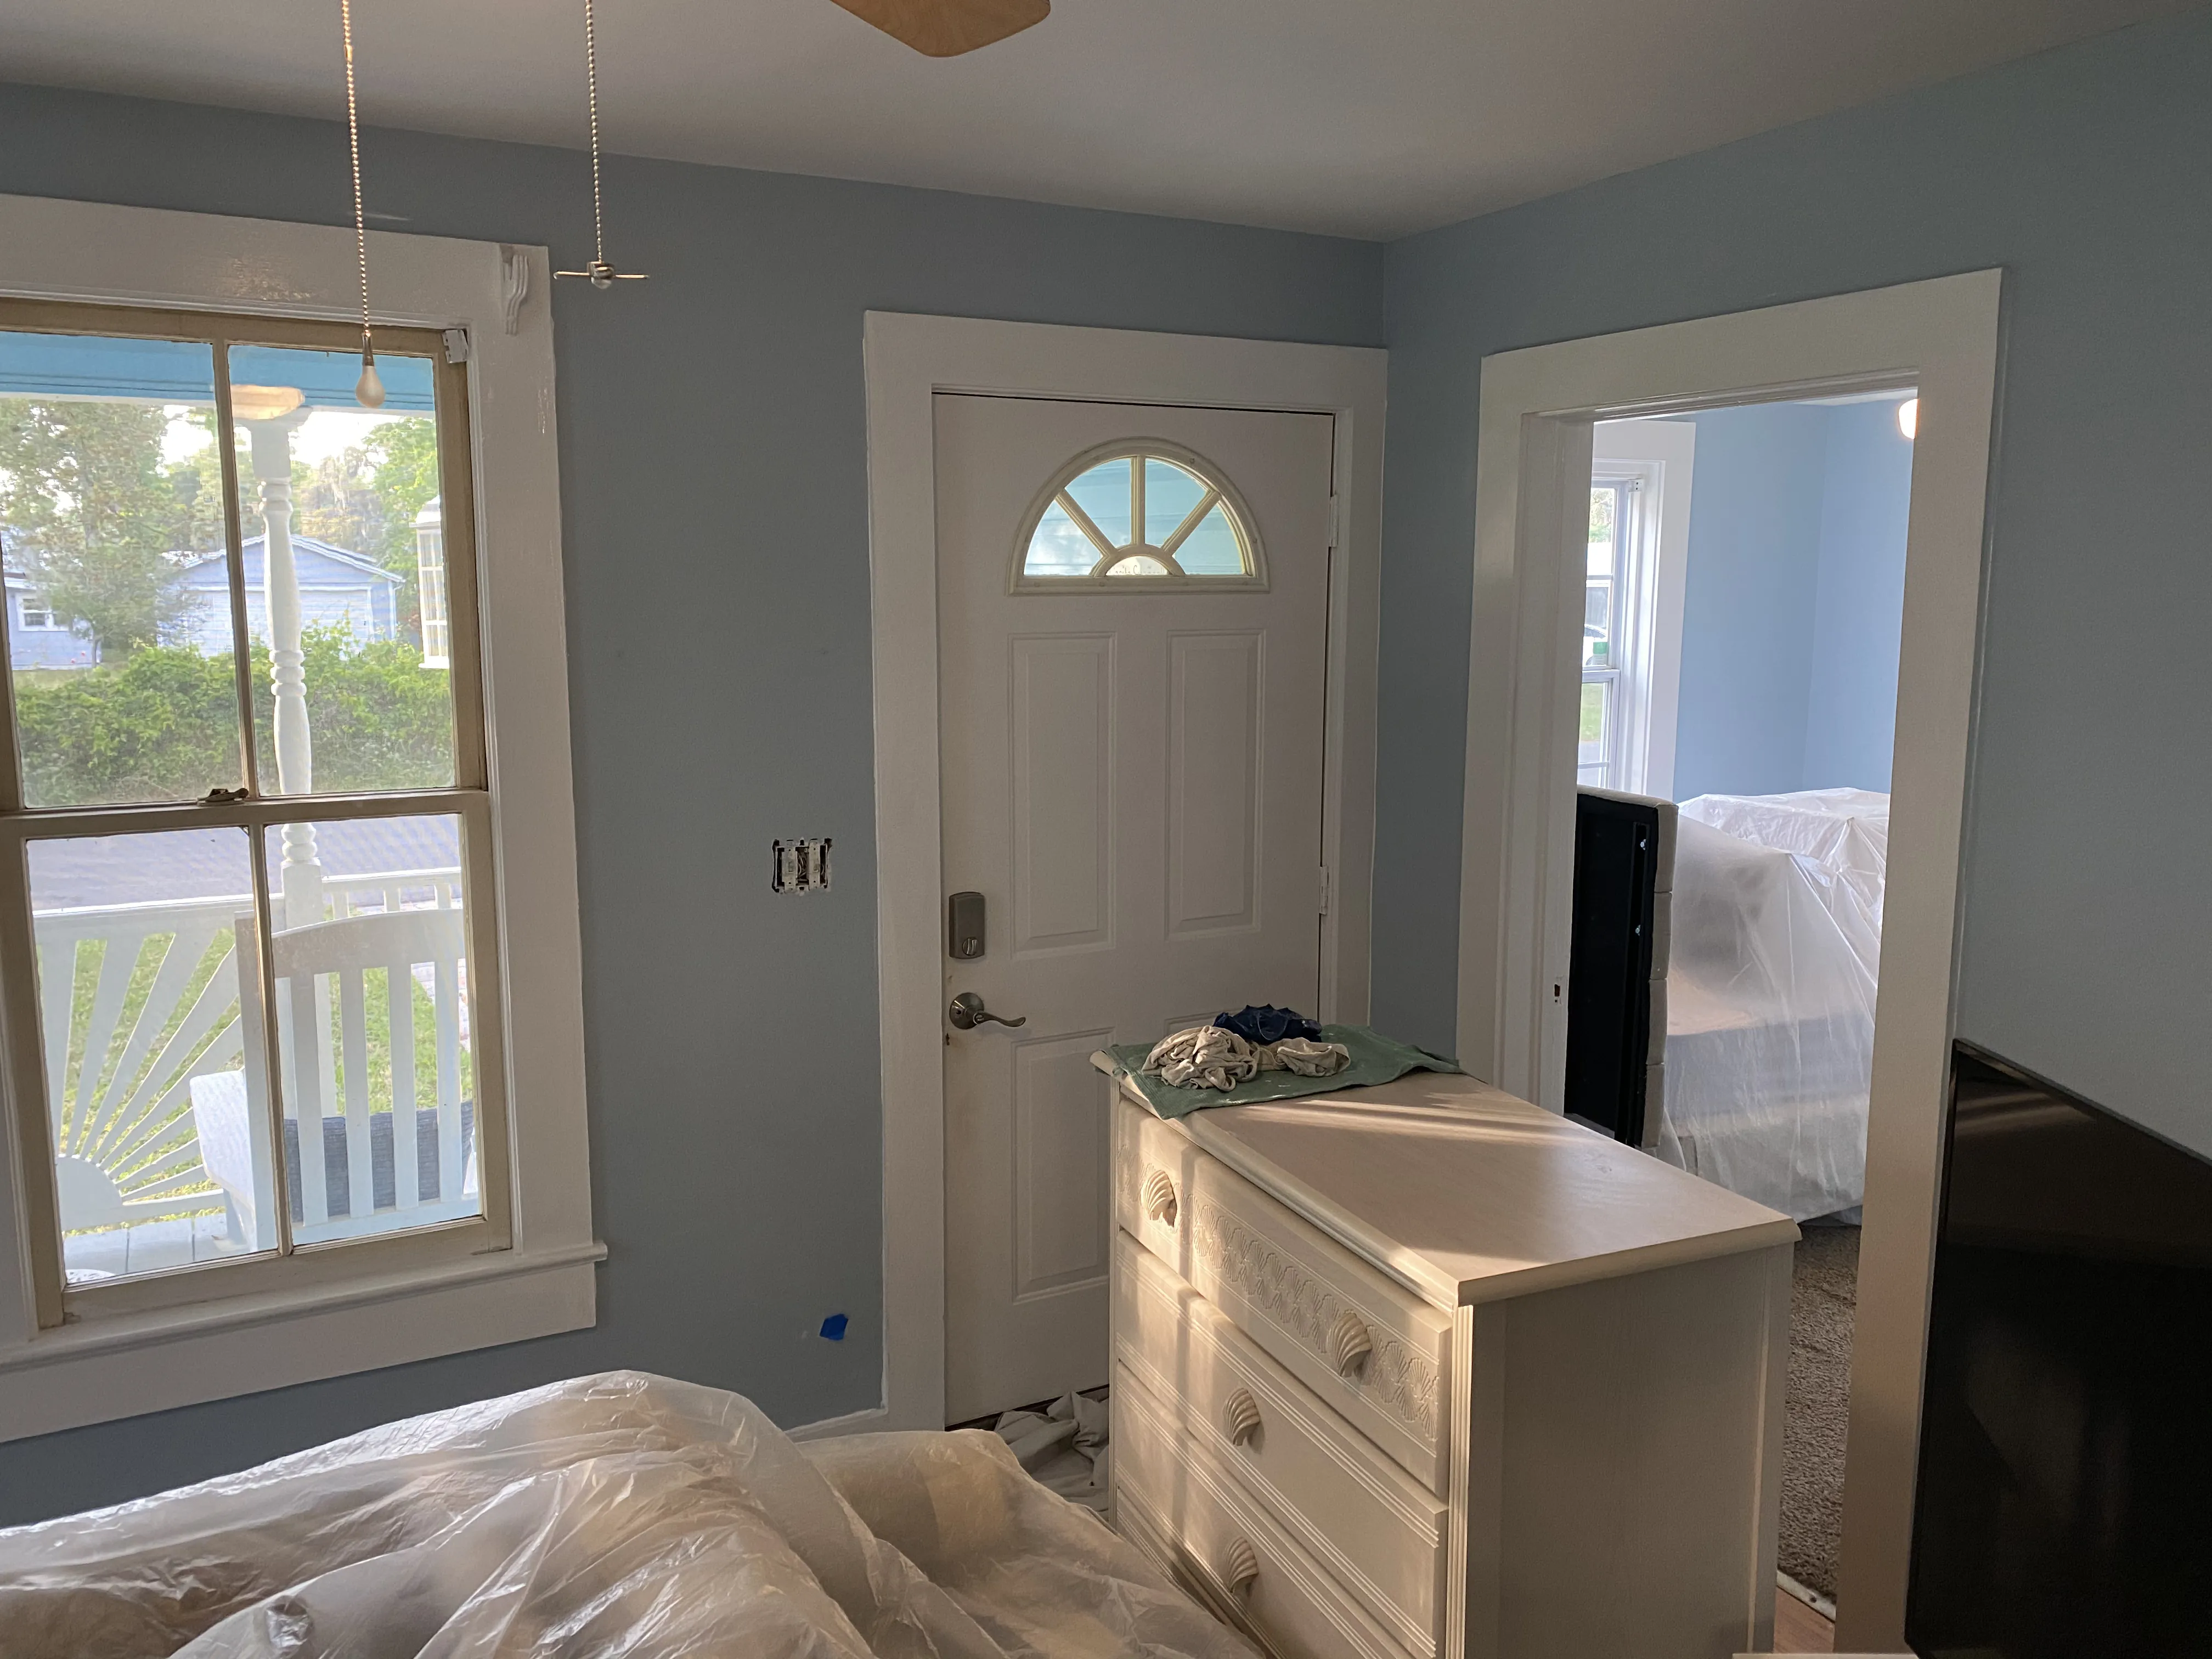
Prime and Paint So the Repair Blends In
Joint compound and surrounding painted wall do not always absorb paint the same way. Once the repair is dry and smooth, apply an appropriate primer to the repaired area, then allow it to dry as directed. This helps reduce the flat or shiny patch that can appear when finish paint lands directly on fresh compound.
For a small repair, use the original wall paint if it is still in good condition and has been stored properly. Test a discreet spot before deciding a touch-up will disappear. Paint can age, fade and change sheen with cleaning, light and normal use. If the touch-up looks like a patch once it dries, repainting the wall from corner to corner may give a more even result than making the repaired spot larger.
Texture is the part that often turns an easy crack repair into a visible one. A smooth wall is relatively forgiving when the compound is feathered well. Orange peel, knockdown and heavier textures need their own matching approach. Practice on scrap material or an unobtrusive area before treating a prominent wall as the experiment. The drywall repair and texture service is a useful next step when a repair needs to blend into an established finish.
Common Shortcuts That Make a Crack Return or Stand Out
Filling a failed seam with one heavy coat. Thick compound can shrink, crack and leave a raised patch. It also does not replace tape where the joint itself has opened. Build support and finish in thin layers instead.
Painting over loose tape. Paint might disguise a lifted edge briefly, but it cannot bond the tape back to a wall. Remove the loose material and repair the seam correctly before the finish goes on.
Skipping the moisture check. A wall with an active leak, wet drywall or recurring stain is not ready for compound or paint. Fixing the wall finish before the water source is resolved turns the repair into a cover-up.
Trying to match texture after the paint is on. Texture and sanding belong before primer and finish paint. Working backward often creates a larger blend area, more dust and a patch that catches the light from across the room.
Ignoring an older painted surface. In a pre-1978 home, sanding or scraping without lead-safe planning can create a bigger safety problem than the crack itself. The EPA recommends controlling dust and considering certified help for these projects.
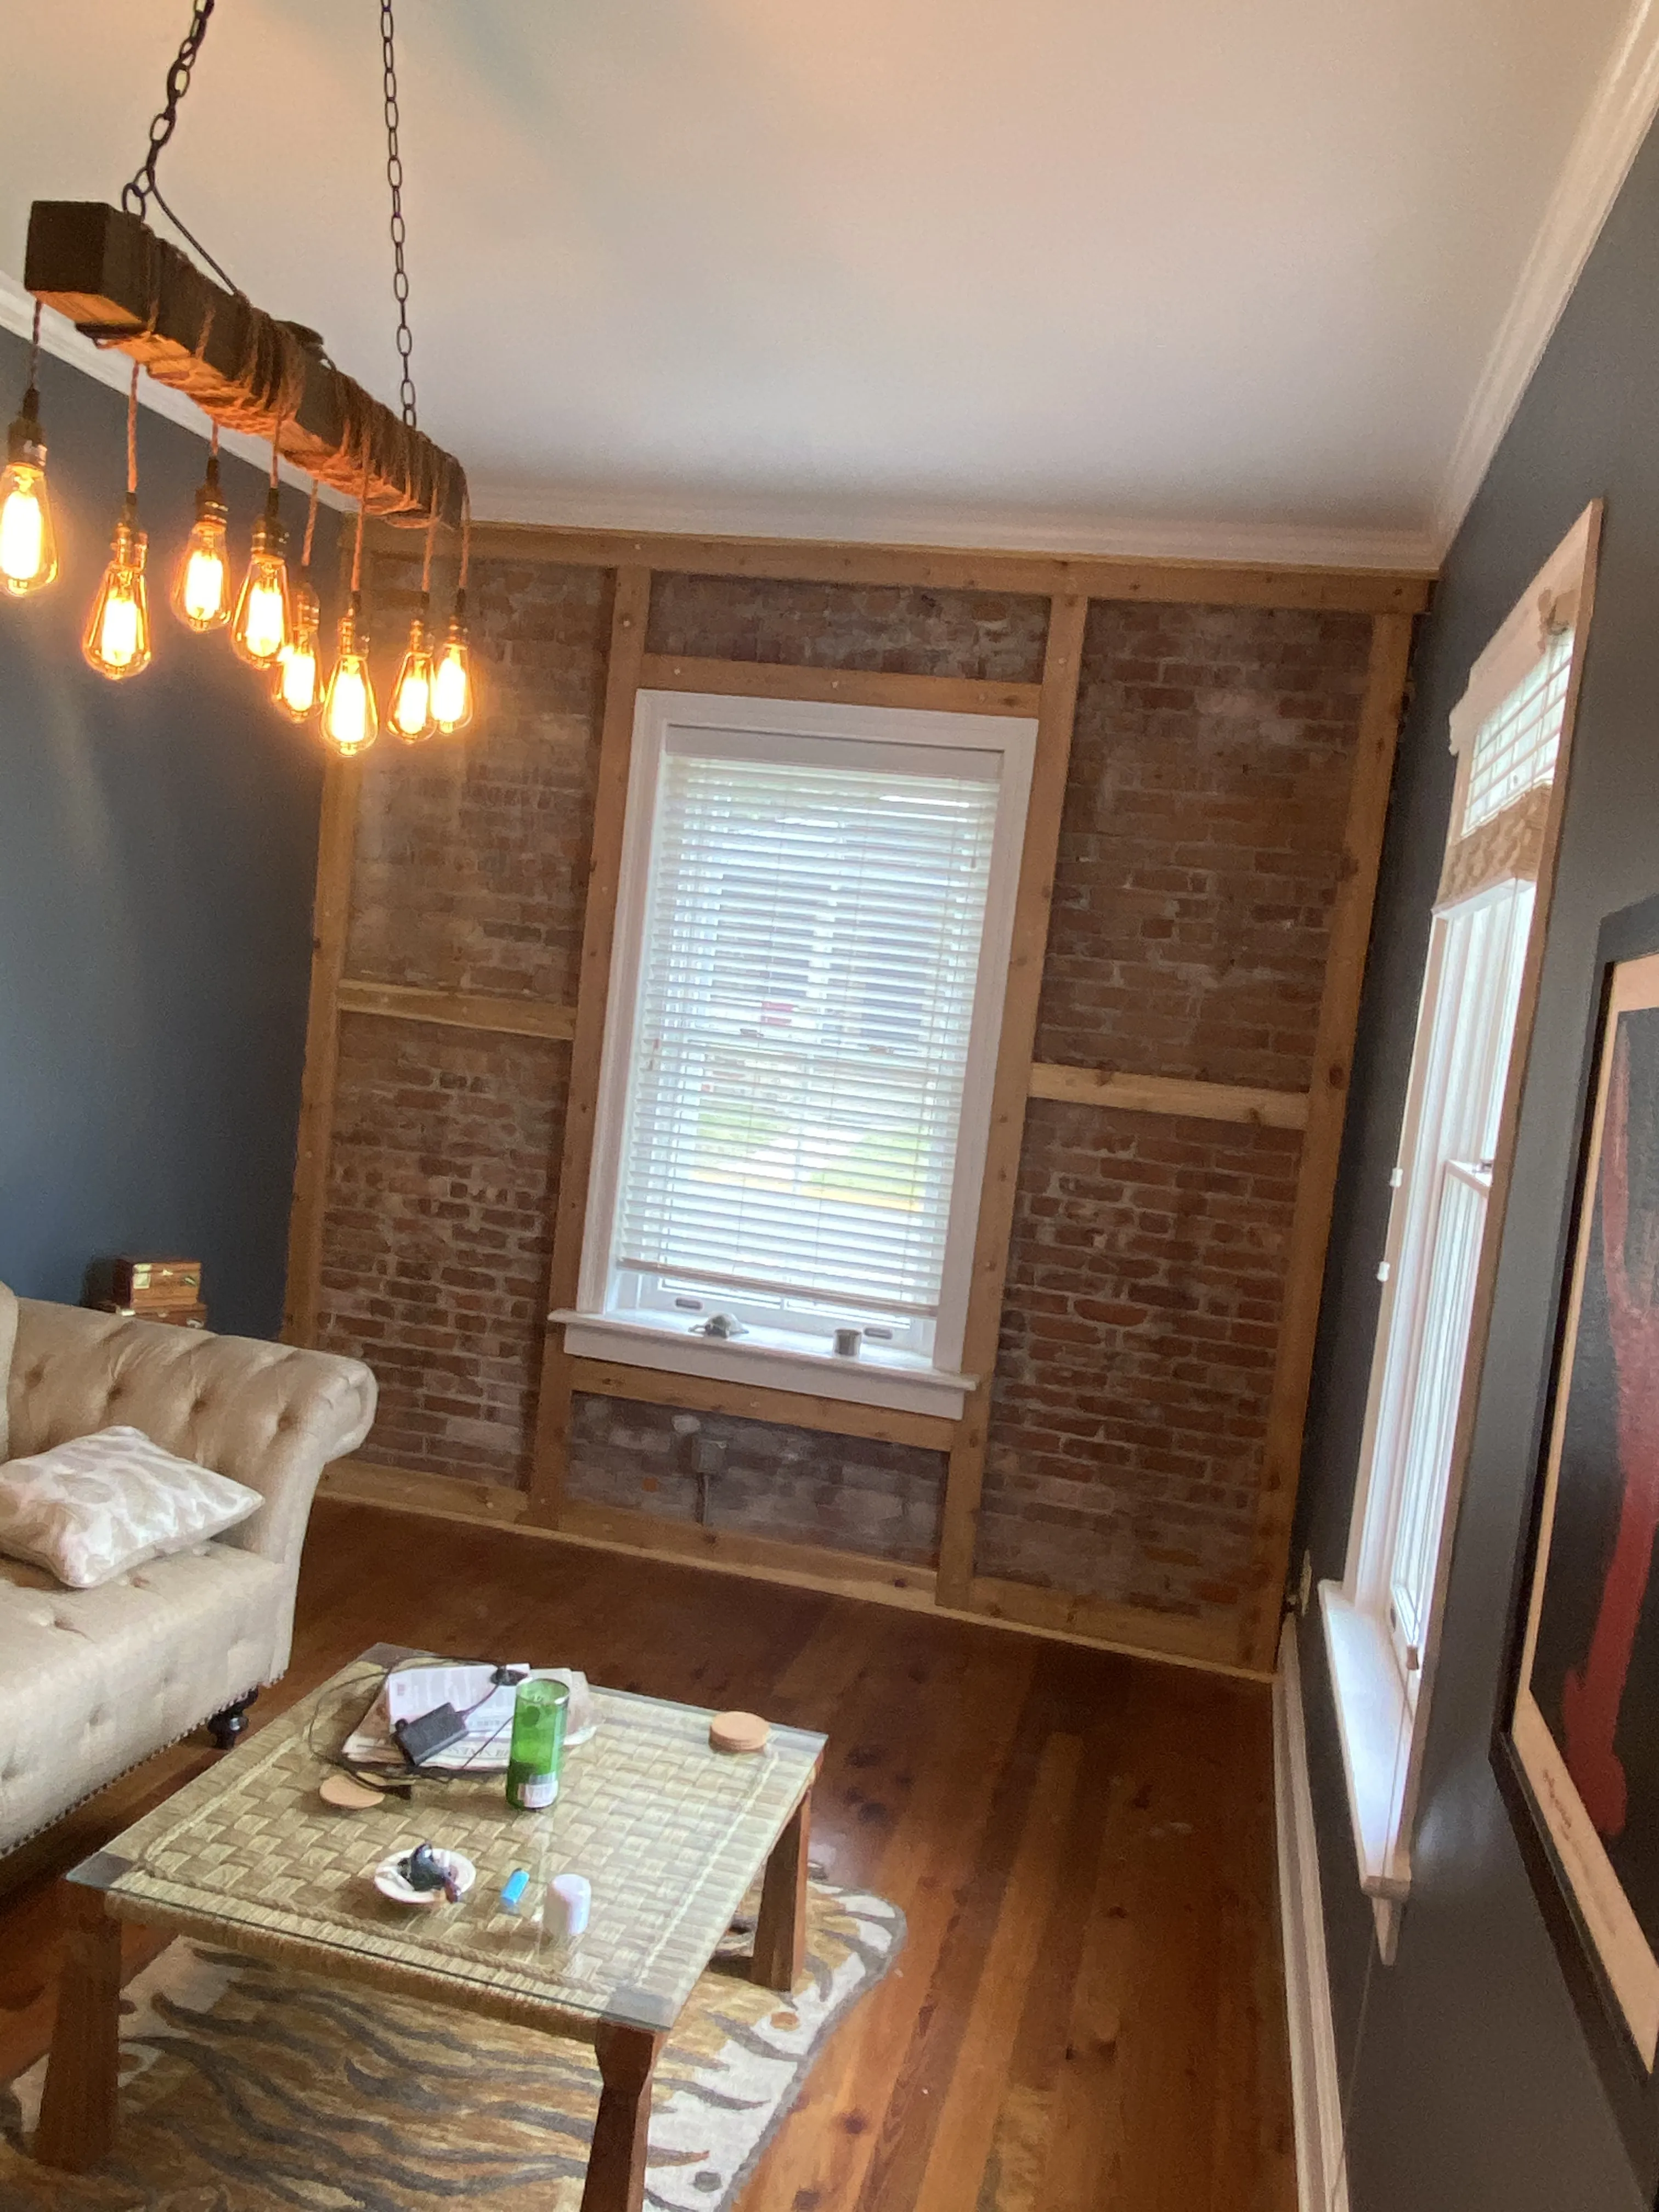
When to Call a Drywall Professional
Bring in help when you are not confident the crack is stable, when it has returned after a proper repair, or when the repair is large enough that the texture and paint blend will be the dominant challenge. Professional repair is also sensible around stairwells, ceilings, high walls, broad seam failure, water-damaged areas and walls where a clean finish matters more than a weekend experiment.
It is particularly important to pause when a crack is accompanied by signs outside the drywall itself: a door that no longer latches as it once did, a window that binds, a floor that feels different, a wide or growing gap, fresh damage after a storm, or multiple cracks appearing in a short period. Those observations do not prove one cause, but they are useful information for the right qualified person to assess.
Good Fellas can help when the project is clearly a surface and finish problem: damaged drywall, loose tape, texture repair, preparation and repainting that need to work together. For a wall that also shows active moisture or a concern beyond the finish, the underlying condition should be identified first so the final repair has a fair chance to hold.
How Good Fellas Can Help
Good Fellas approaches a drywall crack as part of the room, not just a line to hide. That can mean checking the surface, removing failed material, making the repair, matching the texture where possible, priming the changed area and repainting so the finished wall reads cleanly in normal light. It is especially helpful when the crack sits beside other wall damage, trim work or a larger interior update.
See the St. Augustine drywall repair page, browse the four-day condo turnaround project or explore interior painting for related work. When you are ready to discuss a repair, request a quote with a clear daylight photo, one wider room photo and a note about whether the crack is new, recurring or near moisture.
Frequently Asked Questions
Can I just fill a drywall crack with spackle?
A very small, stable hairline crack may accept a light patch, but a visible seam crack usually needs more than filler alone. If the joint has opened or the tape is loose, remove loose material, embed new tape in joint compound and build up thin, feathered coats so the repair has support beneath the final paint.
Why do drywall cracks keep coming back?
A returning crack can mean the original repair only covered the line instead of stabilizing the joint. It can also point to movement, a loose panel, recurring moisture, a damaged corner, or another condition that needs to be addressed before the surface is finished again.
When is a drywall crack serious?
Ask for a closer look when a crack is wide, growing, repeated after repair, paired with a sticking door or window, near an active water stain, or part of a broader pattern across the home. Those signs do not diagnose the cause by themselves, but they are a reason not to treat the crack as a quick cosmetic patch.
Should I use mesh tape or paper tape for a drywall crack?
The right tape depends on the type of repair and the compound being used. For a seam repair, the important point is that loose material is removed, the tape is properly embedded and the repair is finished in thin, broad coats. Follow the instructions for the specific patching system rather than mixing products casually.
Do I need to prime a drywall crack repair before painting?
Often, yes. Fresh joint compound can absorb paint differently from the surrounding wall, leaving a dull or shiny patch. Once the repair is fully dry and smooth, a suitable primer helps create a more even base before the finish coat goes on.