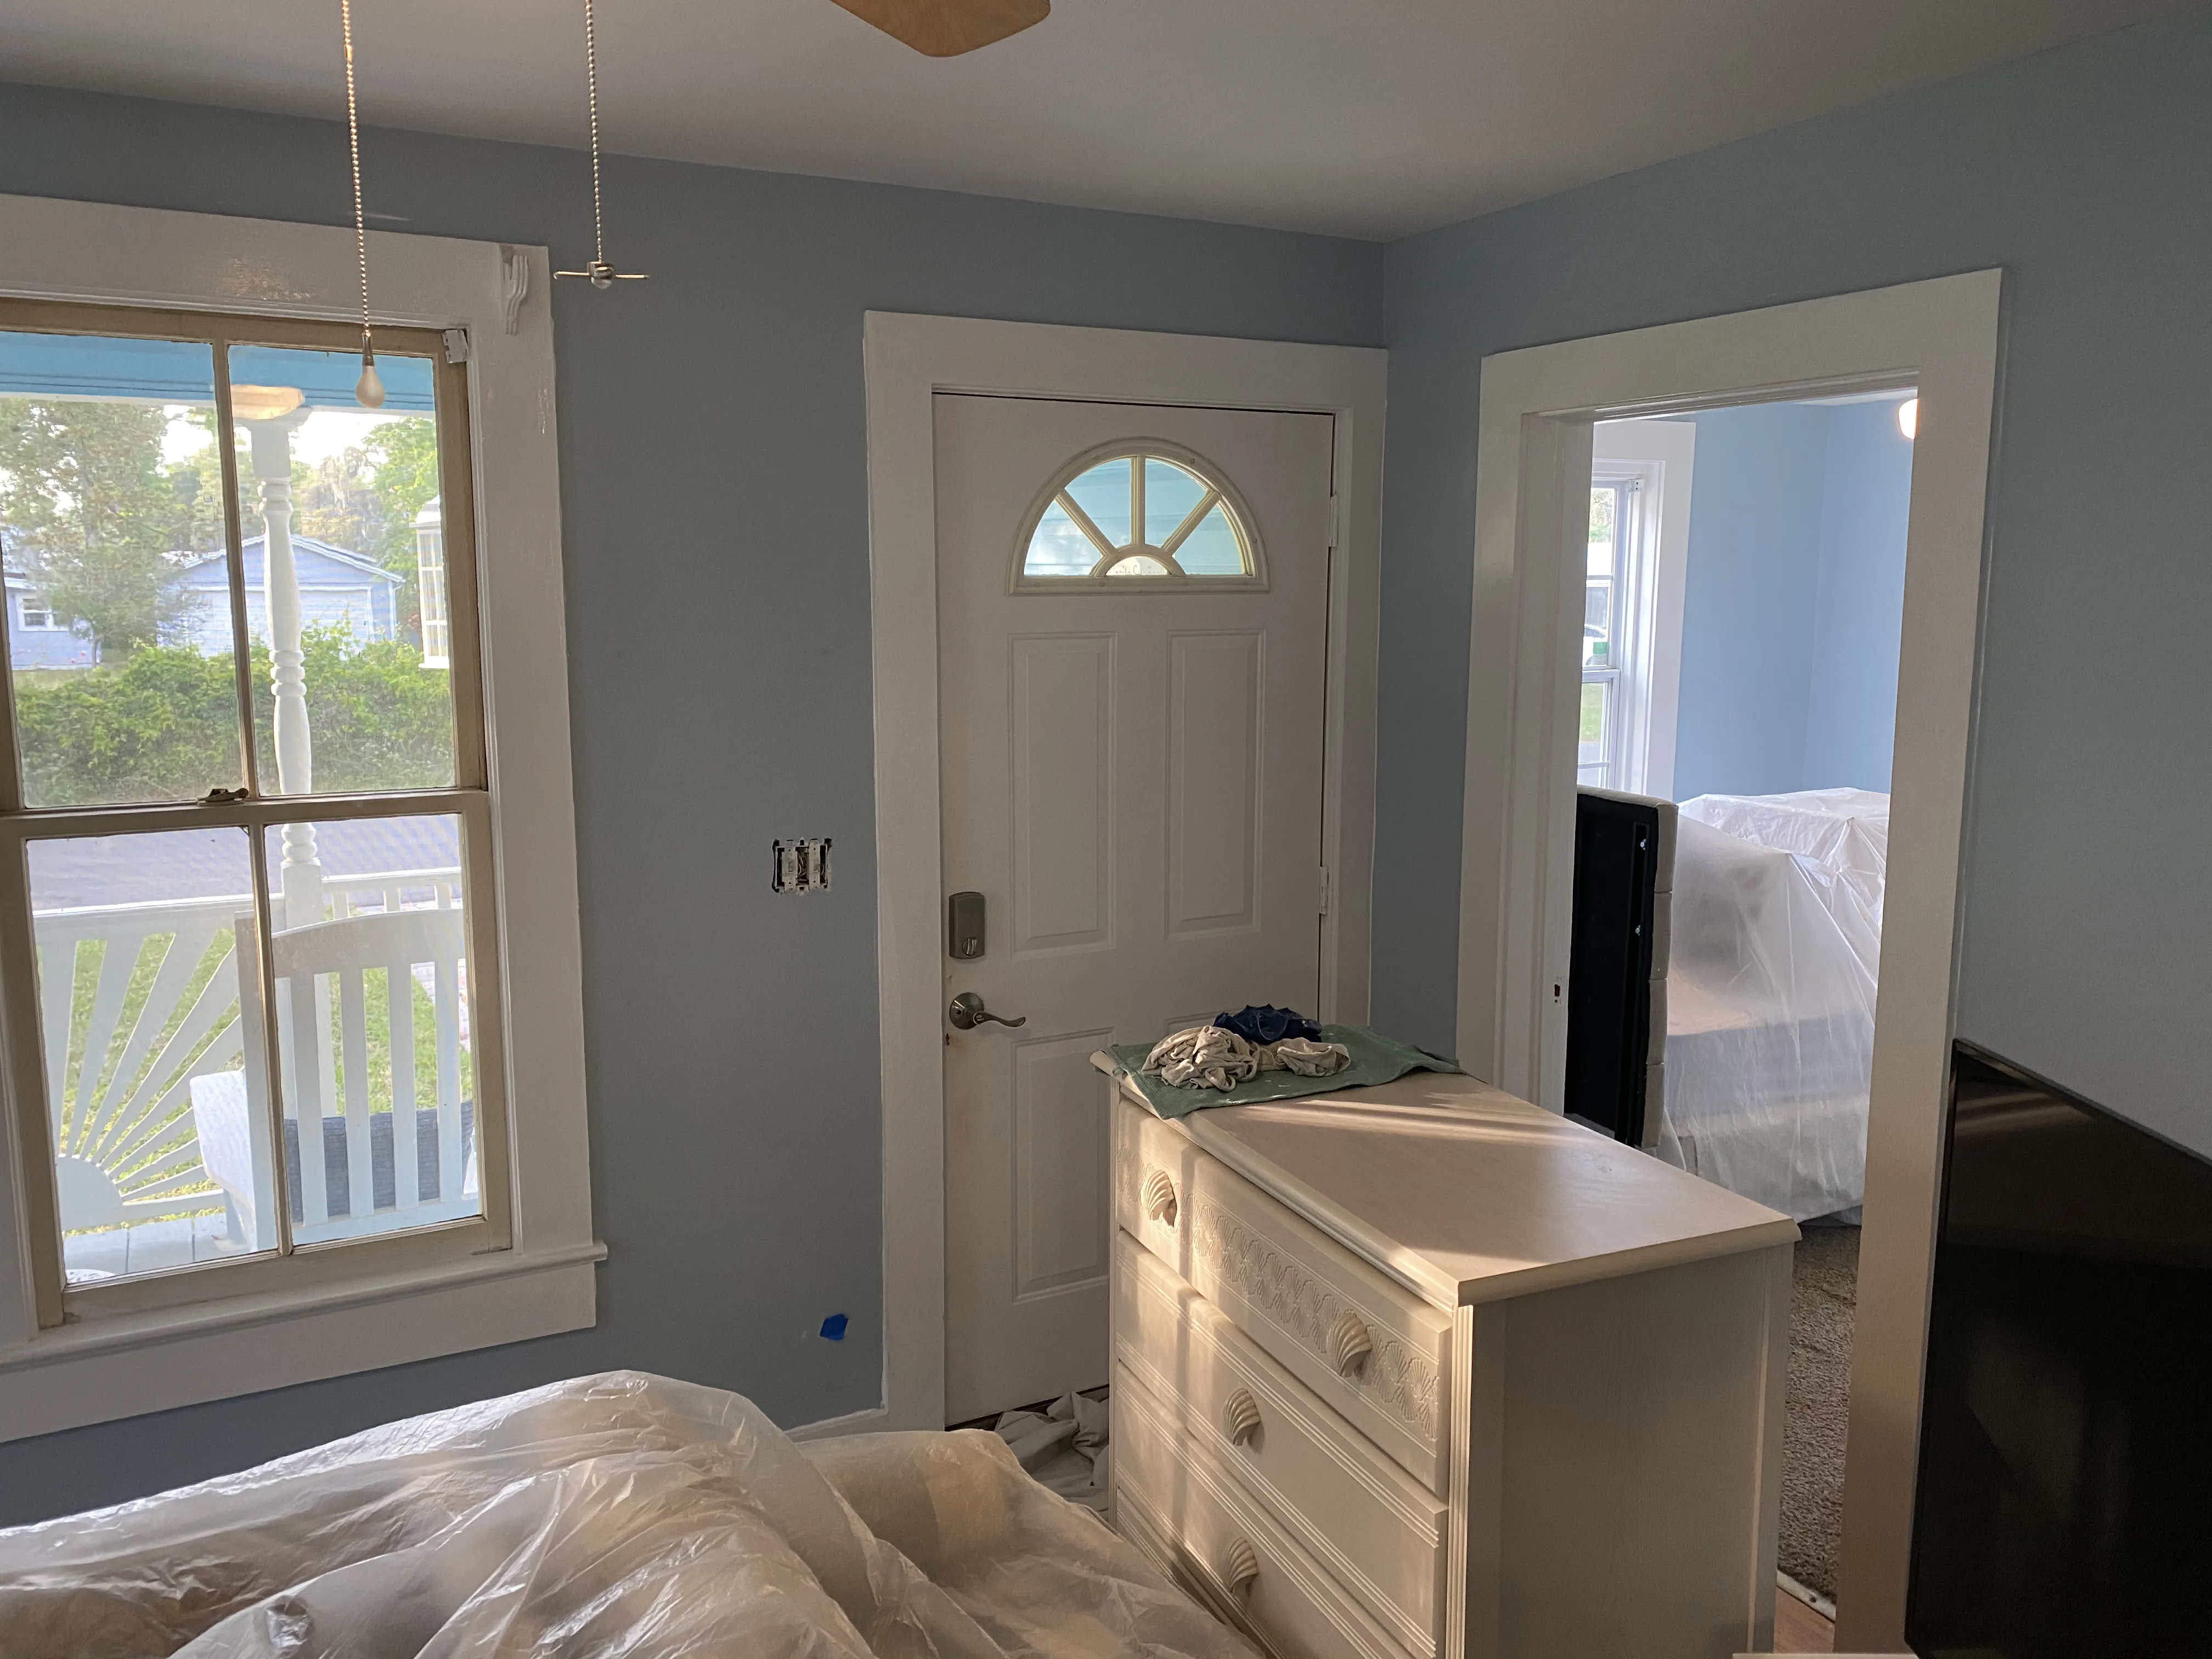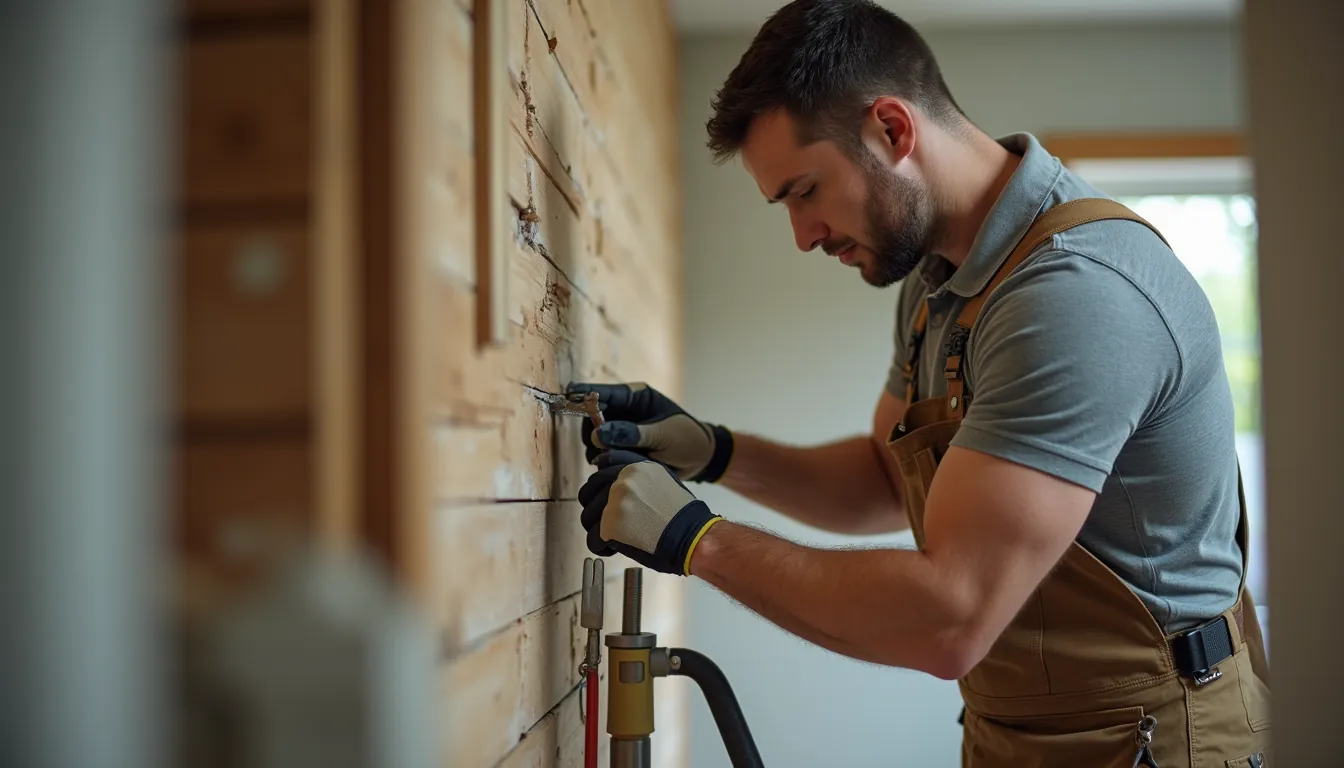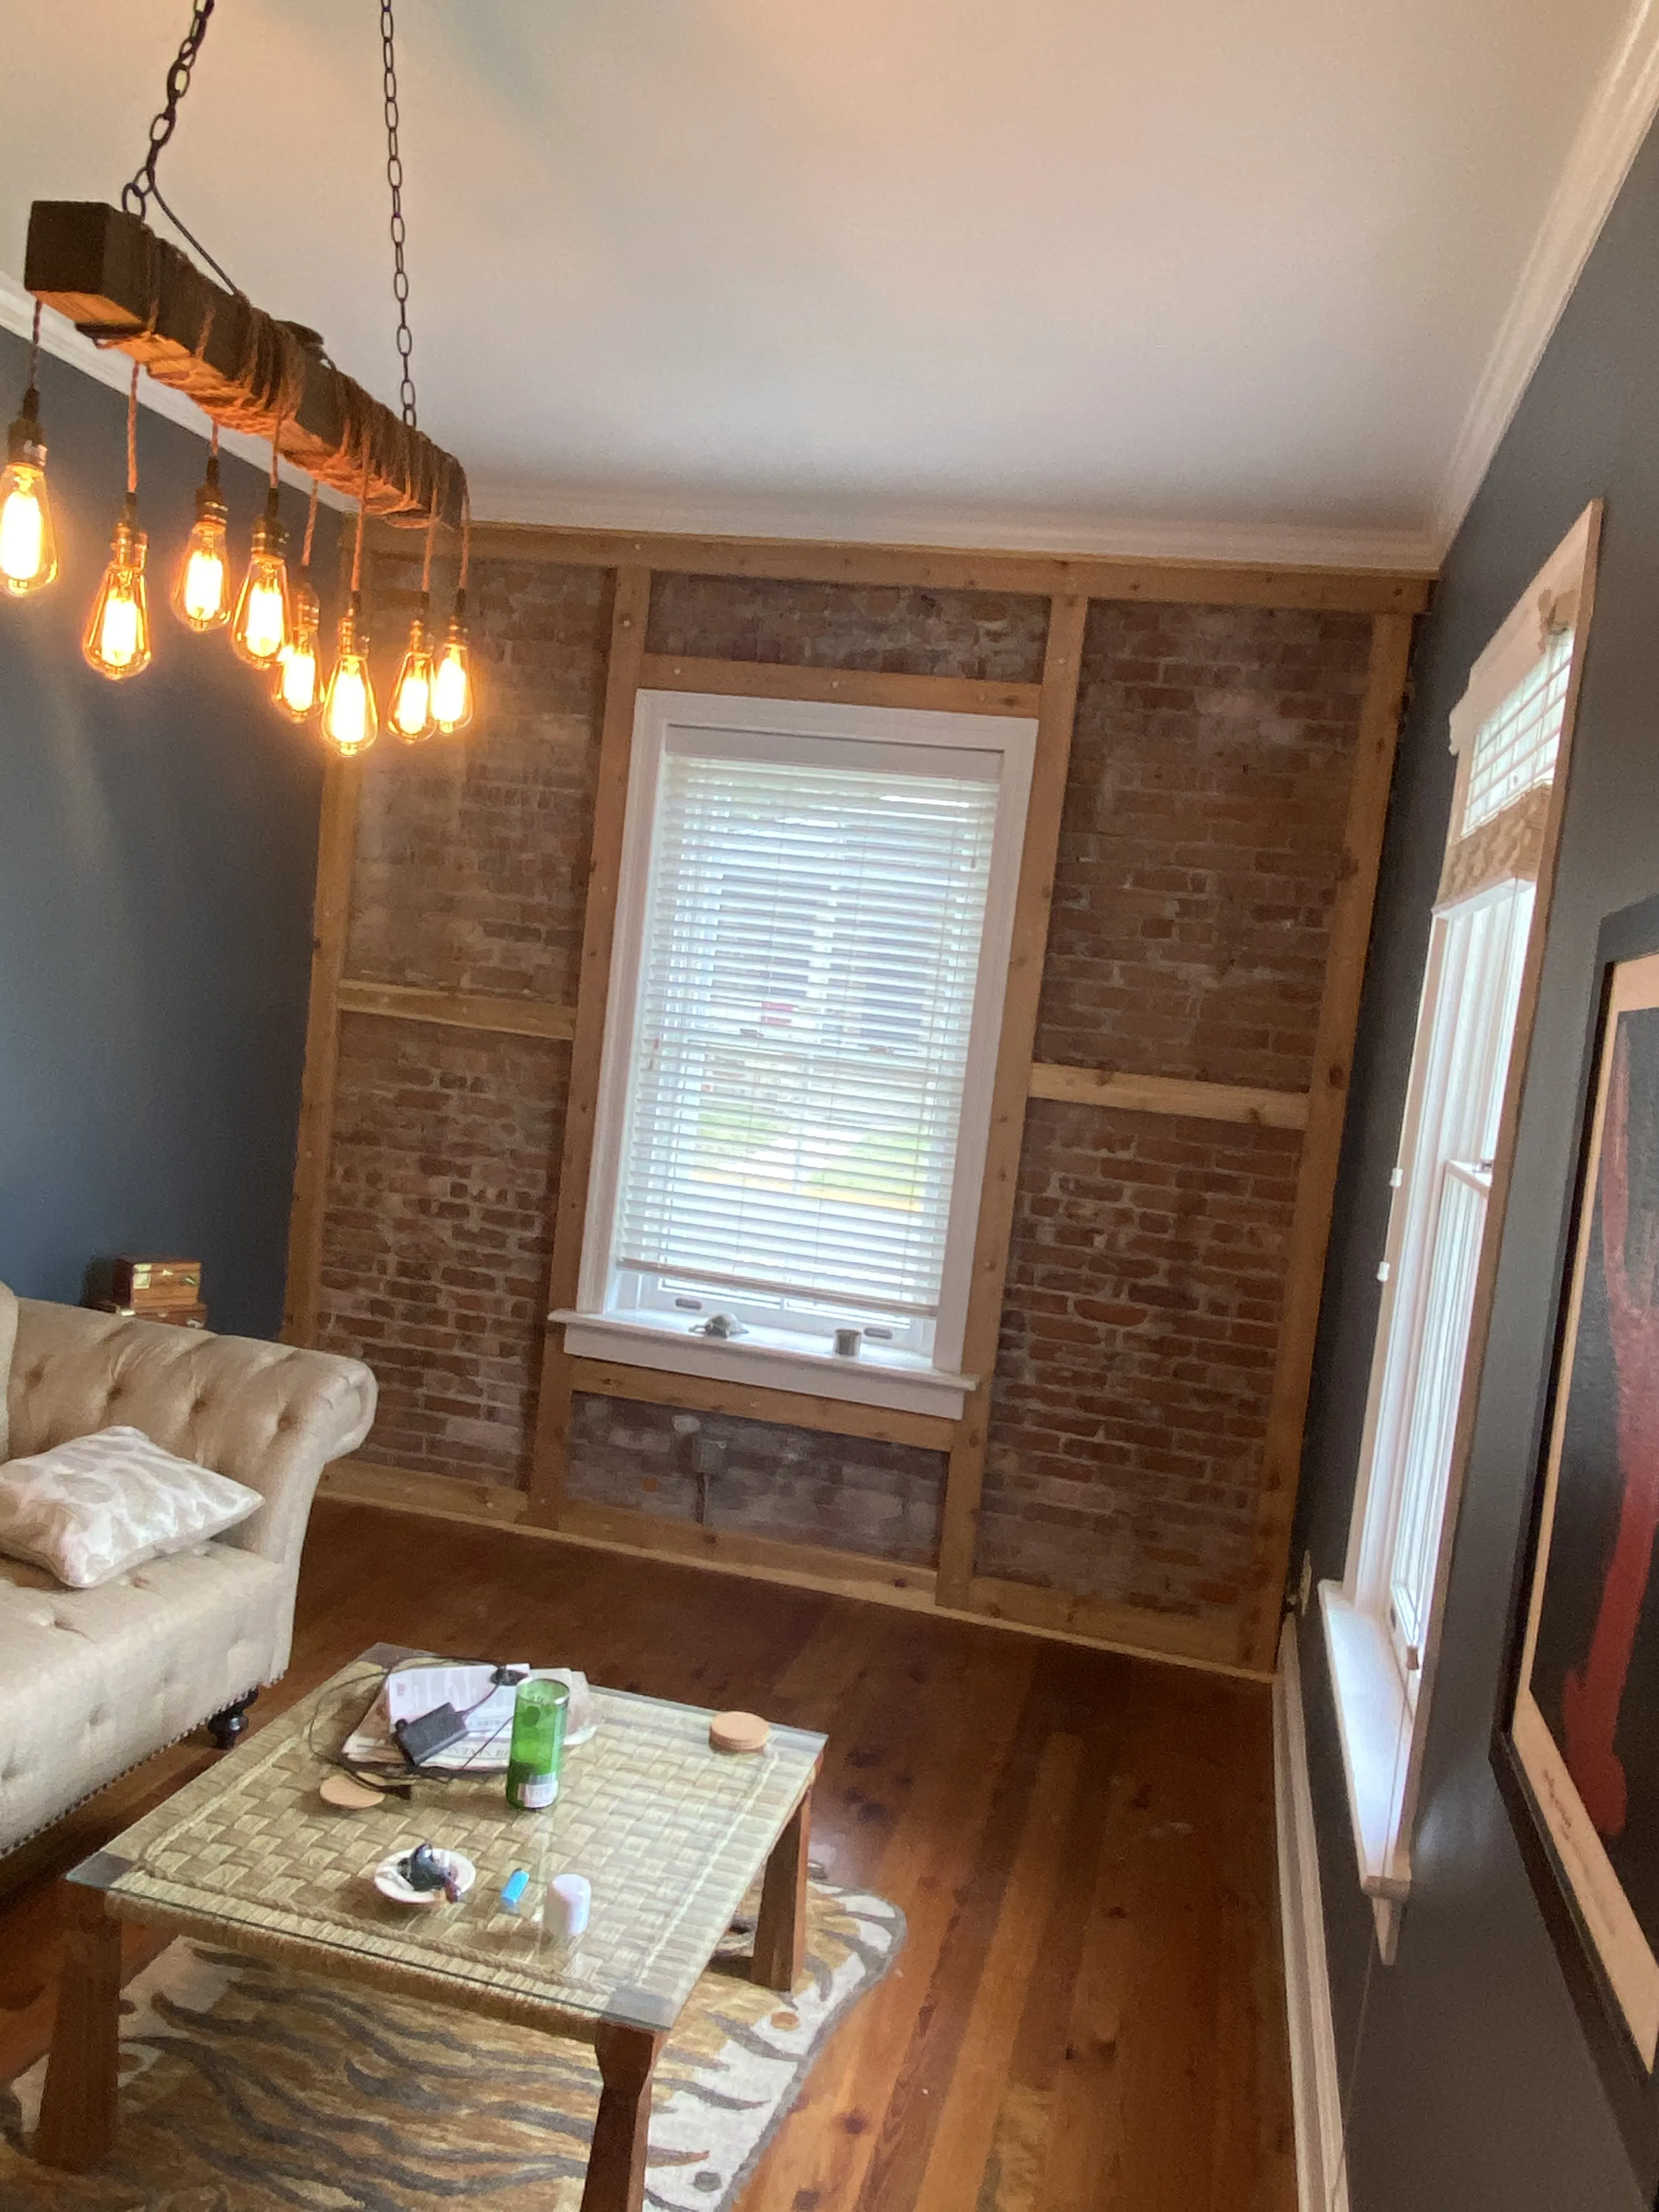
Most paint problems that show up after a room is finished started before the first coat. A wall may look close enough from the doorway, yet still carry cooking residue, shiny rubbed spots, small dents, loose tape, a rough patch or an old stain that will keep showing through fresh paint. Taking a little time to prepare walls for painting gives the color a smoother surface and gives the finish a better chance to look even in daylight.
The goal is not to turn every repaint into a major renovation. It is to identify what the wall needs before the paint goes on. A clean, sound bedroom wall may need very little. A hallway with scuffs, a bathroom with moisture marks, or a room with old anchors and visible repairs needs a more deliberate plan. This checklist helps homeowners separate the simple work from the details that deserve repair before paint.
The Short Answer: Clean, Repair, Smooth, Prime and Protect
For most interior walls, preparation follows a straightforward order: move and protect the room, clean the surface, inspect it in good light, repair damage, smooth the repaired or glossy areas, remove the dust, prime where the wall needs it, then paint. Each step supports the next one. Paint applied over dust, residue or a rough repair can make an ordinary wall look unfinished even when the color itself is right.
Start by looking across the wall, not straight at it. Window light, a lamp held to the side, or light from an adjacent room can reveal the things a direct glance misses: a raised drywall patch, a dent near a switch, a paint run, a shiny cleaned area or a line where old tape has started to lift. Those are easier and less expensive to correct before the room is painted and put back together.
Step 1: Clear the Room and Protect What Stays
Give yourself room to see and work. Move smaller furniture out when practical, then pull larger pieces away from the walls and cover them. Take down switch plates, outlet covers, artwork, curtain hardware and anything else that would create a rough edge or slow down the work. Label hardware and keep screws together so the room goes back together without a scavenger hunt at the end.
Protect floors with a drop cloth that stays put underfoot. Cover nearby counters, built-ins and fixtures, and use painter's tape only where it creates a clean, intentional boundary. Tape is helpful around trim, tile, windows and details that should remain untouched. It is not a substitute for careful cutting-in or for protecting a room from dust created by sanding a repair.
Before you begin, look for signs that the job may be more than cosmetic. Active water staining, peeling near a window, soft drywall, a loose section of tape or mildew that keeps returning calls for a pause. Fix the moisture or wall condition first. A fresh coat can make that problem less visible for a short time, but it cannot make it stable.
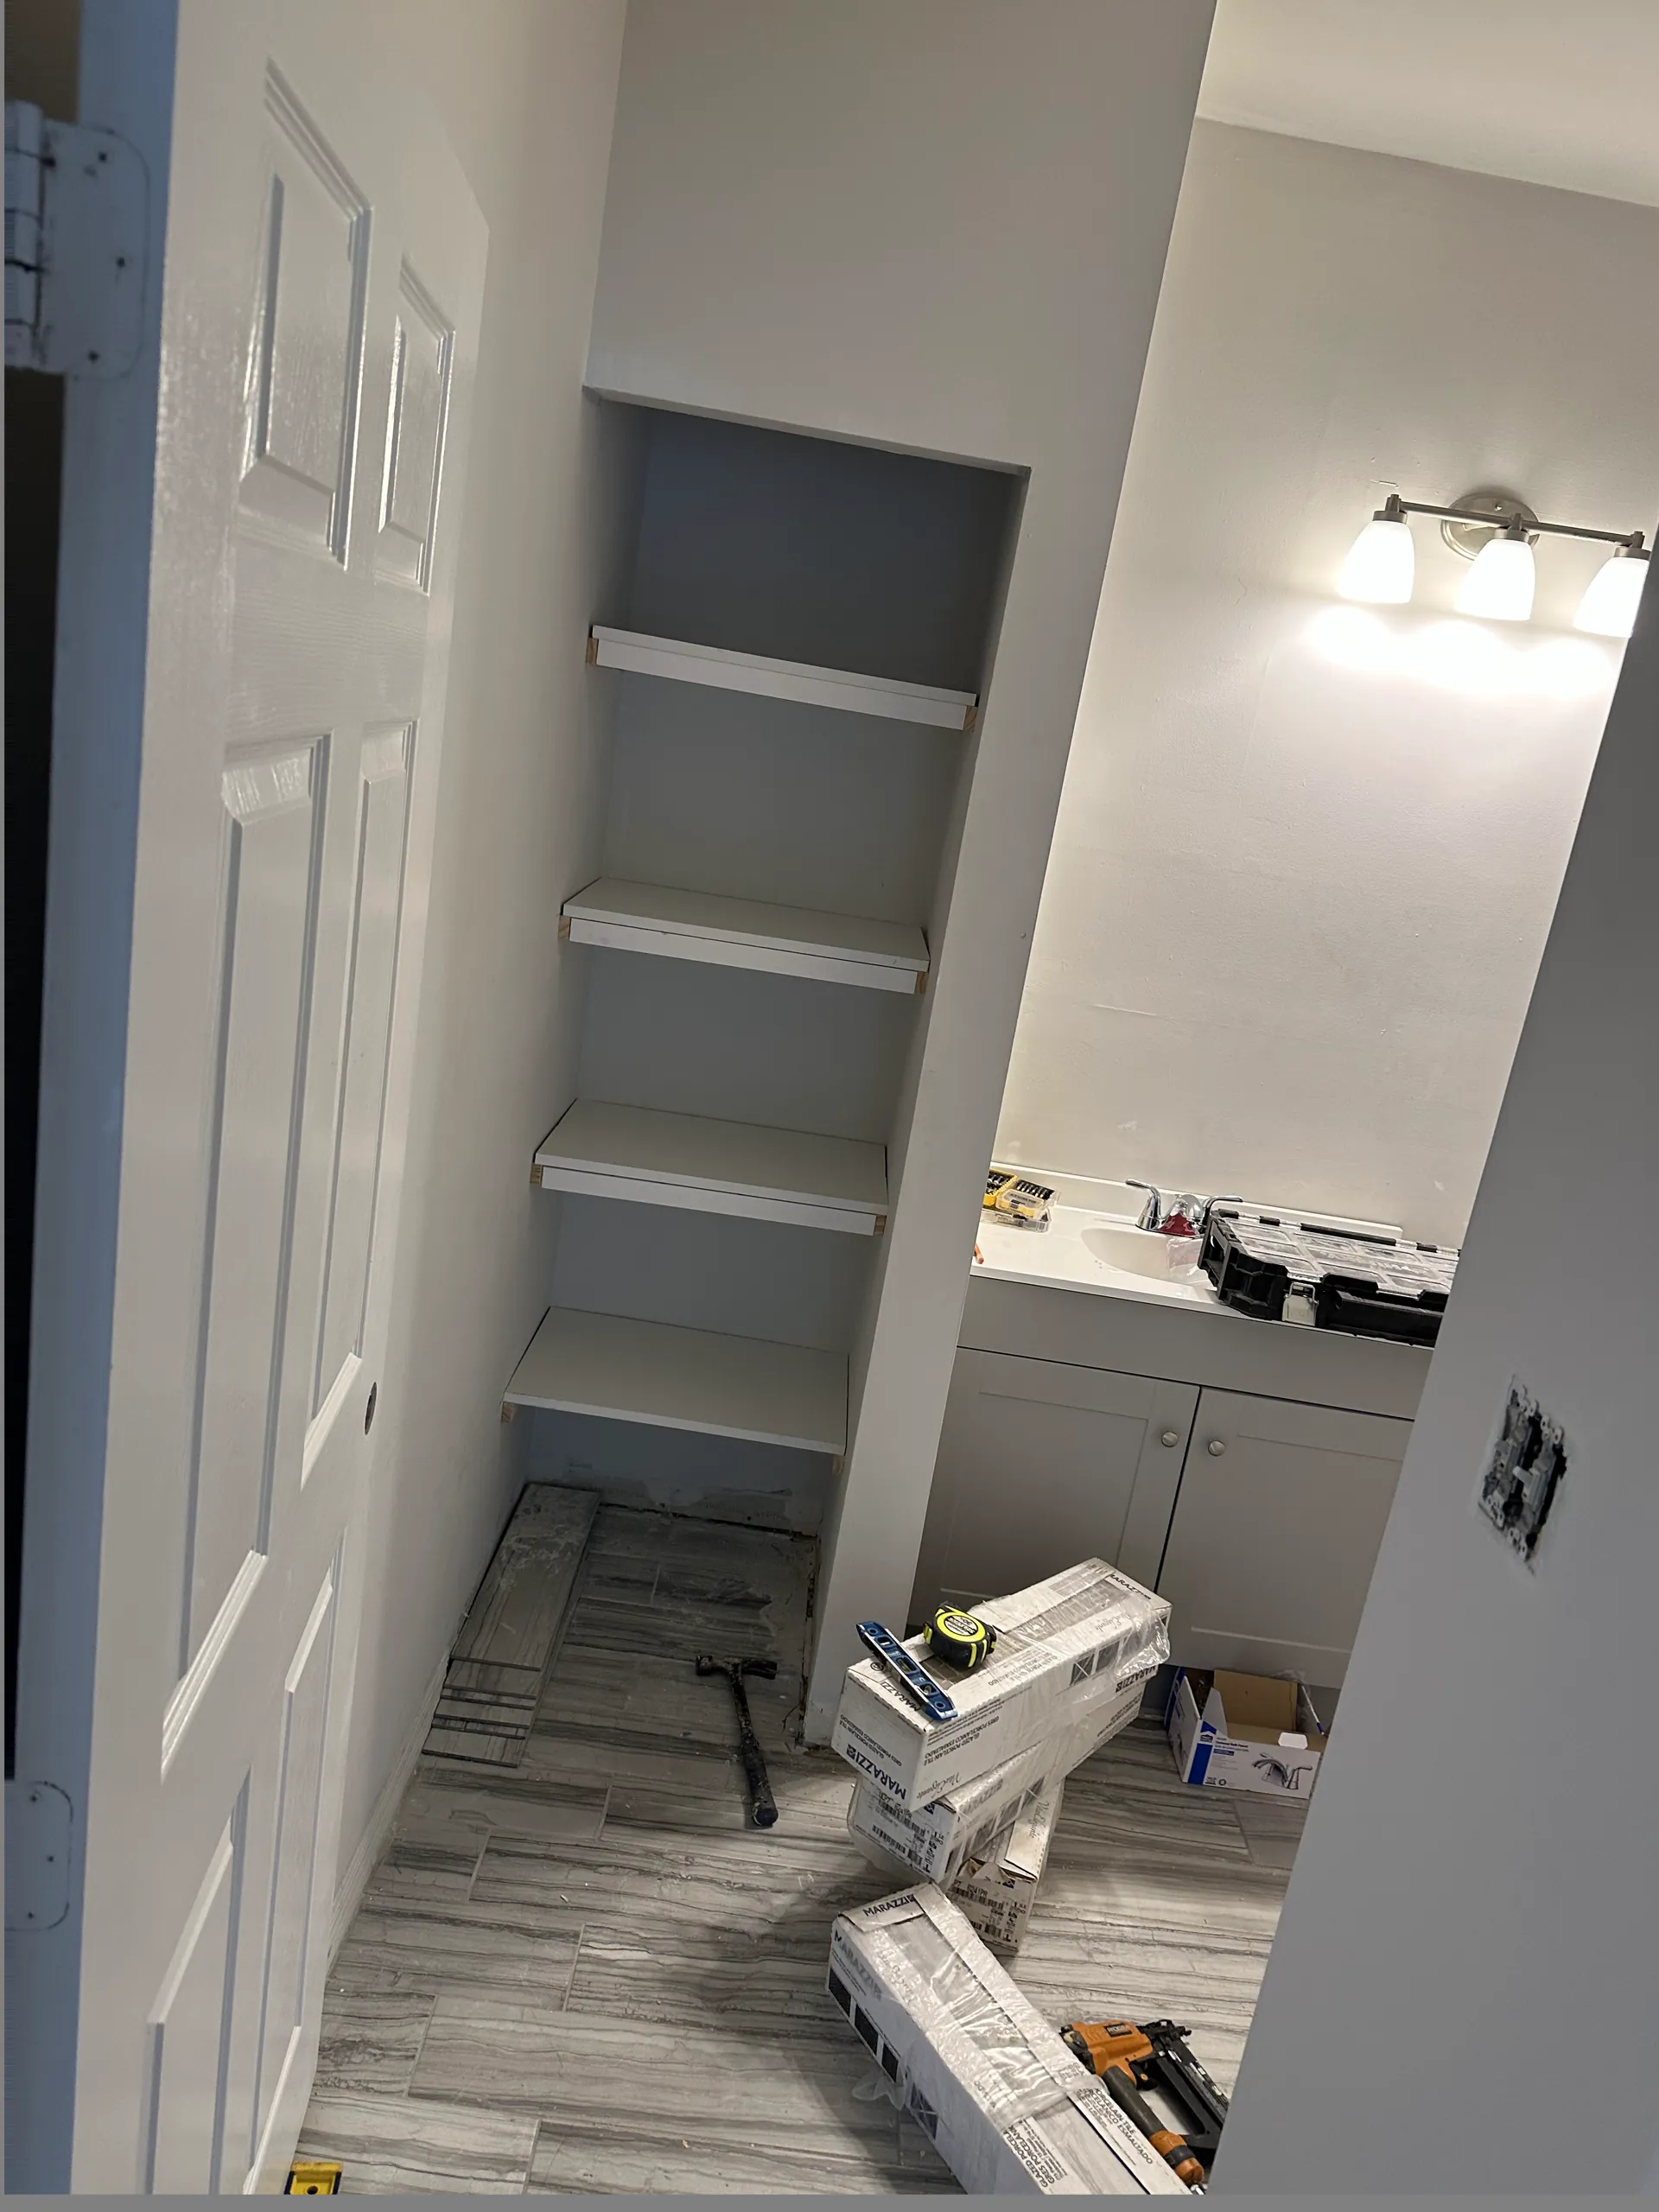
Step 2: Clean the Wall Before You Judge It
Walls collect more than obvious dirt. Hallways and entryways pick up hand oils around switches and door frames. Kitchens can hold a light film from cooking. Bathrooms may have residue from moisture, hair products or cleaners. Even a room that looks clean can have enough surface buildup to make a new finish bond or dry unevenly.
Use a mild cleaner appropriate for painted walls, then follow its directions for rinsing or wiping away residue. Work from the cleaner areas toward the spots that get the most contact, and use a clean cloth or sponge instead of soaking the wall. Let the surface dry fully before sanding, patching or painting. The point is a clean surface, not a wet wall that must be hurried along.
Cleaning also makes the next inspection more honest. Once scuffs, dust and smudges are gone, you can see whether a mark was only surface dirt or whether it is actually a stain, abrasion, damaged texture or old patch that needs another step. Manufacturer guidance consistently starts with the same basic foundation: the surface should be clean, dry and sound before a coating is applied.
Step 3: Repair Holes, Cracks and Loose Material
Small nail holes, picture-hanger marks and shallow dents can often be filled with the right patching material. Larger holes, cracks that keep opening, loose drywall tape, water damage and missing texture need a closer look. Do not fill a moving crack and assume it is finished. Notice whether the crack follows a seam, returns after a prior repair, or sits near a door, window or moisture source. Those details help define the repair that is actually needed.
For a simple patch, remove anything loose, fill in thin layers as directed, and allow each layer to dry. Overfilling a hole can seem efficient, but it often creates a raised mound that takes more sanding and still flashes through the final paint. Build the surface back to level rather than trying to hide a thick patch under color.
Good drywall repair is especially important where light crosses the wall from the side. A repair that looks acceptable head-on can announce itself every morning or late afternoon once the room is in use. For a larger damaged area, texture match, recurring crack or water-affected wall, the drywall repair service can help bring the surface back to a paint-ready condition before the final finish is considered.
Step 4: Sand Only the Places That Need Smoothing
Sanding should solve a visible surface problem. Smooth patched areas after they are fully dry. Feather the edge of a scraped paint chip so it does not leave a hard ridge. Knock down a drip, rough roller edge or nib that will be obvious under a new sheen. If the existing wall is glossy, follow the new paint system's instructions for the amount of scuffing it needs to create a suitable surface.
Use a sanding block or pole sander that keeps the surface even. A small folded piece of paper can dig a hollow into drywall around a patch, which creates another defect to fill and sand. Work gently and check your progress by running a clean hand lightly across the wall. You are feeling for a transition that disappears into the surrounding surface, not trying to make every wall perfectly flat by removing material indiscriminately.
After sanding, remove the dust before primer or paint. Vacuum carefully with a brush attachment, then use a clean, lightly damp microfiber cloth when appropriate for the surface. Dust left on the wall can leave a gritty finish and can interfere with the smooth result you just spent time creating.
Step 5: Prime Bare, Repaired or Stained Areas
Primer is not automatically required on every previously painted wall, but it has an important job where the surface has changed. Fresh drywall compound, bare drywall paper, exposed repairs and patches can absorb paint differently from the surrounding wall. A suitable primer helps create a more uniform base so a repair is less likely to show as a dull or shiny spot after the finish coat dries.
Stains and discoloration deserve an honest assessment before you paint. A mark from crayons or ordinary wear may clean away. Water stains, smoke residue, tannins, grease or other persistent discoloration may need a stain-blocking primer after the cause has been addressed. Do not prime over an active leak or moisture problem and call it solved. The wall should be dry and stable first.
Use the product instructions to guide the primer and paint combination. The Sherwin-Williams surface-preparation guidance is a useful reminder that cleaning, repair and a compatible coating system all matter together. When in doubt, test a small area before treating an entire room as though every wall needs the same approach.
Step 6: Check the Wall One More Time Before Painting
Once the wall is clean, repaired, dry and primed where needed, step back again. Look from several angles and use light across the surface. This is the best time to catch a missed nail hole, a patch that needs one more light sand, an unsealed stain or a bit of dust sitting near the baseboard. A five-minute check now can prevent a much longer correction after two finish coats are already on the wall.
Also decide the room's full scope before the first coat. Fresh wall paint can make worn trim, an unfinished ceiling line or a damaged door stand out more. That does not mean every room needs every surface repainted, but it is easier to make a deliberate decision before furniture is moved back and colors are open. The interior painting service is a useful next step when the work involves several rooms, trim, repairs or a complete refresh.
Common Shortcuts That Show Through Fresh Paint
Painting over a dirty wall. A room can look clean but still carry hand oils, kitchen film or a residue from a cleaner. The first coat may appear fine while it is wet, then dry with a finish that looks uneven in the places the wall gets the most use.
Using paint to hide a rough patch. Color does not flatten a ridge, a proud patch or a loose tape seam. In fact, a fresh finish can make it more visible by changing how light moves across the wall. Patch in thin layers, let them dry and inspect the repair before expecting paint to make it disappear.
Skipping primer where the surface has changed. Bare drywall paper, joint compound and a repaired section can absorb paint differently from the surrounding wall. That difference can leave a flat-looking spot or a change in sheen after the room dries. Use primer where the product system and surface condition call for it.
Rushing the dry time. Patching compound, cleaned walls and primer all need the time stated on their instructions. A surface that feels dry to the touch may not be ready to sand, tape or coat again. Letting each stage set properly is part of preparation, not a delay added after it.
Extra Care for Older Homes
If the home was built before 1978, pause before sanding, scraping or otherwise disturbing old paint. Lead dust can be created during renovation and repair work, and it is a safety issue rather than a cosmetic one. The EPA's lead-safe renovation guidance for homeowners explains why the preparation method matters and how to plan the work more carefully.
That does not mean every older wall is a crisis. It means the preparation plan should account for the age of the home before creating dust. Keep children and pregnant people away from the work area, avoid treating dry sanding as routine, and use qualified help when the project will disturb a larger painted surface. The right decision comes before the first patch or coat of paint.
When Good Fellas Can Help
Good Fellas approaches interior painting by starting with the surface, not just the color. That can mean looking at damaged drywall, smoothing an old repair, preparing trim, protecting the room and deciding where paint will create the most complete result. It is particularly helpful when the work connects a wall repair with repainting, finish carpentry or a broader update.
See the interior finish work project for examples of the detail that goes into a finished room, browse the project gallery, or request a quote when you are ready to talk through the wall, room or repair that needs attention.
Frequently Asked Questions
Do I need to wash walls before painting?
Usually, yes. Dust, hand oils, kitchen residue and cleaning-product film can interfere with a clean finish. Use a gentle cleaner that suits the wall, rinse away residue when the product calls for it, and let the surface dry completely before painting.
Should I sand every wall before painting?
No. Sanding has a job, not a ceremonial role. Smooth rough repairs, loose paint edges, glossy spots and drips that would show through the finish. Sound, clean walls may only need a light scuff in selected areas, depending on the existing coating and the new product instructions.
Do I need primer on previously painted walls?
Not always. Primer is especially useful on bare drywall, fresh joint compound, repaired areas, stains, major color changes and surfaces that are glossy or uneven. Read the paint and primer instructions for the products being used instead of assuming every wall needs the same system.
Can I paint over a drywall patch?
Only after the patch is dry, smooth and blended into the surrounding wall. New joint compound can absorb paint differently from the existing wall, so primer is often useful before the finish coat. Shine a light across the repair first because side light makes ridges and rough edges easier to spot.
What should I do before painting a pre-1978 home?
Pause before sanding, scraping or disturbing old paint. The EPA's lead-safe renovation guidance explains the risk of lead dust and when specific work practices apply. Treat that as a safety decision before planning the finish.