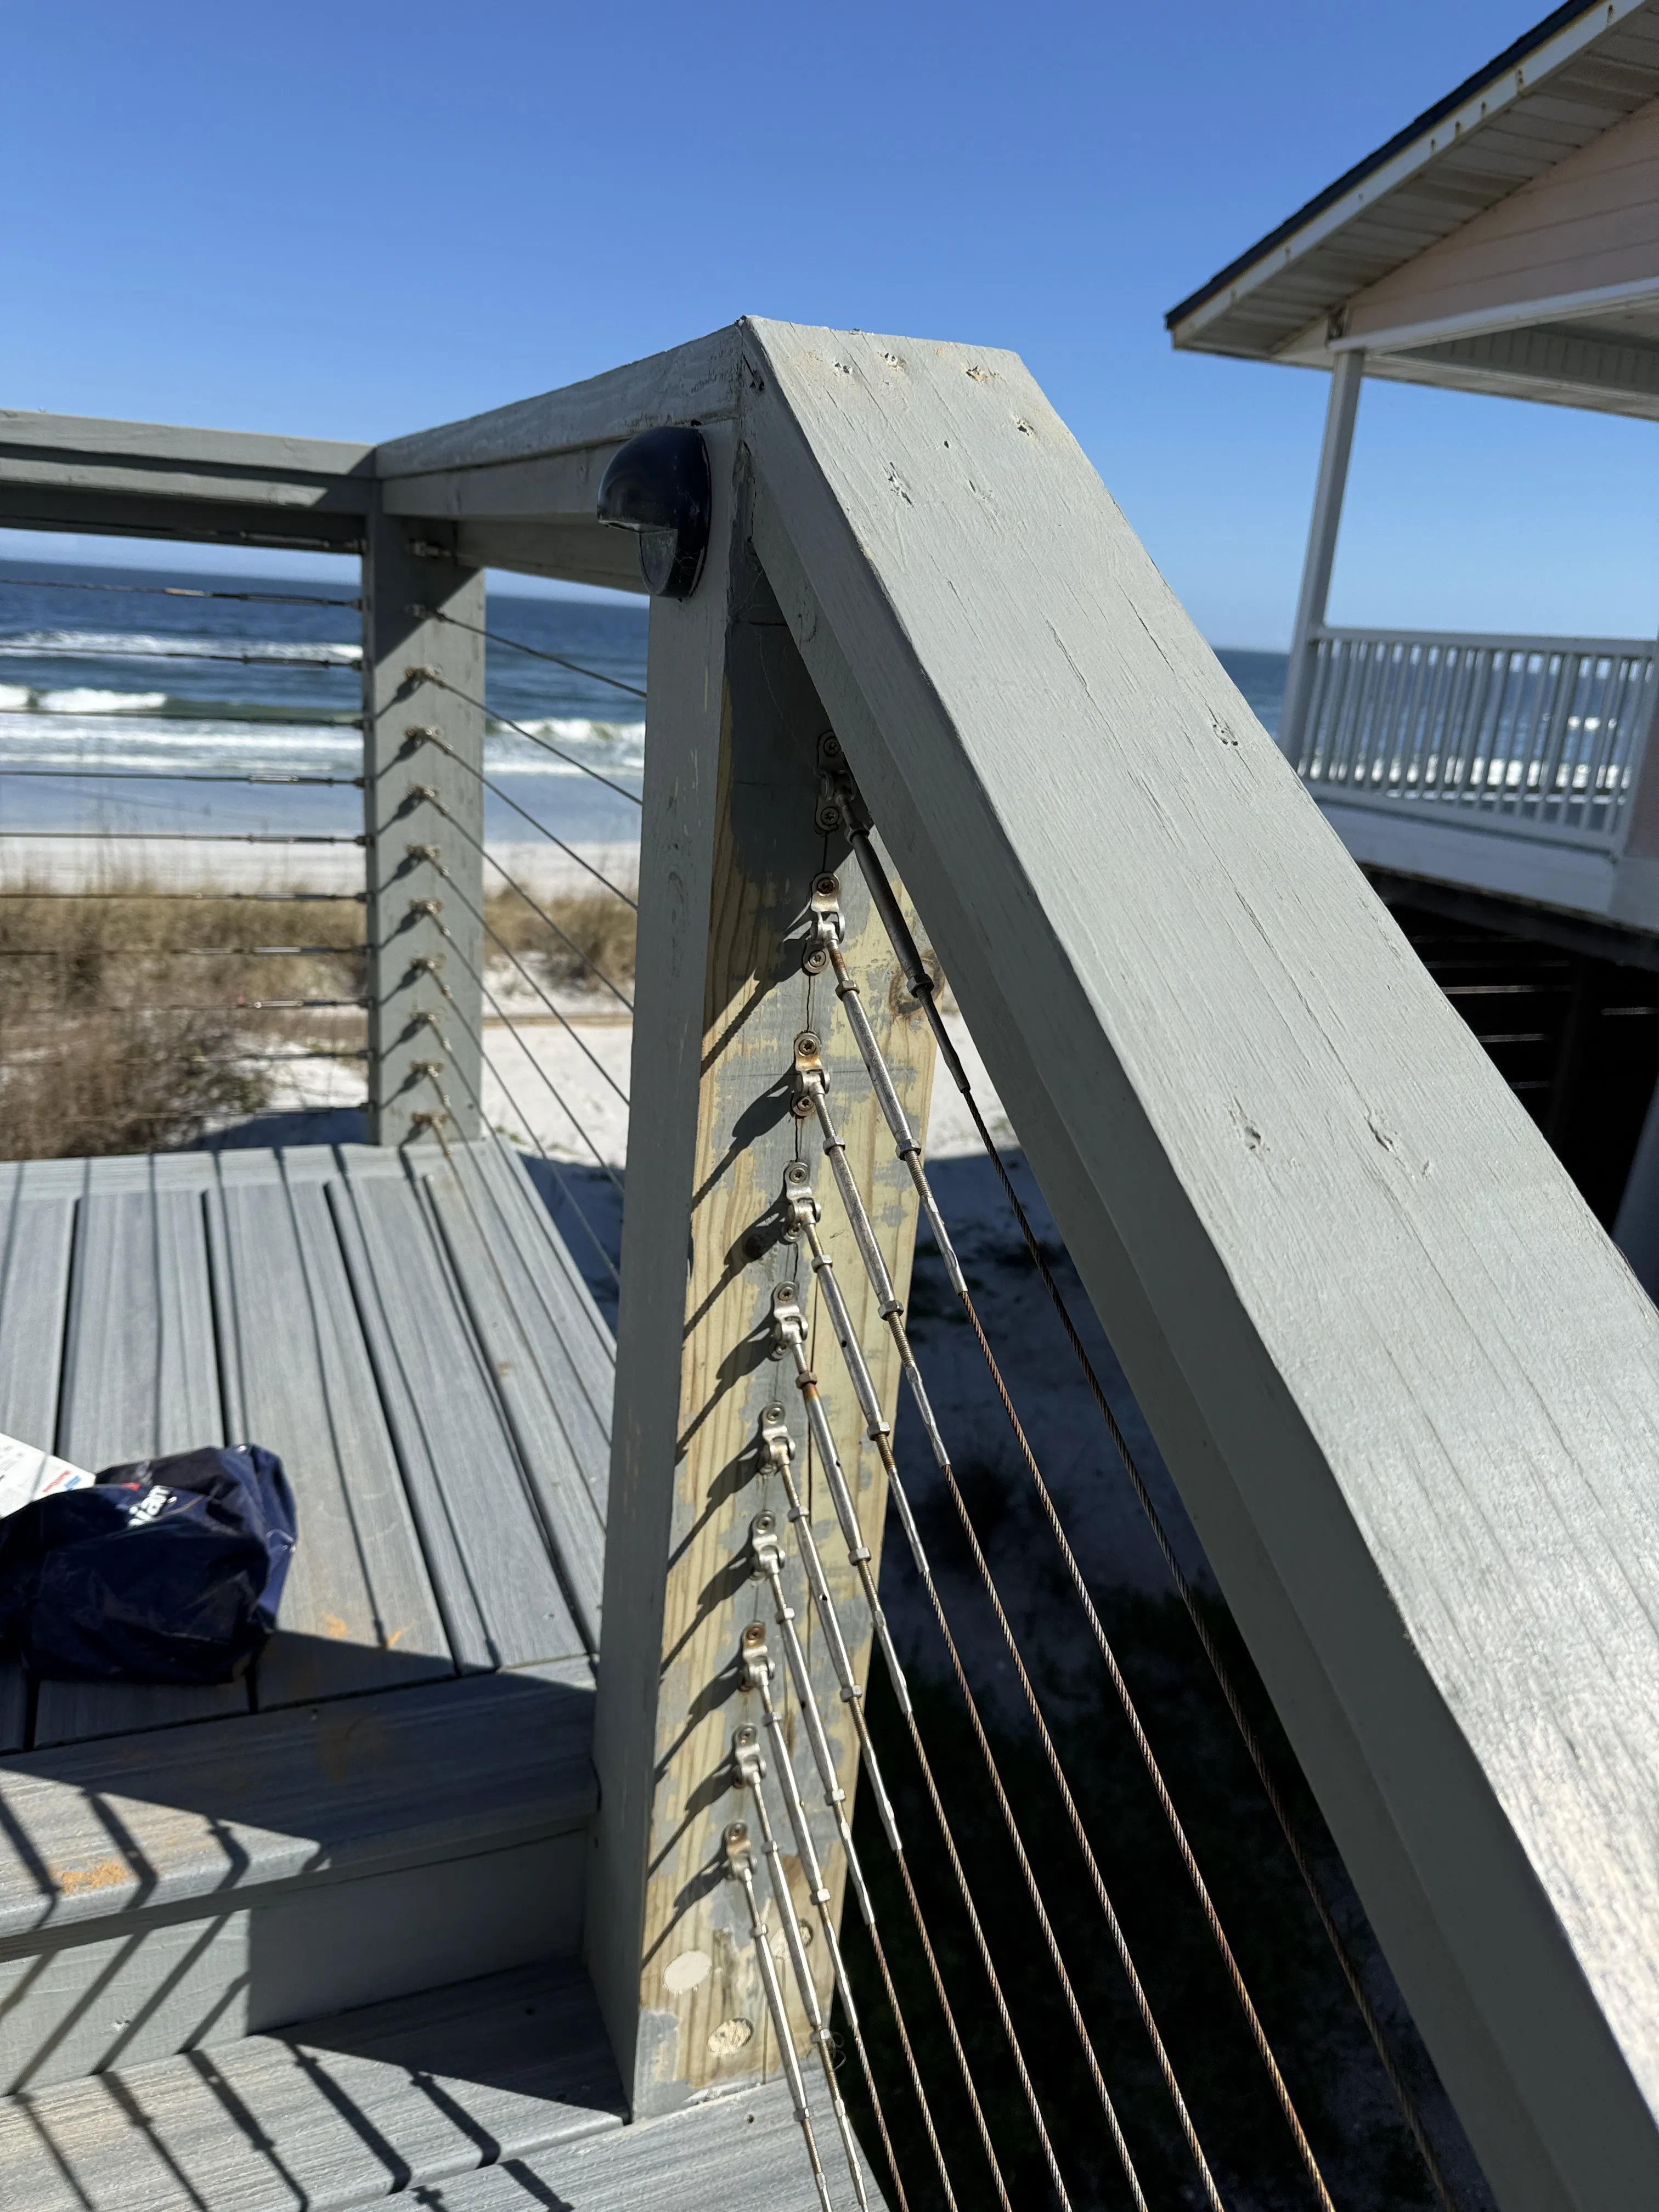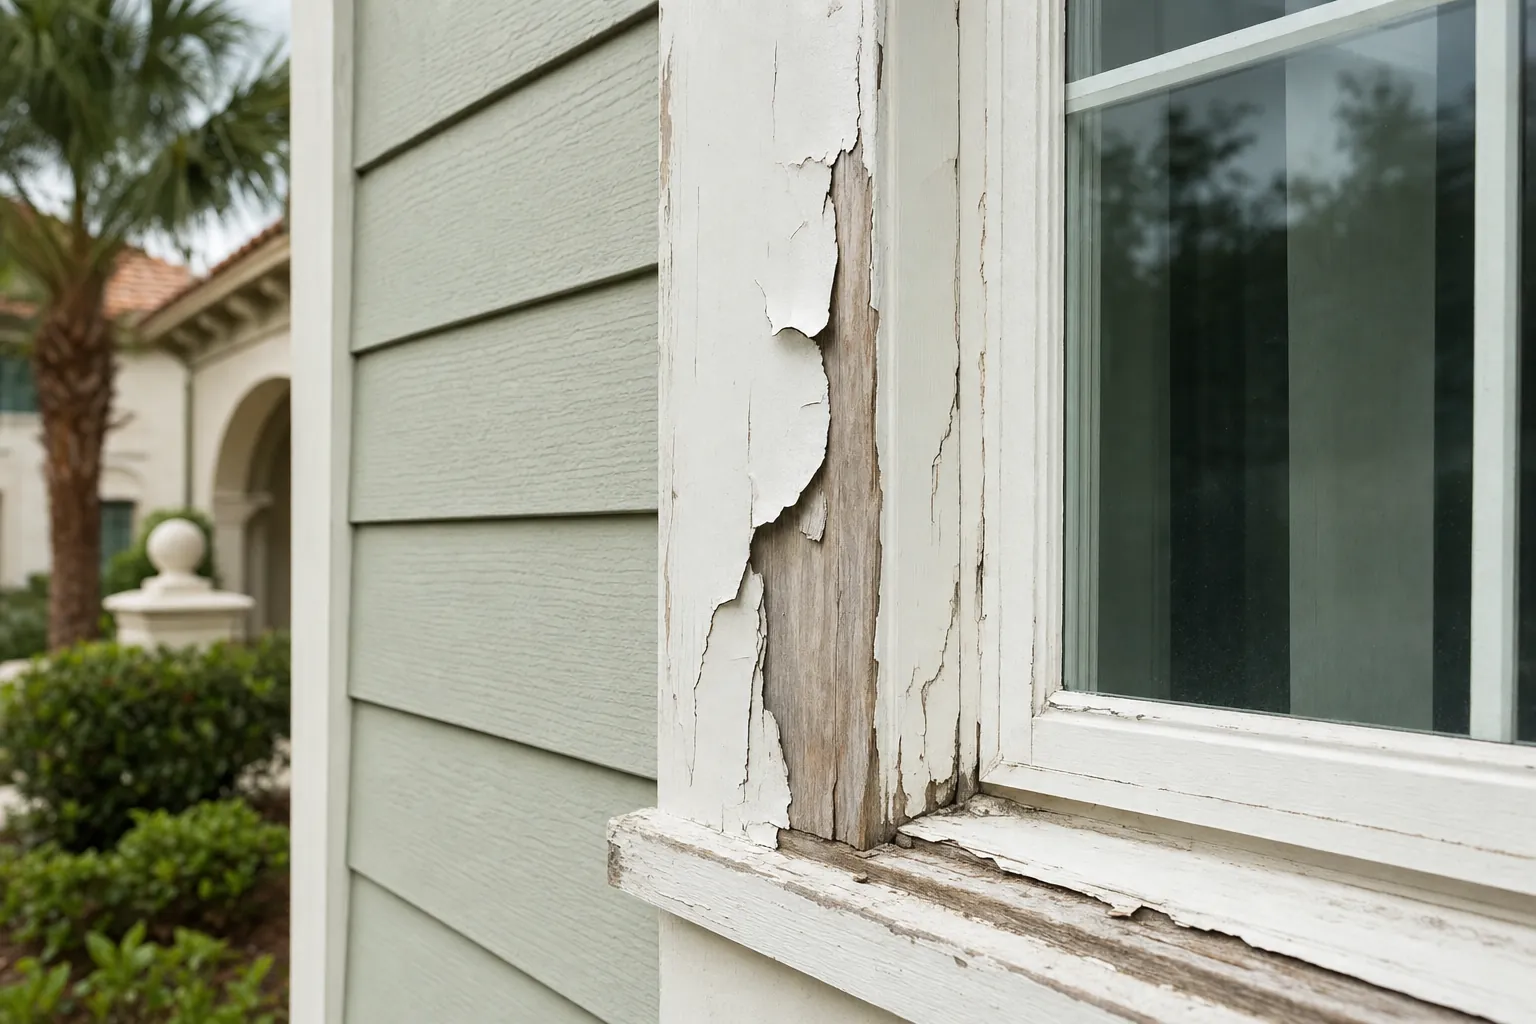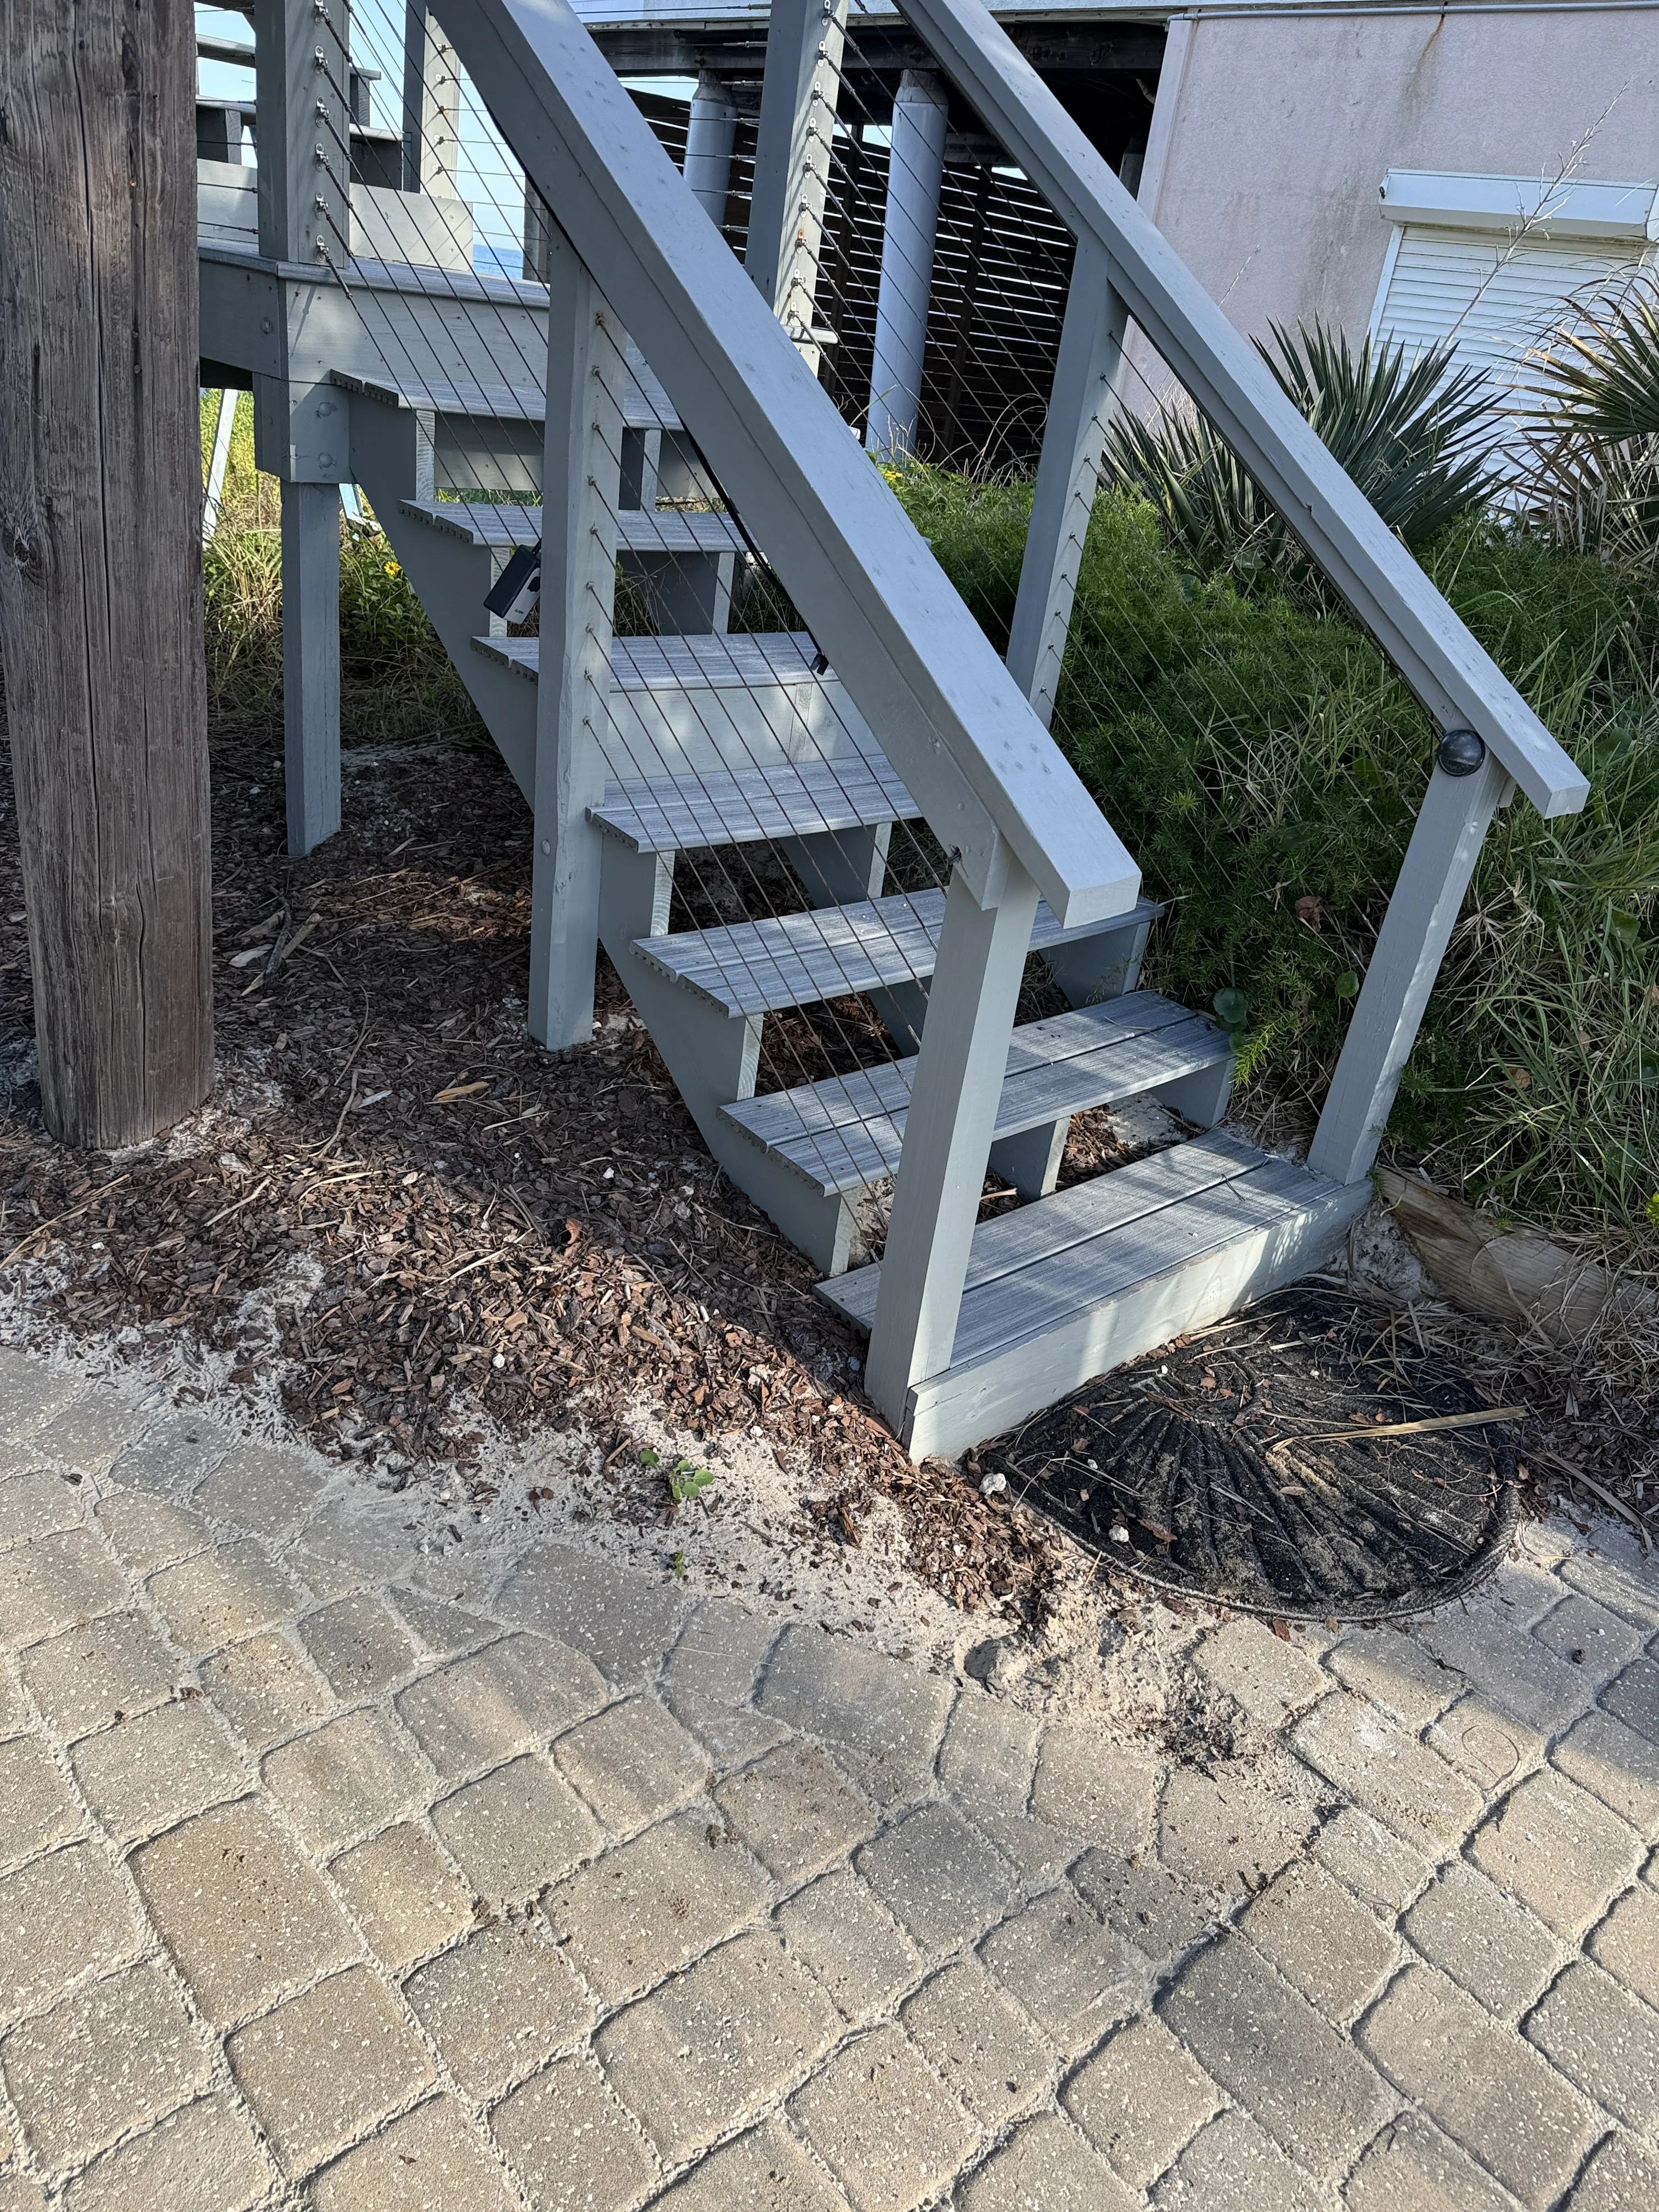
A deck can make a backyard feel finished, but it is also one of the hardest-working exterior surfaces on a Florida home. It takes direct sun, sudden rain, wet shoes, furniture, pollen and, near St. Augustine, coastal air. A good staining job starts with the condition of the boards and the weather window, not the color on the can.
This guide explains how to stain a deck without rushing the steps that determine whether the finish holds up. It is useful whether the deck needs a maintenance coat or you are deciding whether its condition calls for cleaning, repair or a more involved refinishing plan.
Step 1: Inspect the Deck Before Buying Stain
Walk the deck slowly in daylight. Look across the boards for fading, rough fibers, splinters, cupping, dark staining and areas where the old finish is lifting. Check stair treads, board ends, rail bases, fasteners and the spots under planters or outdoor rugs. Those places often hold moisture longer than the open middle of the deck.
Press gently on anything that looks questionable. Soft, crumbling or deeply split wood needs repair or replacement before stain goes on. So do loose railings and proud fasteners. Stain helps protect sound wood. It cannot make a weakened board solid or a loose handrail safe.
Next, consider what is already on the deck. A penetrating stain, a solid stain and a painted surface do not all accept a new finish in the same way. The goal is not to strip a sound finish just for the sake of it. The goal is to remove loose material and prepare the surface for the product you actually intend to apply.
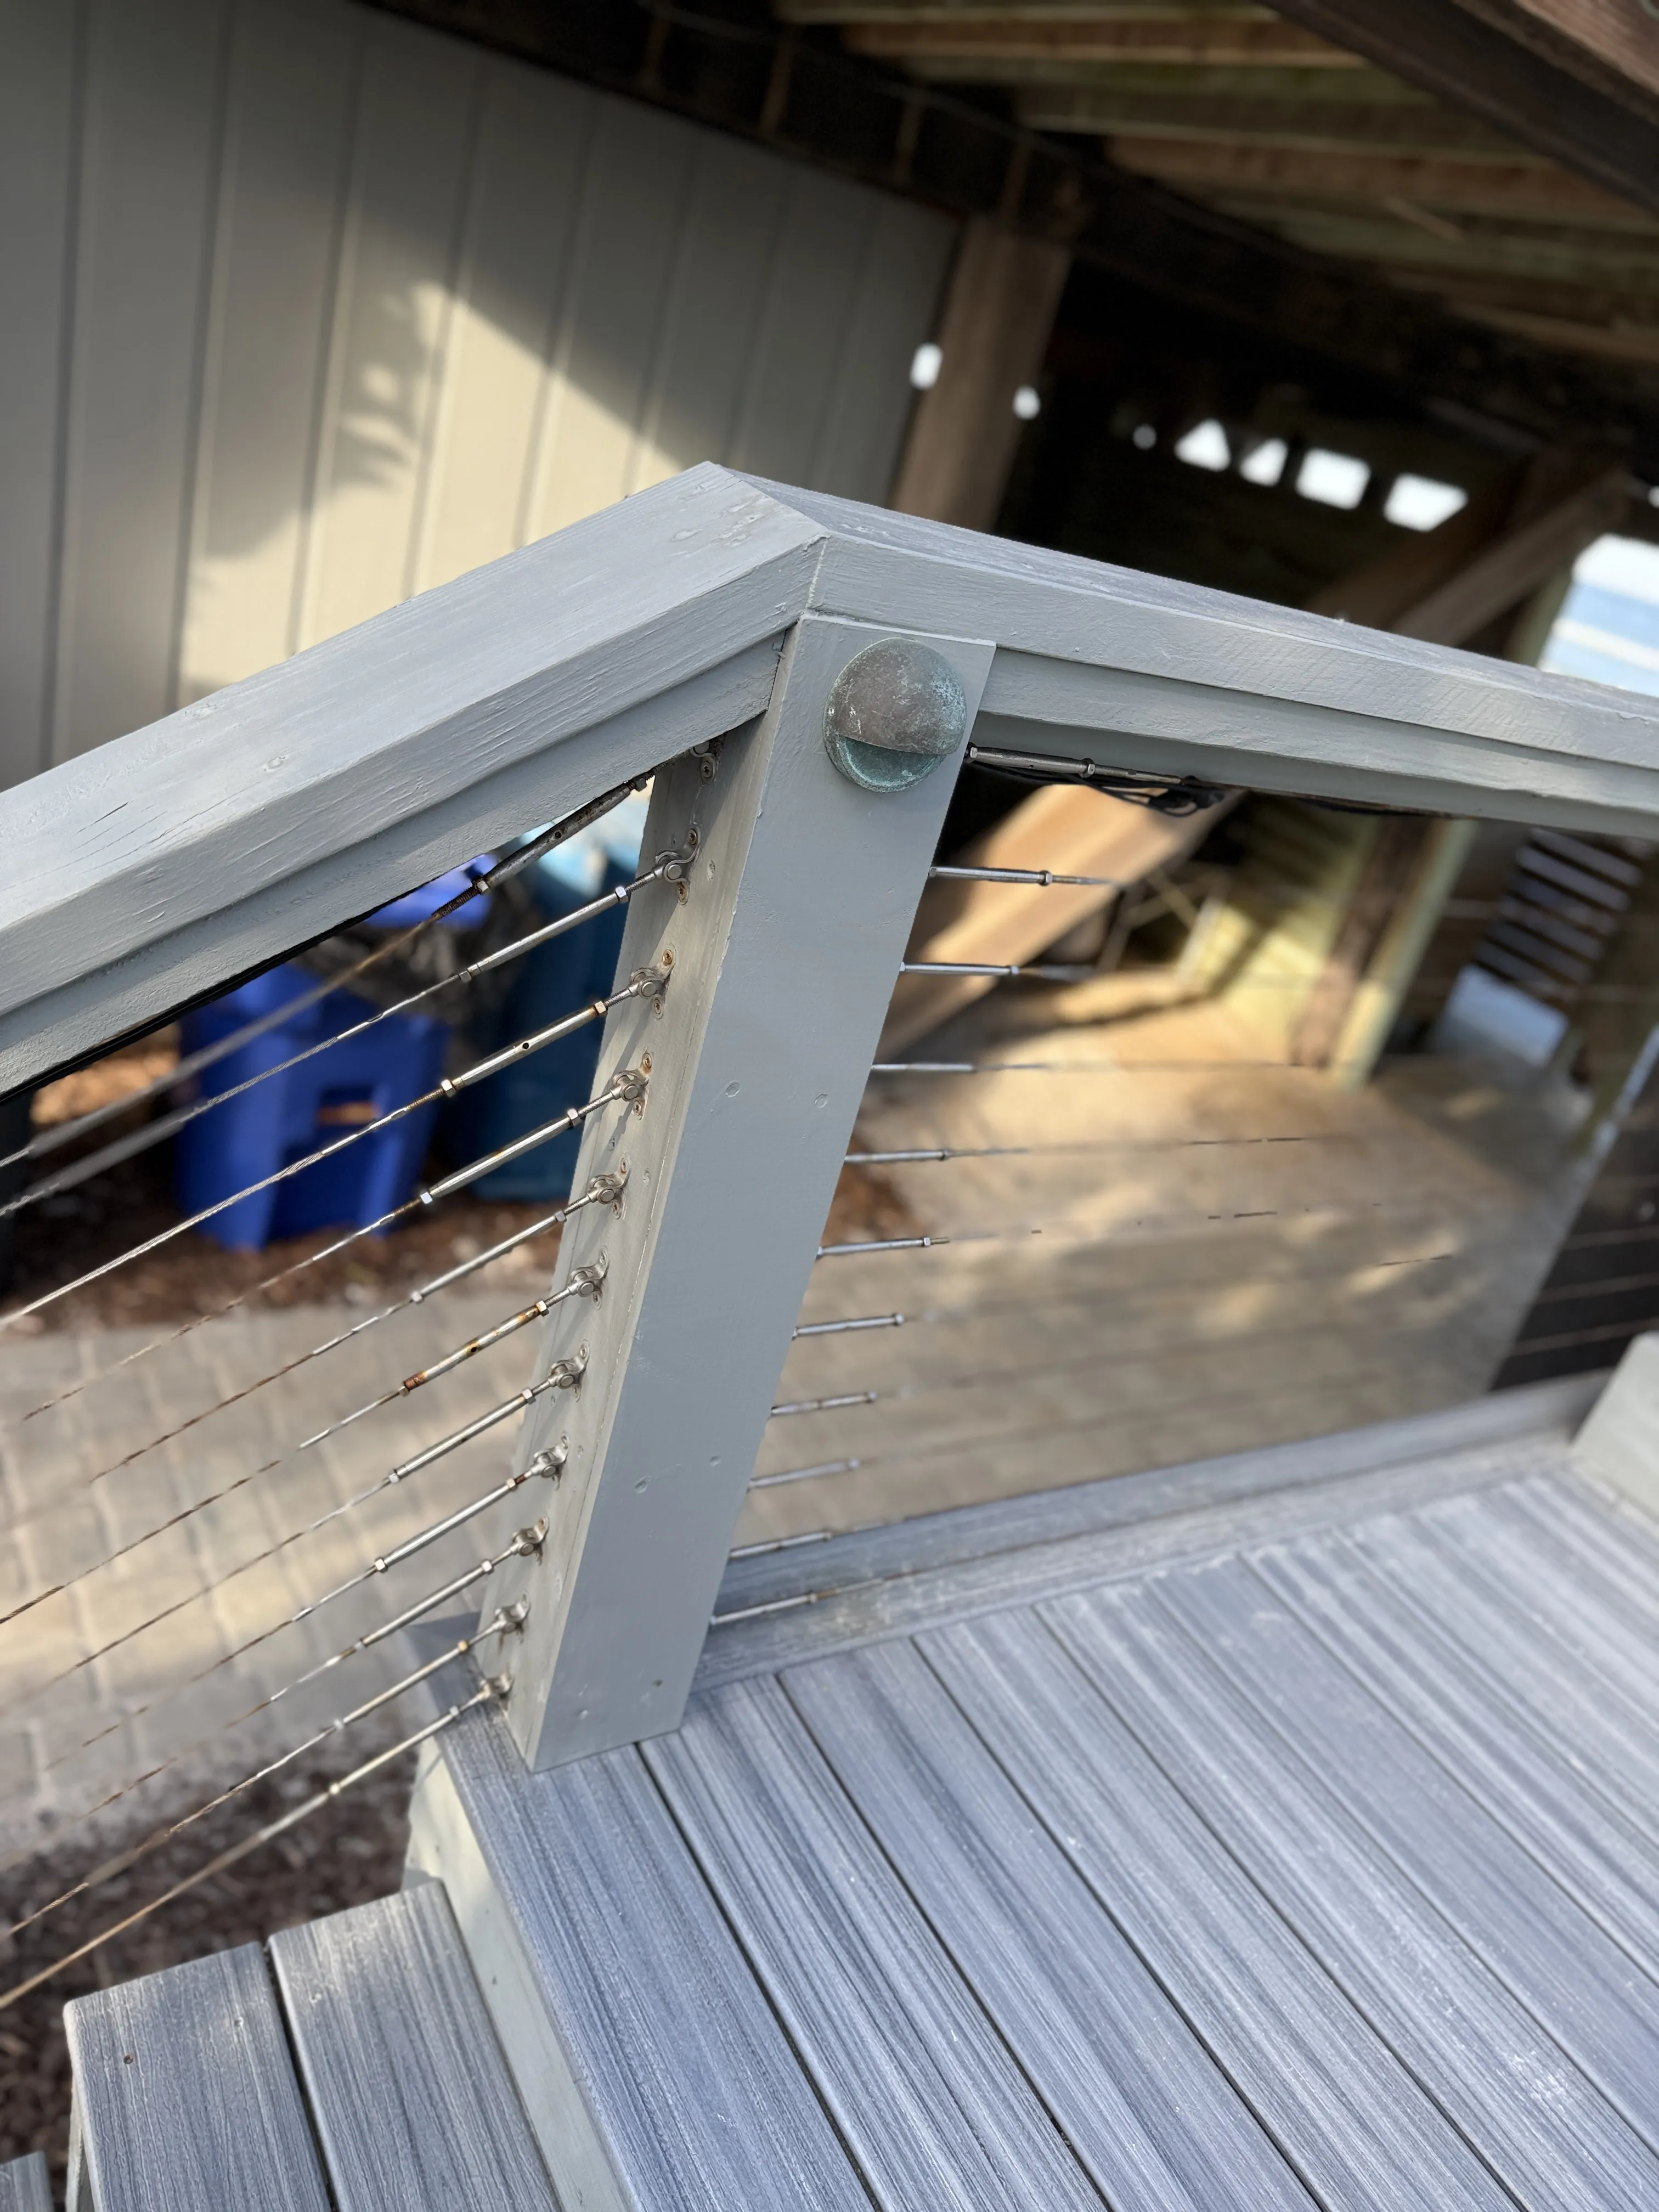
Step 2: Choose a Finish That Fits the Wood
Deck stains range from more transparent finishes that leave more grain visible to solid finishes that give weathered boards more uniform coverage. The right choice depends on the wood's condition, the look you want and the coating already present. A deck with attractive, sound grain may suit a more transparent finish. An older deck with repairs, uneven color or widespread weathering may need more coverage.
There is a tradeoff. More transparent products can show the wood beautifully, but sun-exposed walking surfaces may need more frequent attention. A solid finish can create a more even result on aged wood, yet it also demands sound preparation because a failing surface below it can take the new coating with it.
Before committing, test the stain in a small, inconspicuous area and let it dry. Sherwin-Williams makes the same practical recommendation in its new-deck staining guidance. A test patch shows how the product looks on your actual boards, not on a display sample.
Step 3: Plan Around a Real Dry Window
Florida weather rewards patience. A clear morning does not guarantee that the deck is dry enough, and a forecast with no rain for a few hours is not necessarily enough time for fresh stain to set. Check recent rain, the chance of afternoon showers, the overnight dew point, humidity and how much direct sun the deck receives.
A deck can look dry while moisture remains at board ends, in joints, below furniture or on the shaded side of the structure. The Home Depot's current deck-preparation guide also stresses a dry weather stretch and warns that direct sun can dry stain too quickly. Read the exact label for the stain and cleaner you use, because their temperature, coat and cure instructions control the job.
If the forecast is marginal, use the time to clear furniture, arrange supplies and identify repairs. Applying stain into a poor weather window usually creates more work than waiting for a better one.
Step 4: Clear, Clean and Let the Deck Dry
Move furniture, grills, planters and rugs. Sweep leaves, sand and debris from the boards and gaps. Then clean the deck using a product and method appropriate for the existing finish and wood condition. Cleaning is not just cosmetic. It removes the contaminants that can keep the stain from contacting the wood evenly.
Use a pressure washer carefully, if it is appropriate for the job. Too much pressure or an aggressive tip can roughen wood fibers and force water where it does not belong. A cleaner and scrub brush can be the better route for some decks. Follow the cleaner's directions exactly, protect nearby plants as directed and rinse thoroughly.
Then let the wood dry completely. Do not decide based only on the top face of a sunny board. Check shaded edges, gaps, stair corners and end grain. The Southern Pine Association notes that finishing decisions should account for whether treated lumber has had time to dry, not simply how long it has been installed. Its deck finishing and maintenance guidance is a useful reminder that wood and finish type affect the timeline.
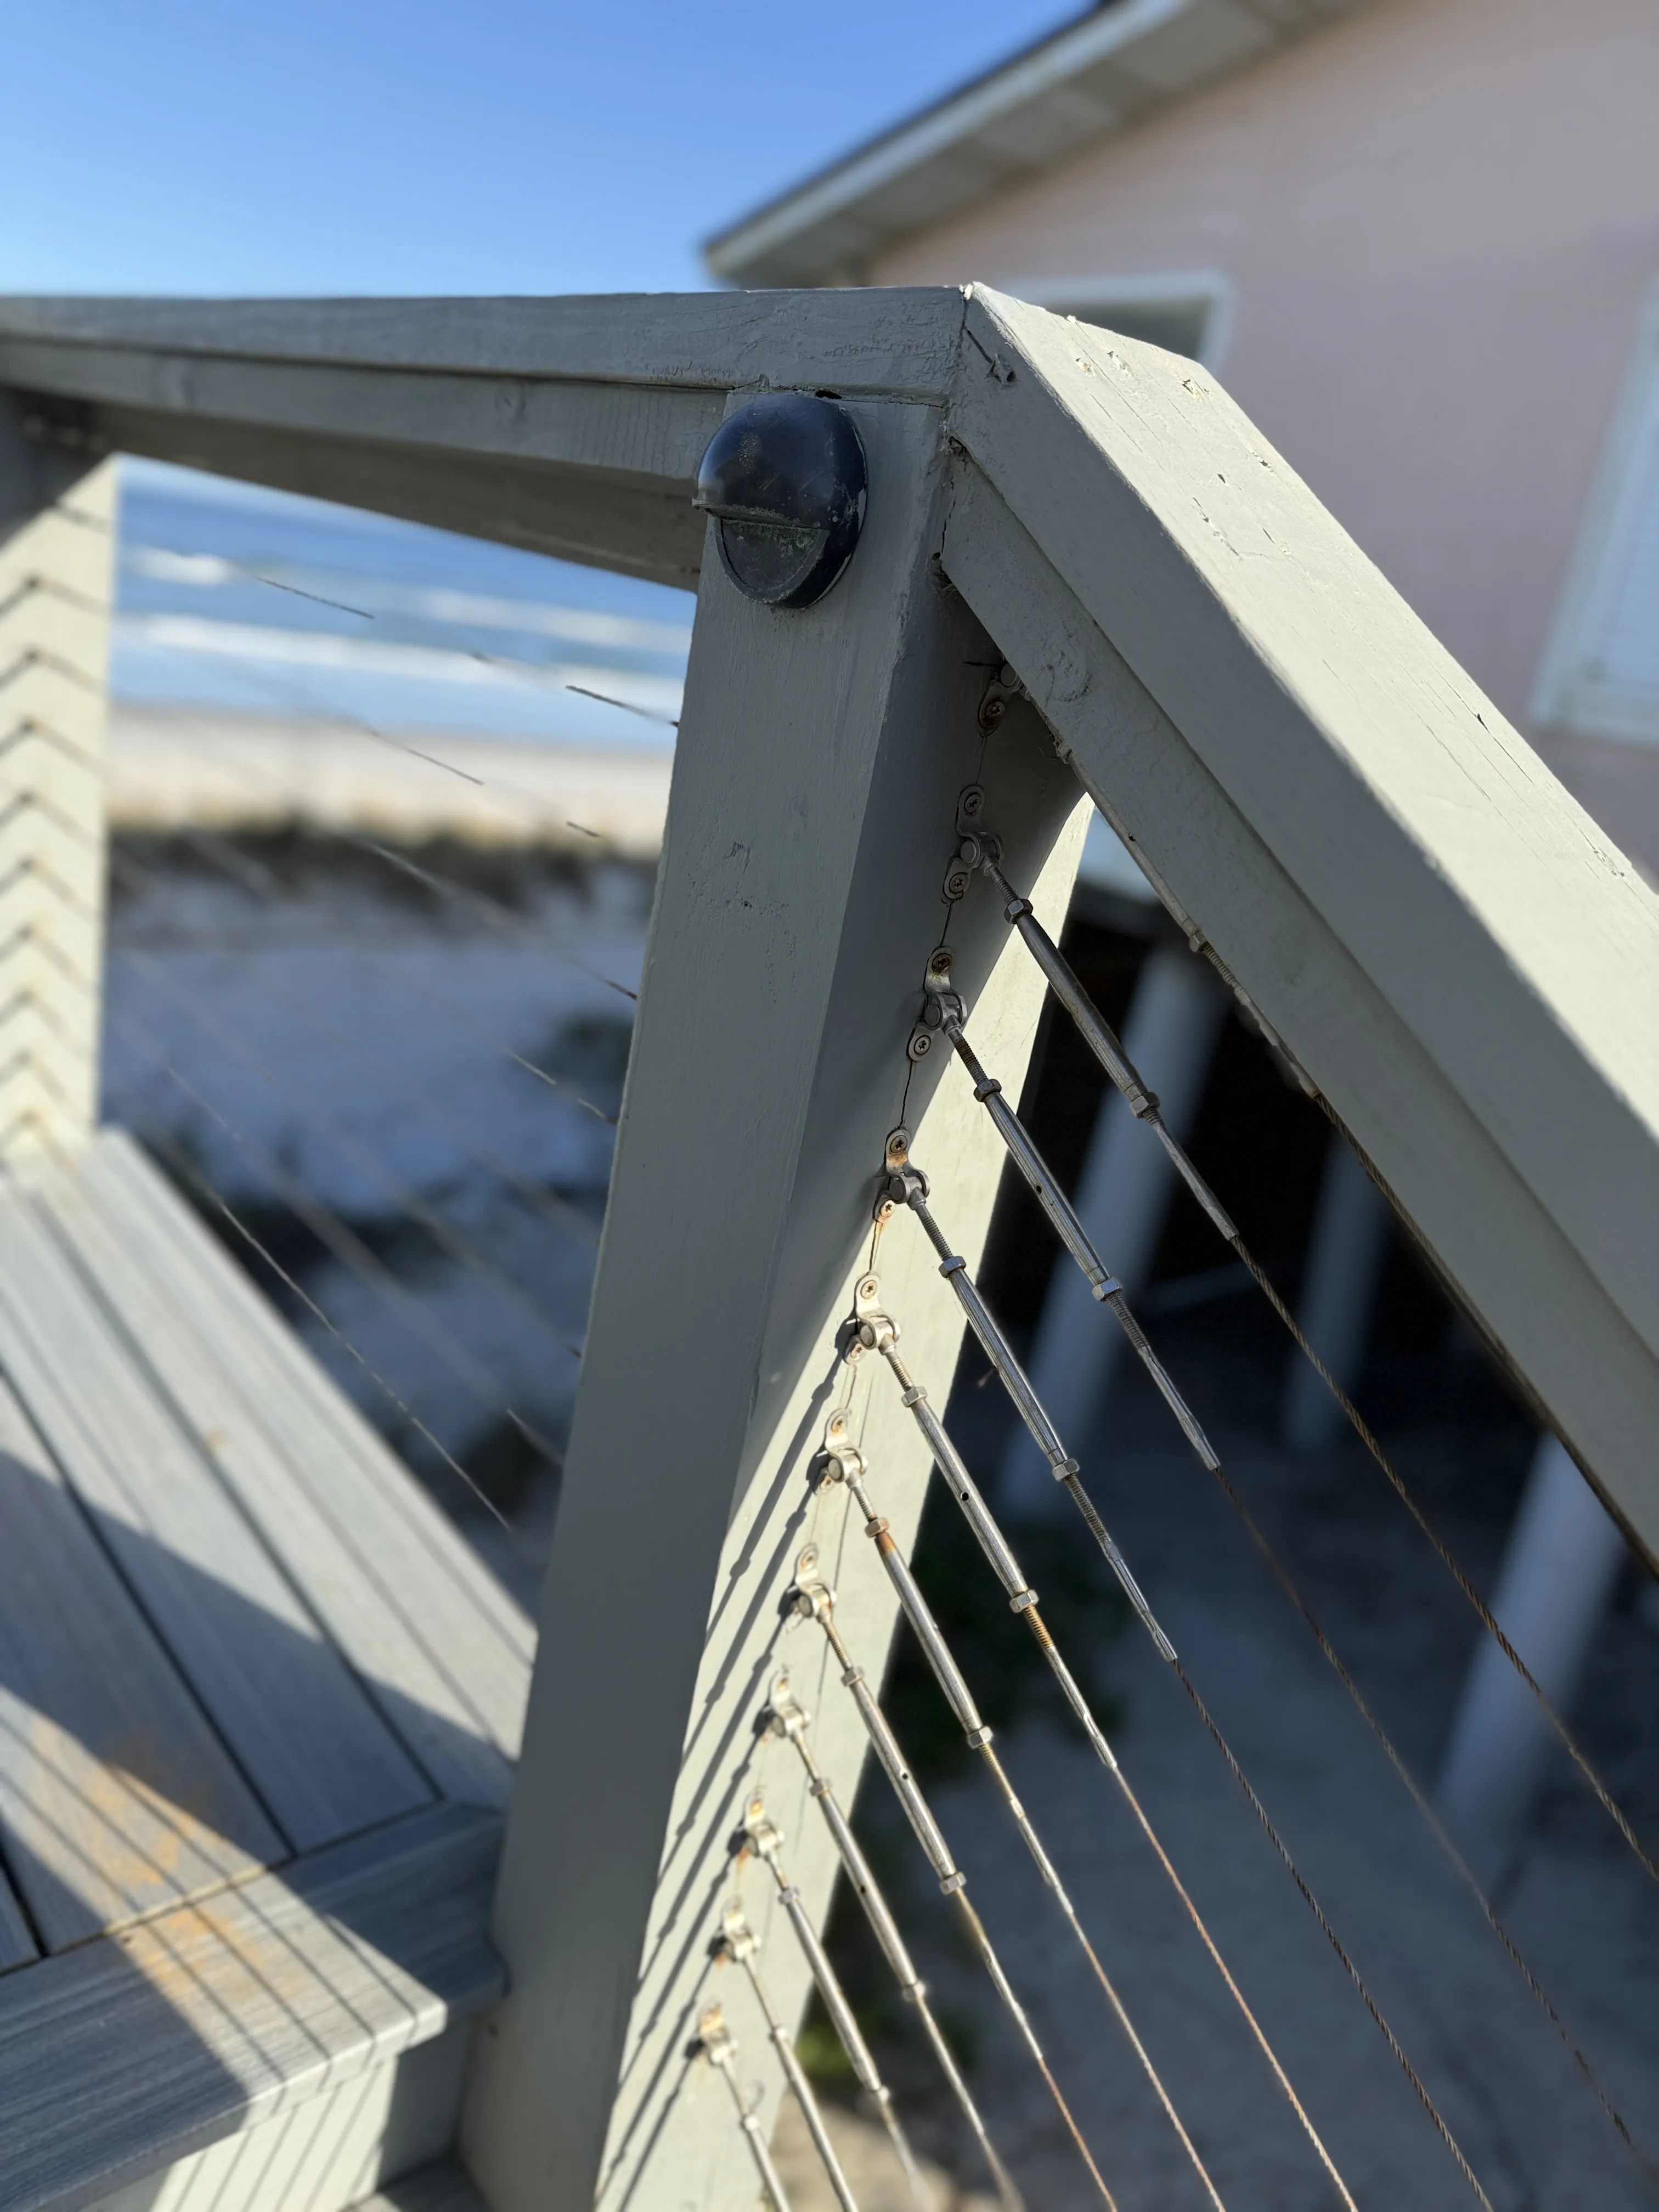
Step 5: Sand Only Where It Helps
Sanding is useful for raised fibers, rough traffic areas, loose finish edges, bare repairs and spots where a prior coating needs to be feathered smooth. It is not an automatic requirement to sand every square inch of a deck. The exact preparation should match the product system and the condition of the boards.
Keep the work controlled. Smooth the areas that need it, then remove all dust before staining. Aggressive sanding can change the surface enough to affect how a stain absorbs, while skipping obvious rough or lifting areas can leave the new finish looking uneven. If the old coating is peeling across most of the deck or the compatibility is unclear, stop before buying more product and plan the preparation first.
For homes built before 1978, pause before sanding or scraping older coatings. The EPA's renovation and repair guidance explains the risks of lead dust when older paint is disturbed.
Step 6: Apply Stain in Manageable Sections
Stain a small, continuous section at a time, working with the length and grain of the boards. Begin with edges, rail details and tight areas that need a brush, then keep a wet edge on the main walking surface. The aim is even coverage, not a heavy surface layer.
Do not flood the wood to make the color look darker. Too much product can puddle, dry unevenly or stay tacky. Follow the label's coverage rate and coat instructions. If you are spraying, back-brushing is important for working stain evenly into the grain, as noted in Sherwin-Williams' deck-stain application guide.
Keep an eye on the whole area as you work. Rail posts, board ends, stairs and the shadow line beneath a railing can absorb differently from open horizontal boards. Fix an obvious thin spot while the section is still workable instead of returning later with a small patch that may not blend.
Keep a simple order so you do not paint yourself into a corner: details first, then the main deck boards, working away from the exit. Plan where the tray, brush and cleanup supplies will sit before you begin. A calm sequence makes it easier to maintain a wet edge and notice an area that has taken too much product before it begins to set.
Step 7: Give the Finish Its Full Dry Time
Dry to the touch is not the same as ready for shoes, furniture, pets or a sudden rinse from the hose. The exact return-to-service time depends on the product, coat thickness, temperature and humidity. Keep foot traffic and furniture off the deck for the period stated on the product label, and give it extra room when the conditions have been damp or cool.
Do not test a fresh finish by dragging chairs, setting down planters or putting down a rug early. Those simple actions can mark a coating that still needs time to harden. If rain arrives before the finish has had the protection time the manufacturer requires, let the deck dry and inspect it before assuming another coat is the answer.
New Decks and Older Decks Need Different Starting Points
A newly built deck is not automatically ready for stain just because the boards look clean. Pressure-treated lumber can hold moisture from treatment and storage, and new boards can behave differently from a deck that has already been exposed through a Florida summer. Check the stain manufacturer's guidance for new wood, then test a small area rather than using the installation date as the only measure of readiness.
An older deck has a different set of questions. Look for a mix of worn traffic lanes, sun-bleached boards, prior stain, repairs and sections that have stayed damp beneath furniture or close to the house. A deck with a mostly sound, compatible finish may need a thoughtful cleaning and maintenance coat. A deck with widespread peeling or a thick, failing surface layer may need much more preparation before it can accept a new finish evenly.
This is also where the water check can be useful. On a clean, dry section of bare or weathered wood, sprinkle a small amount of water in several spots. If it quickly darkens and absorbs, the wood may be ready to take in a protective finish once the rest of the preparation is complete. If it sits on the surface, that can point to remaining sealer, moisture or a surface that still needs attention. It is a simple observation, not a substitute for the product label or a moisture reading when the project is uncertain.
Do not try to make every board look identical before deciding what work is necessary. Natural wood varies, especially after weather exposure. The important standard is a clean, dry, stable surface and a finish system that suits it. Chasing a perfectly uniform color by piling on stain can make the final result less even, not more.
Common Deck-Staining Mistakes to Avoid
Staining damp wood. This is a common Florida shortcut. Surface moisture, recent washing, overnight dew and shaded areas can all change how the finish performs.
Skipping the wood check. Stain can freshen the appearance of sound boards, but it does not correct rot, loose connections, failed fasteners or a drainage problem that keeps returning.
Choosing a color before choosing a system. Start with the condition and prior coating. A beautiful color choice cannot overcome a product that is incompatible with the surface beneath it.
Applying too much stain. A deck does not get better protection simply because more product remains on top. Follow the product's coverage and wipe or spread excess as directed.
Forgetting the weather after application. The next rain, evening dew and humidity matter as much as the first hour of application. Build the whole forecast into the plan.
A Simple Deck-Staining Checklist
Before the project day, confirm the stain is intended for your deck material and existing finish, read its cleaner, application and cure instructions, and check a forecast that covers the time before and after application. Gather a broom, appropriate cleaner, hose, brush or pad, small detail brush, protective gloves and anything needed to keep the work area clean.
On the day, inspect the deck once more, remove furniture and debris, clean it thoroughly, and let it dry as long as the real conditions require. Repair unsafe or damaged areas before finish work. Sand only where the surface needs it, then remove dust. Test the stain in a small area, apply thin, even coats as directed, and protect the deck from traffic, rugs and furniture until the product says it is ready.
Afterward, add a quick annual inspection to the home-maintenance routine. Sweep away leaves, check the areas under planters and rugs, look for water that collects in the same place, and take a few photos if a stain, split or finish failure seems to be growing. A small observation now can prevent a larger repair conversation later.
When a Professional Deck Assessment Helps
A homeowner can handle routine cleaning and a straightforward maintenance coat when the deck is sound and the product instructions are clear. It makes sense to ask for a closer look when the project includes widespread peeling, soft or split boards, loose railings, recurring water damage, difficult access or an old finish that is hard to identify.
Good Fellas can connect deck refinishing with the repair work around it, so the plan begins with what the deck needs rather than just the color you want. The deck staining service and the Vilano Beach refinish and repair project show the kind of careful, condition-first approach that helps a coastal deck look right and stay protected.
When you are ready to discuss your deck, request a quote with daylight photos of the full deck and close-ups of peeling, soft spots, stains or loose details. Those details make the first conversation more useful.
Frequently Asked Questions
What is the best time to stain a deck in Florida?
Choose a stretch of dry weather that meets the exact stain label's temperature and drying requirements. In Florida, that means checking recent rain, morning dew, humidity, direct sun and the time the fresh finish needs before the next shower. The calendar matters less than a genuinely dry deck and a dependable weather window.
Can I stain a deck after pressure washing?
Yes, after the wood is clean and thoroughly dry. Washing can leave moisture in board gaps, end grain, shaded areas and around rail posts even when the walking surface looks ready. Follow the cleaner and stain instructions, then give the deck the time its actual conditions require.
Should I sand a deck before staining?
Sand only where it has a clear job: smoothing raised fibers, feathering loose finish edges, preparing bare replacement boards or removing residue the new product will not accept. A sound deck does not need aggressive sanding everywhere, and sanding dust must be removed before stain goes on.
How many coats of deck stain should I use?
Use the number of coats and the coverage rate specified for the exact product and wood condition. Adding heavy coats to make a deck look richer can leave uneven color, poor drying or a sticky surface. Test a small, inconspicuous area first and follow the label rather than a general rule.
When should I hire help to stain a deck?
Ask for an assessment when boards are soft, railings are loose, old finish is peeling widely, water keeps collecting in one area or the deck needs repairs before refinishing. Those are condition questions first, not just stain-color decisions.