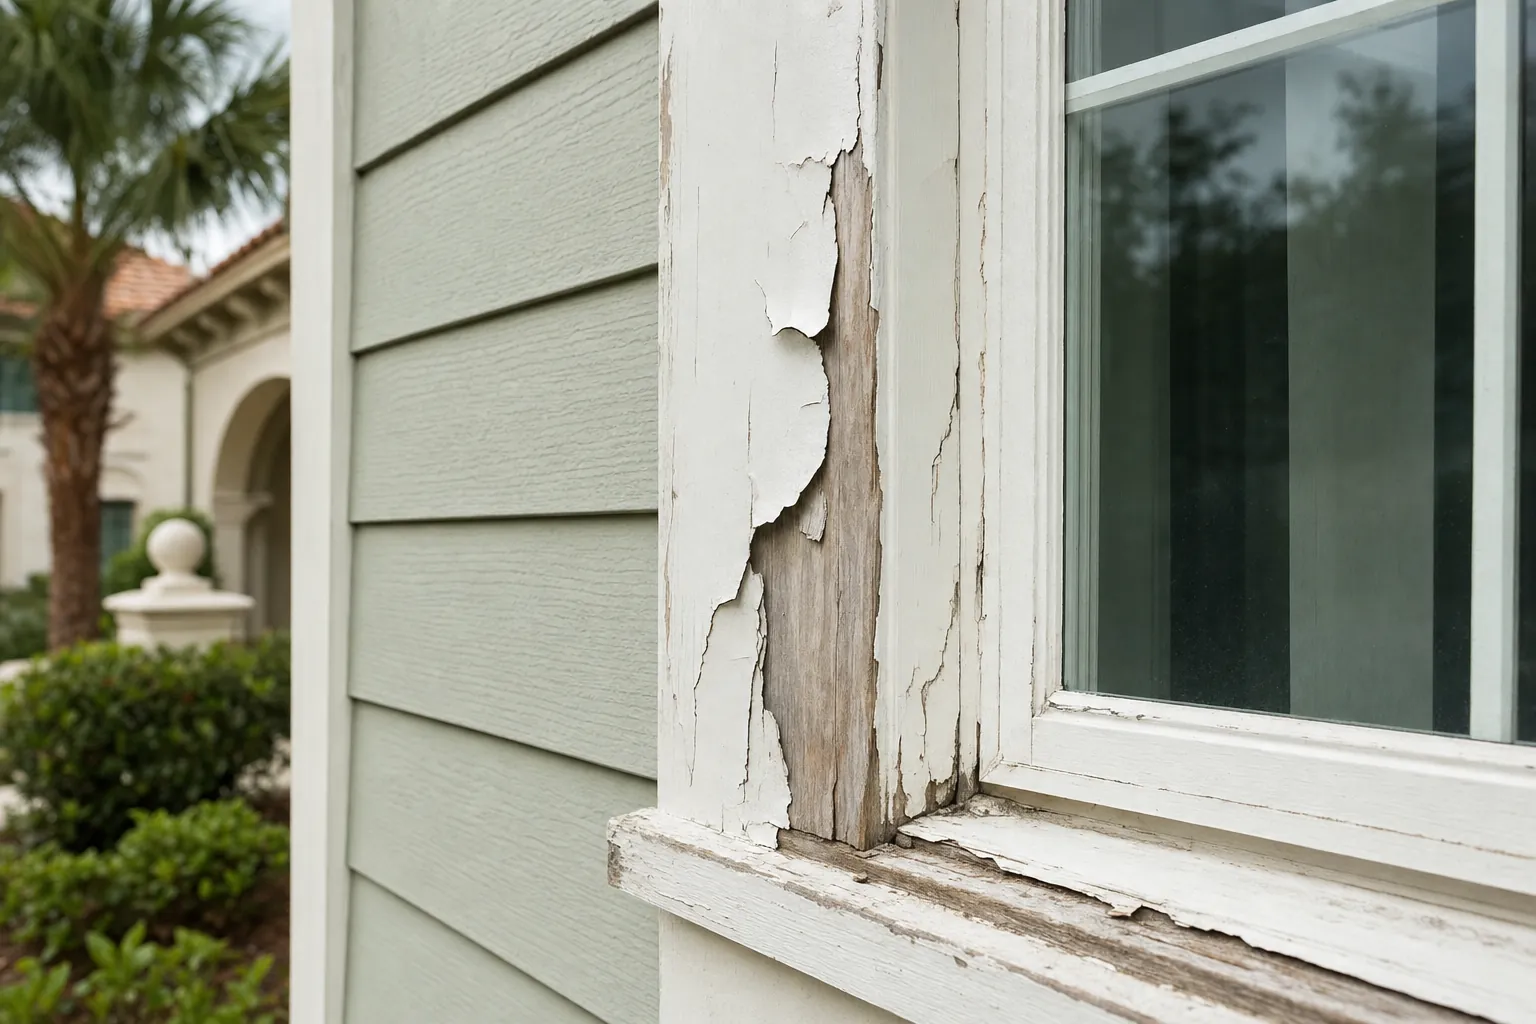
Peeling paint is frustrating because it makes a house look neglected fast. The fix is rarely just to brush on another coat. Paint peels when it loses its grip on the surface below, and that can happen for several reasons: moisture reached the material, the old paint was not properly prepared, the surface was dirty or chalky, the coating was applied outside its stated conditions, or the wood and caulk beneath it need attention.
The good news is that a small, early failure can often be repaired before it spreads. The key is to slow down long enough to find the reason it failed. Florida homes see intense sun, humid stretches, afternoon rain and coastal air, so the same trim edge can be under more pressure than a sheltered wall. A lasting repair starts with the condition of the surface, not the color of the new paint.
The Short Answer: Remove Loose Paint, Find the Cause, Then Rebuild the Surface
To fix peeling exterior paint, first remove every loose edge until you reach paint that is firmly bonded. Then look closely for water, open caulk, soft wood, mildew, chalking or a preparation issue that explains why the paint let go. Clean and dry the area, repair the material if needed, prime exposed wood or other bare substrate when the paint system calls for it, and apply the finish only when the product instructions and weather window support it.
That order matters. Scraping alone can make the spot look cleaner, but it does not stop the next coat from failing if water is still entering at a joint or the wood beneath is starting to break down. Sherwin-Williams' surface-preparation guidance makes the same basic point: a coating needs a clean, dry and sound surface to perform as intended.
Why Exterior Paint Starts Peeling
Moisture is often part of the story. Water can enter through an open caulk joint, an unsealed end grain, a gutter that overflows, a window edge, a roof or flashing detail, or landscaping that keeps one wall damp. It does not take a dramatic leak for paint to lose adhesion. Repeated wetting, slow drying and trapped moisture around trim can do enough damage over time.
Sun and heat work on exposed surfaces. Florida light can age the most exposed elevations faster than the sheltered sides of the house. When paint becomes brittle, thin or chalky, it has less flexibility around trim joints and wood movement. Direct sun also makes timing important during a repair. The hot-weather painting guide explains why the temperature of the wall can matter more than the number on a weather app.
Preparation may have been incomplete. Loose paint, mildew, dirt, glossy residue, chalking and damp material all interfere with adhesion. So can applying a coating without the right primer on bare or repaired areas. A paint job may look fine at first, then begin to pull away where the surface below was already weak.
The material may be telling you something. Paint that peels from otherwise solid siding is one type of repair. Paint that peels beside cracked caulk, dark staining, a spongy sill or deeply weathered trim is a different conversation. In that case, fixing the paint without fixing the material usually spends money twice.

Decide Whether It Is a Touch-Up or a Repair
Start by looking beyond the flake that caught your eye. Press gently around the edge of the peeling area. If the surrounding paint stays tight and the wood feels firm, the problem may be limited. If paint keeps lifting in sheets, the surface is powdery, the trim feels soft, or the same spot has failed more than once, treat it as a larger repair rather than a quick touch-up.
Check the places where water likes to linger: the bottom of window trim, horizontal ledges, end grain, joints between boards, door frames, lower siding, areas behind shrubs and any surface below a gutter or downspout. Look for open caulk, dark stains, swollen wood fibers, fine cracks and a pattern of peeling that follows a seam or drip line.
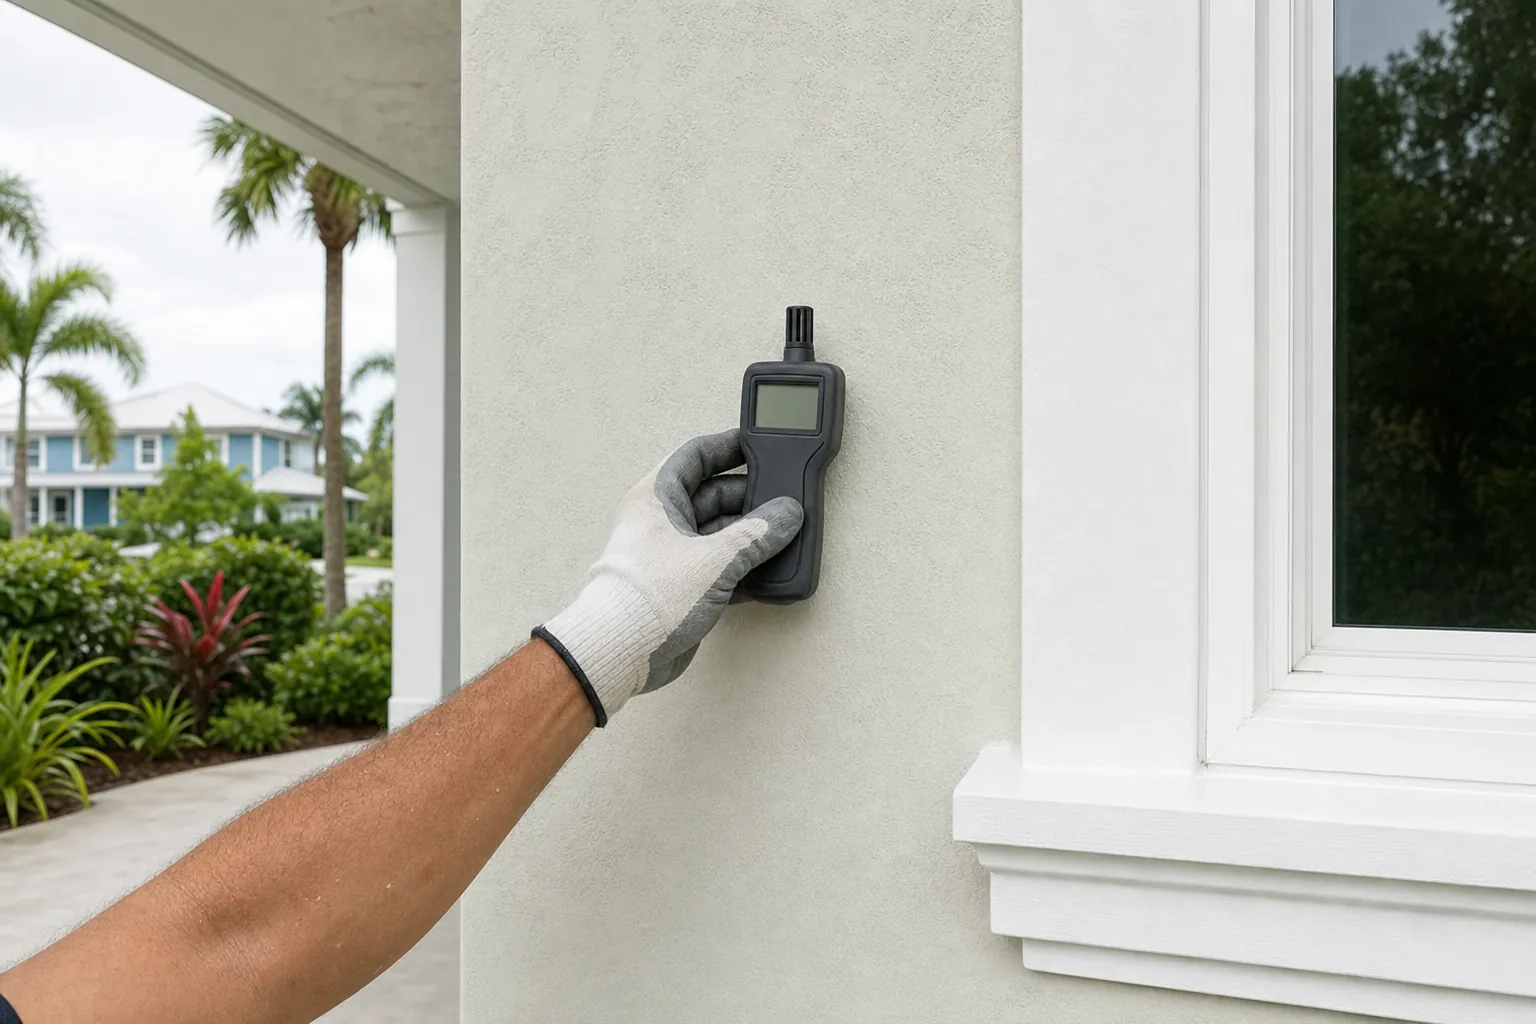
Also look at the bigger weather pattern. If the exterior was recently washed or rained on, give the material enough time to dry. A wall can feel dry in the middle while trim joints, porous stucco and shaded edges still hold moisture. The guide to painting after rain explains why that wait changes with the material, shade and recent weather.
A homeowner can often identify the condition. Finding the exact moisture path can be more involved. If there is visible rot, water staining inside the home, a roof or window concern, or a broad area of failure, it is sensible to address the source before planning the finish work.
Step 1: Set Up Safely Before You Scrape
Protect the ground, nearby plants and windows before disturbing loose paint. Wear eye protection, gloves and an appropriate dust mask. Use stable access, and do not stretch from a ladder to reach an awkward edge. A small repair is not worth turning into a fall or damaging the landscaping below.
Older homes need an extra check. For homes built before 1978, the EPA's Renovation, Repair and Painting guidance explains when lead-safe work practices apply to projects that disturb painted surfaces. Confirm that question before sanding or scraping, especially when a larger repair will create dust or debris.
Once the area is protected, keep the scope honest. A paint scraper is for removing loose paint, not for forcing a failing board to look stable. If the tool exposes soft material, a deep gap or a joint that has separated, pause and plan for the repair that surface actually needs.
Step 2: Remove Every Loose Edge
Use a scraper to remove paint that is already lifting, blistered or poorly bonded. Work from the failed area outward until the remaining paint is firmly attached. Do not leave a loose lip because it is inconvenient to reach. That edge can continue lifting under the next coat, taking the new finish with it.
After scraping, feather the transition between the sound paint and the exposed area so the repair will not leave a sharp ridge. The goal is not to sand the whole house by default. It is to create a stable, smooth transition where the new coating can bridge from sound paint to the repaired section.
Clean the area carefully after the loose material is gone. Dirt, chalking and mildew can keep a new coat from bonding. The cleaning method should suit the material. An aggressive wash or pressure setting can drive water into gaps or damage a delicate surface, so cleaning should solve the contamination problem without creating a new moisture problem.

Step 3: Repair the Surface Before You Prime
Now inspect the exposed material. Firm, dry wood with a shallow scraped area may only need sanding and a compatible primer. A small open joint may need the appropriate exterior sealant after the surfaces are prepared. A board that is soft, split, deeply checked or damaged by repeated water needs repair or replacement before paint is considered.
Do not use caulk as a substitute for a missing piece of wood or a failing assembly. Caulk has a useful job at properly prepared joints, but it is not a structural repair. Likewise, a filler belongs only where it is compatible with the material and the repair is stable. When the underlying wood continues to move, stay wet or deteriorate, a cosmetic patch will not keep the paint sound for long.
Primer belongs where the surface calls for it. Bare wood, repaired spots, exposed substrate and stained areas often need a compatible primer so the finish coat has a uniform base. Follow the instructions for the specific products being used. A complete exterior preparation plan also includes cleaning, repair and drying time, because primer cannot solve those unfinished steps either.

Step 4: Paint Only When the Surface and Weather Are Ready
Once the repair is clean, dry, sound and primed where appropriate, choose a weather window that gives the paint time to set. Read the label for temperature, surface temperature, humidity, rain exposure and recoating requirements. Those numbers are product-specific, so a general internet rule should not overrule the coating instructions in your hand.
In Florida, the weather decision is usually about more than rain. Humidity can slow drying, direct sun can overheat a trim board, and evening dew can arrive before a fresh coat has had enough time. The high-humidity painting guide walks through how to assess the surface and the full available window rather than deciding from a single forecast number.
Apply compatible coats at the recommended spread rate. Overworking a small repair, applying too heavily or rushing the next coat can create a different finish problem. Allow the product to do its job, then inspect the edges and sheen after it has had the stated time to dry.
Keep the Repaired Area From Becoming the Next Failure
A repaired spot deserves a quick check after the first hard rain and again as the seasons change. Look at the caulk line, bottom edge, window sill and any horizontal surface where water can sit. The goal is not to chase every tiny mark. It is to spot an open seam, a gutter overflow or a small paint edge before it becomes the starting point for another larger repair.
Keep plants and mulch from holding constant moisture against siding or trim. Make sure downspouts carry water away from the wall. Clean gutters before they overflow along a fascia or window edge. If the same area keeps showing mildew or peeling after a proper repair, assume there is still a condition feeding it and investigate further instead of adding another coat.
Annual exterior checks are less disruptive than waiting for a failure to become obvious from the street. Start with the most exposed sides of the house, then walk the shaded edges and trim details that dry slowly. The guide to repaint timing in Florida can help you recognize the smaller warning signs before a larger repaint or repair is needed.
Common Shortcuts That Make Peeling Return
Painting over loose edges. This hides the problem without removing it. The weak old paint is still underneath, and it can release again.
Ignoring a water path. A failed gutter, open joint, unsealed edge or recurring damp area will keep working against the new finish. Locate and correct the cause before repainting the symptom.
Skipping primer on exposed or repaired material. The finish coat needs the right base. Bare wood and repaired spots can absorb or behave differently from intact painted areas.
Rushing after cleaning or rain. A dry-looking surface is not always dry where it matters. Let the slowest-drying detail set the schedule, not the quickest wall.
Trying to turn a repair issue into a paint issue. When trim is soft or a joint has failed, the lasting answer is to repair the substrate first. A beautiful finish over a weak surface is still a weak surface.
When Good Fellas Can Help
Good Fellas approaches a peeling-paint repair by looking at the surface beneath the finish, not only the visible flake. That can mean identifying loose coating, preparing sound edges, addressing failed caulk or trim details, repairing the surface where needed, then planning the primer and finish around the weather and the home itself.
That owner-led approach is especially useful when a homeowner is not sure where a simple repaint ends and a repair begins. Browse the Vilano Beach refinish and repair project for an example of exterior maintenance planned around coastal exposure, or see the exterior painting service for the broader work Good Fellas handles. When you are ready to talk through the condition of your home, request a quote.
Frequently Asked Questions
Can I paint over peeling exterior paint?
Not until every loose or poorly bonded edge is removed and the cause of the failure has been addressed. New paint needs a clean, dry and sound surface. Coating over loose paint may look better briefly, but the weak layer can pull the new finish loose with it.
Why is the paint peeling around my windows?
Window trim often holds water at joints, sill edges and failed caulk lines. Direct sun, rain, condensation, worn wood and poor previous preparation can all contribute. Look for open joints, soft wood or repeated dampness instead of treating the peeling area as an isolated paint problem.
Do I need to prime after scraping peeling paint?
Primer is commonly useful on bare wood, repaired sections, exposed substrate and stained areas. Whether the full surface needs primer depends on the condition of the remaining coating and the paint system being used. The product instructions should guide the choice.
How do I know when peeling paint means wood repair?
Probe gently around the failed area. Soft, crumbling, split or deeply weathered wood needs repair or replacement before paint. A coating can protect sound wood, but it cannot make compromised wood solid again.
Is peeling exterior paint a sign of a leak?
It can be. Repeated peeling in one location may point to water getting in through a failed joint, gutter issue, flashing detail, window edge or another moisture path. It is worth finding that source before a repaint covers the evidence.