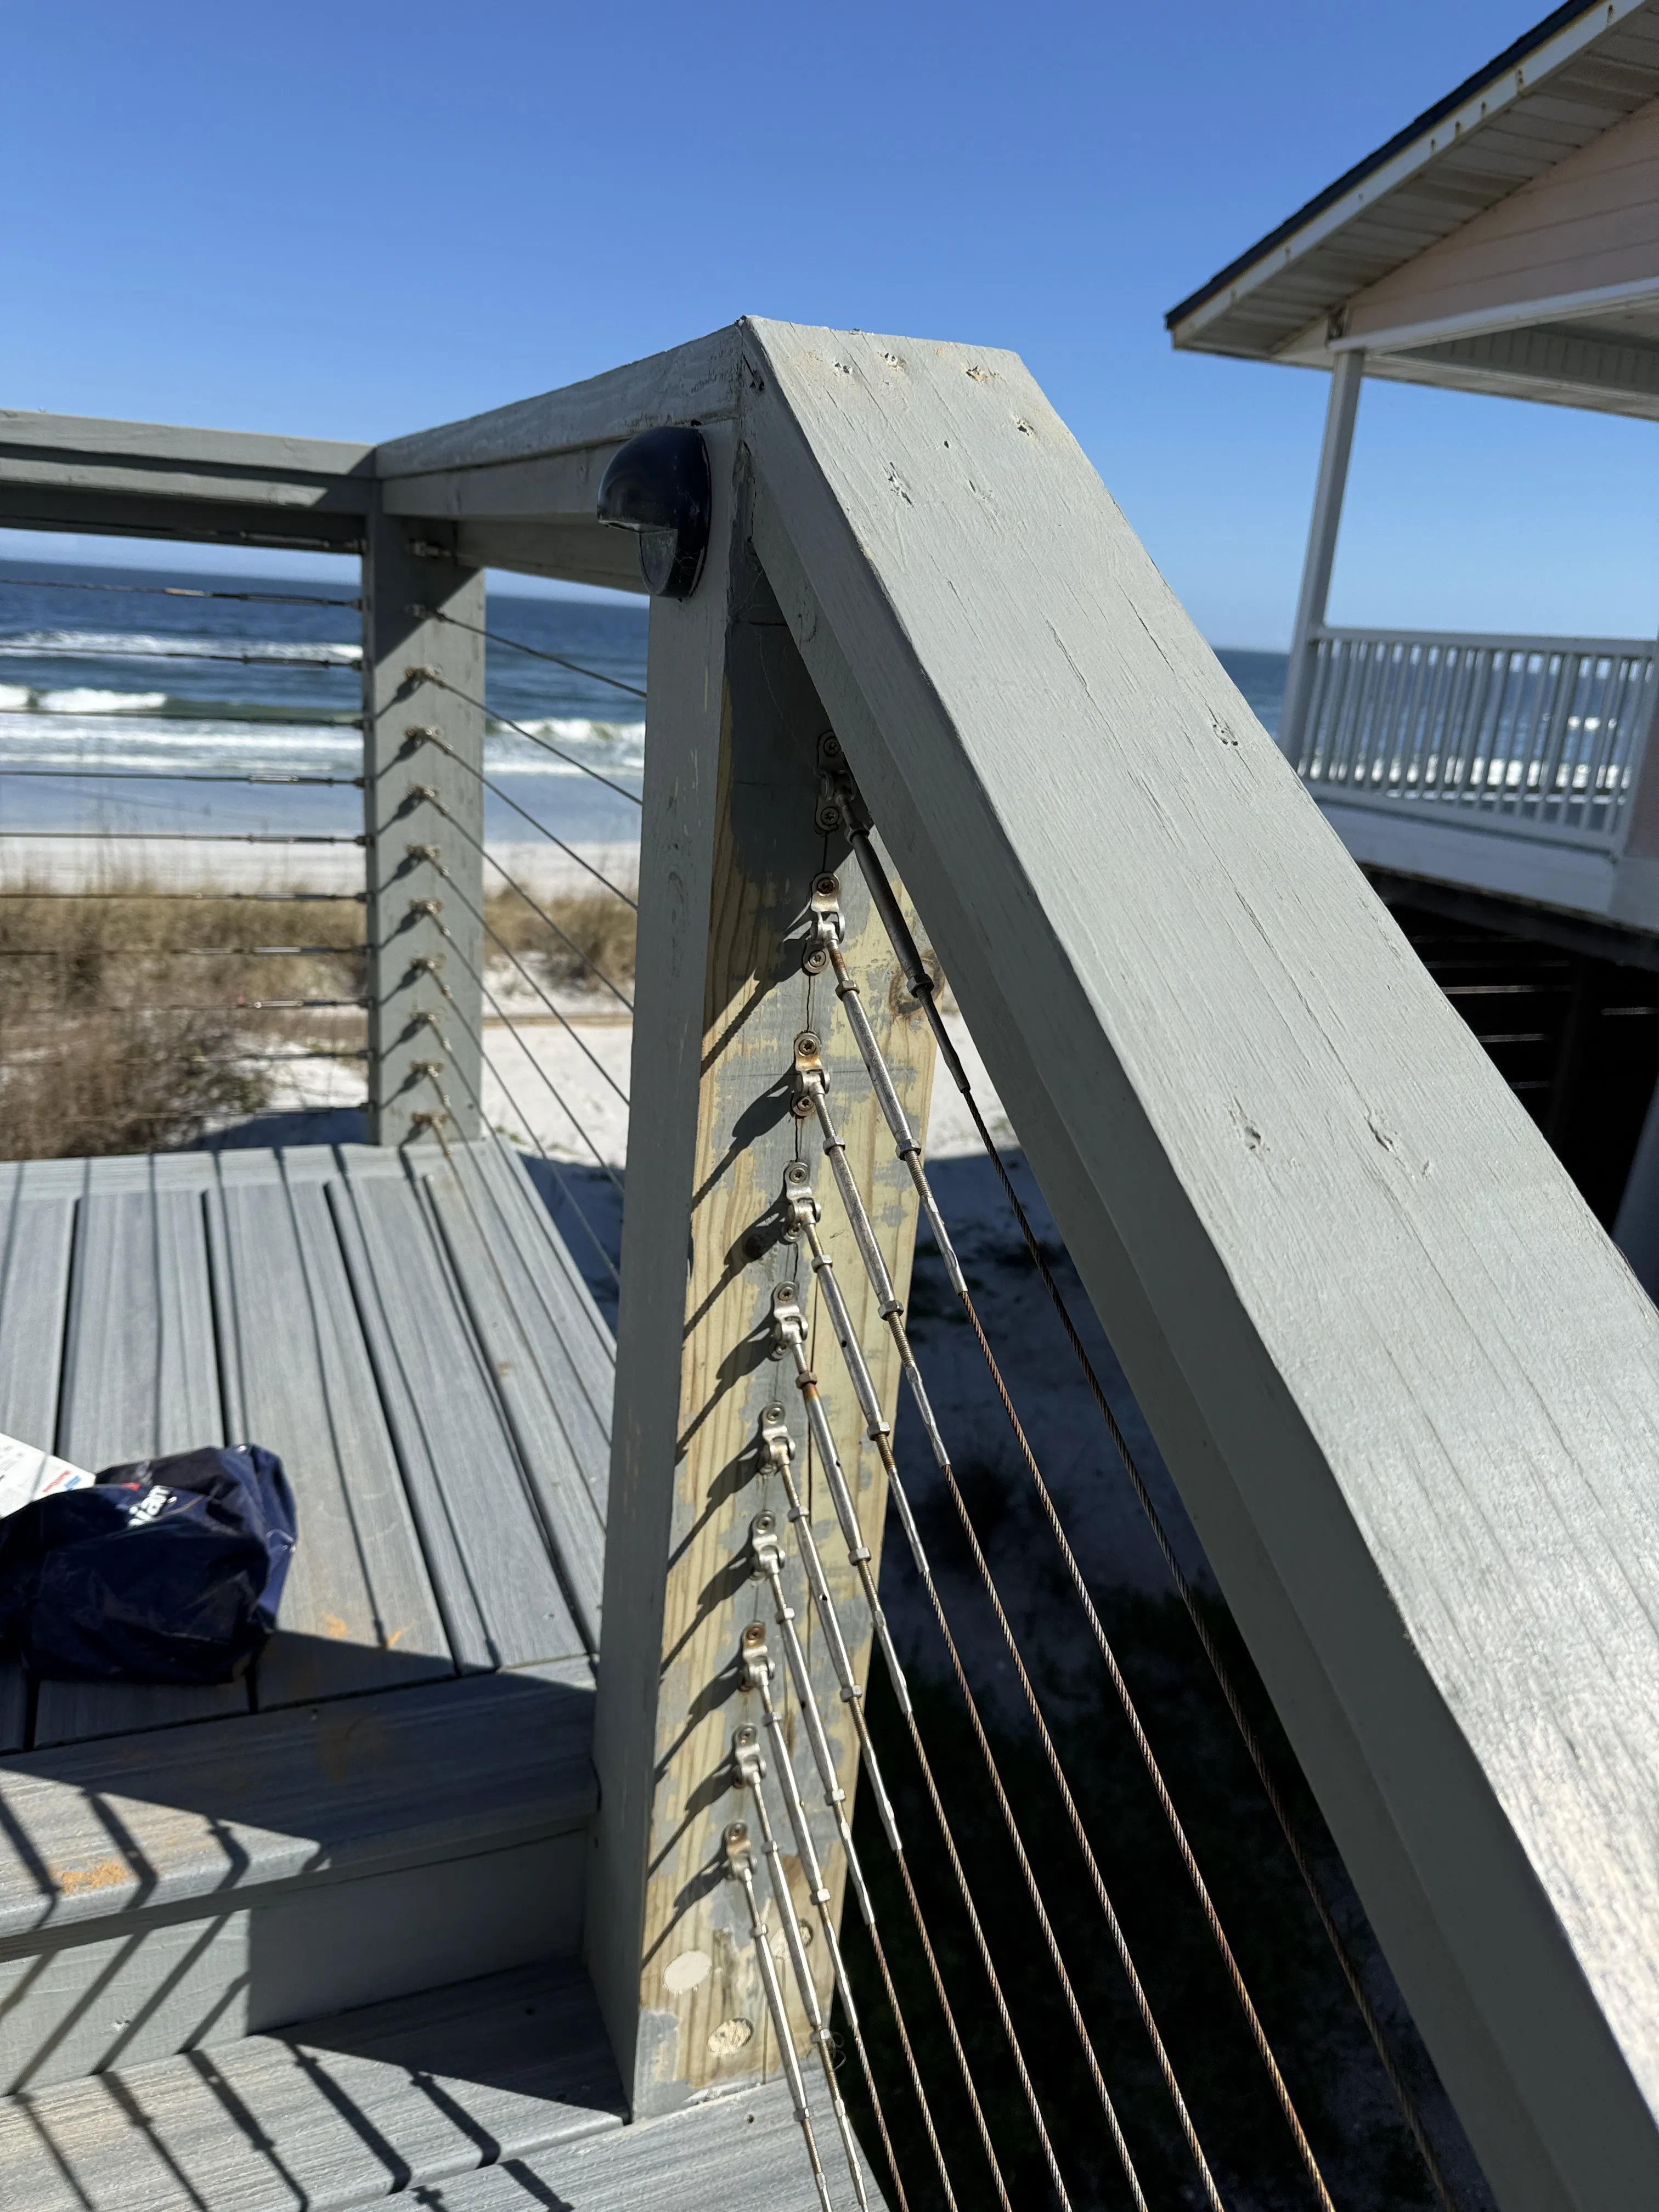
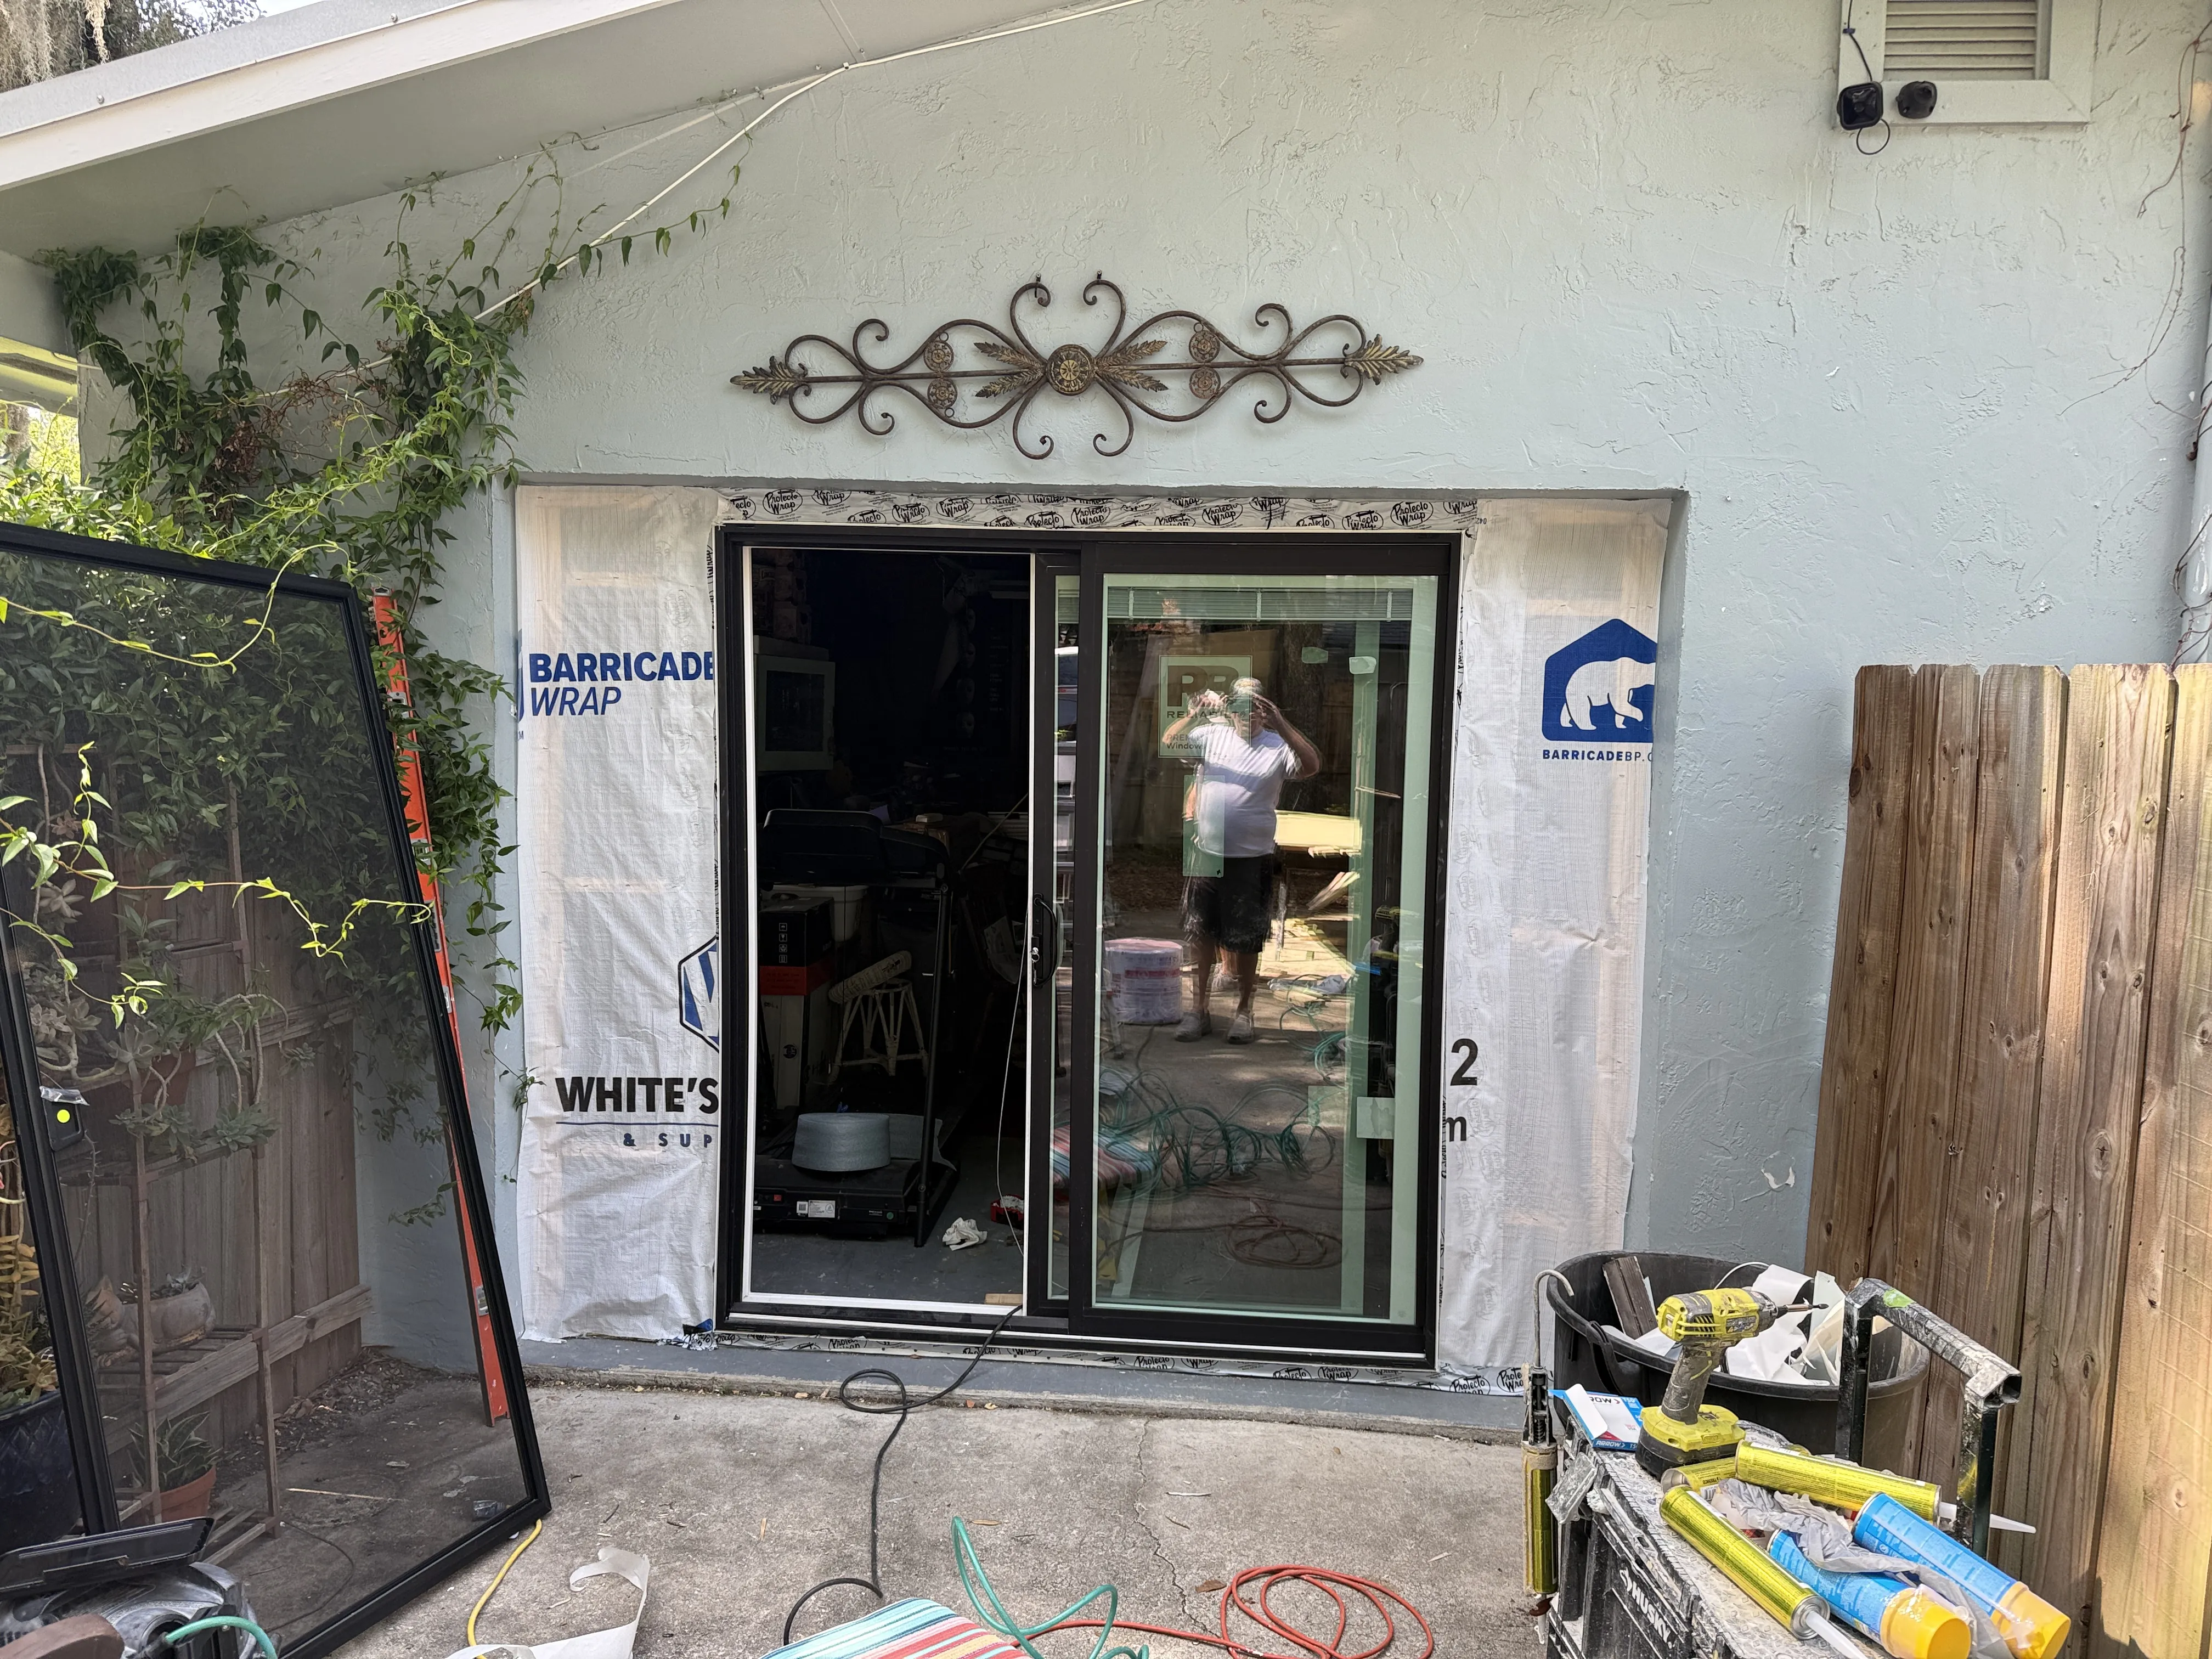
Exterior trim does more than outline a Florida home. Window and door casings, fascia, corner boards and other painted details sit at the edges where sun, rain, dew and small gaps tend to show up first. A fresh coat can sharpen the whole exterior, but it will not solve soft wood, an open joint or a moisture path that is still active.
The lasting sequence is simple: inspect the trim, correct the cause of damage, clean and prepare the surface, prime where the system needs it, then paint within a real dry window. This guide focuses on the decisions that make exterior trim painting more than a quick cosmetic touch-up.
Know What You Are Painting
“Trim” can mean several different materials around one house: painted wood boards, engineered trim, fiber cement, metal fascia, vinyl-clad details or masonry edges around openings. The preparation and paint system should fit the material. Read the coating label and, where it applies, the material manufacturer’s guidance before buying products.
Walk the house in daylight and make a simple list. Look at window and door casings, lower trim near splashback, horizontal ledges, fascia at rooflines, porch details and the corners that get the strongest afternoon sun. Note peeling edges, cracks, open caulk, dark staining, soft spots, exposed fasteners and places that repeatedly stay wet.
That inspection helps separate a paint project from a repair project. If the same lower corner keeps failing, for example, the useful question is where water is entering or collecting. Covering it again may improve the view briefly, but it rarely changes what made the paint fail.
Repair Damage and Solve Water Paths First
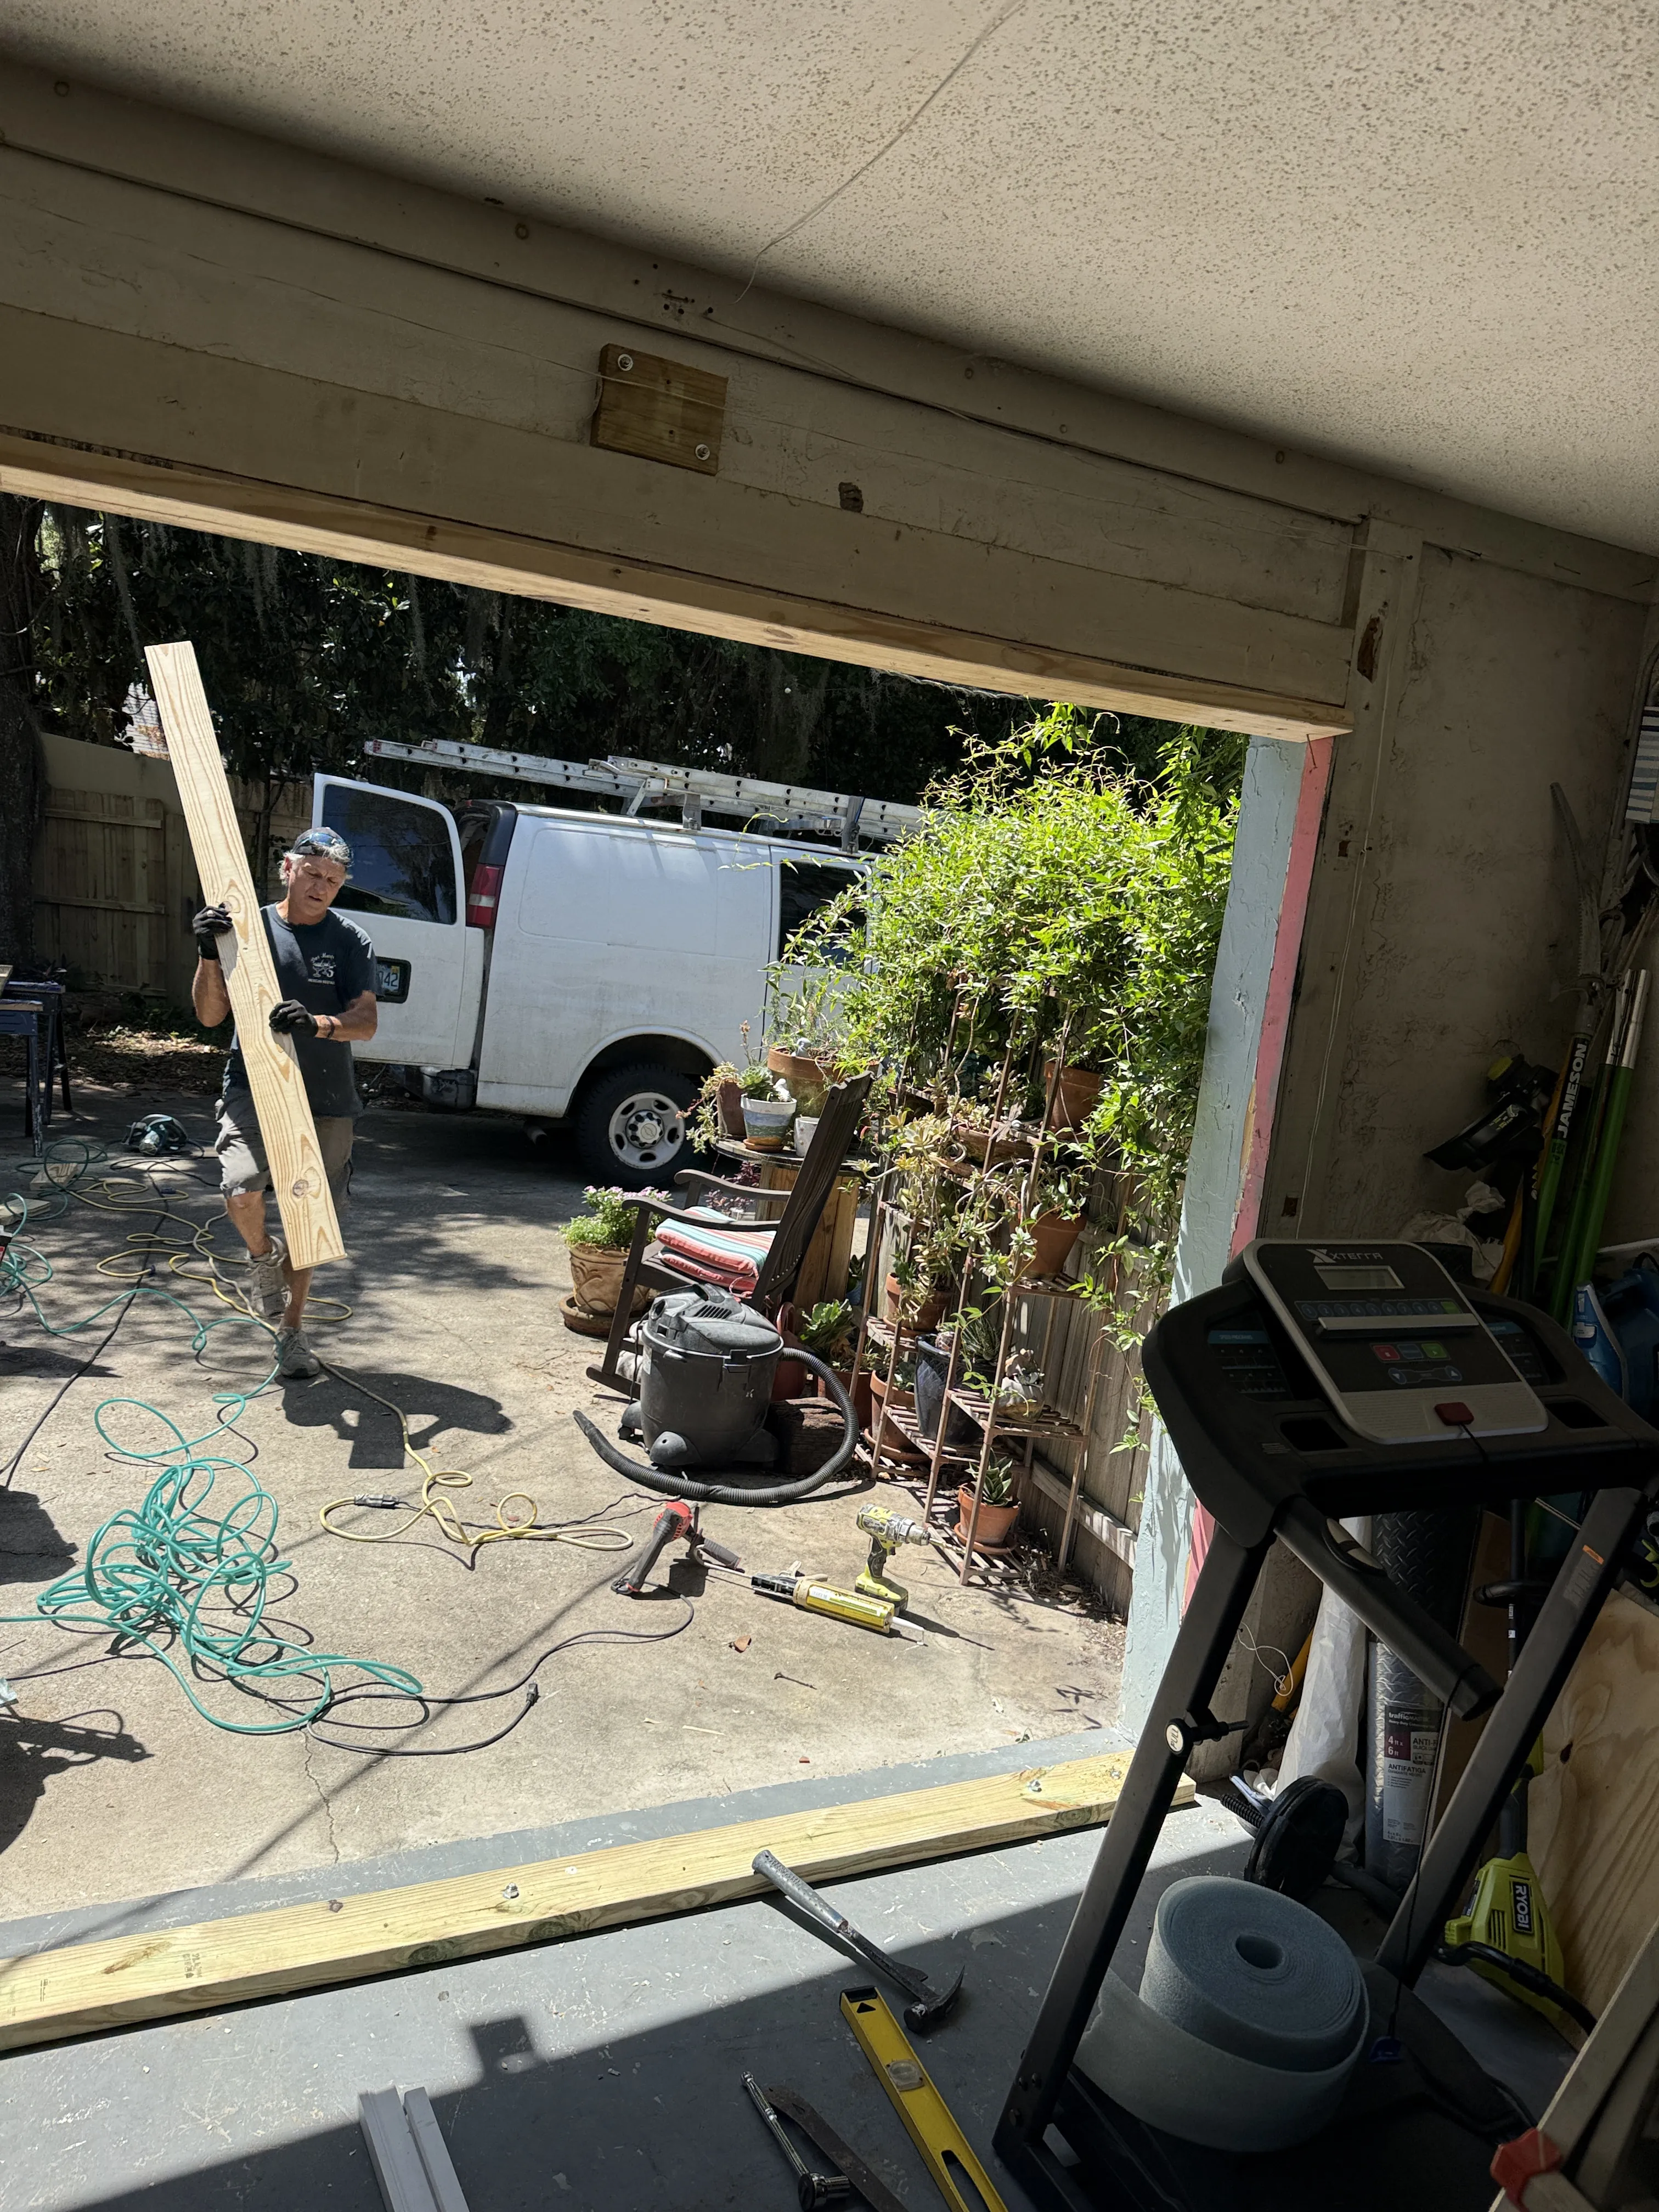
Probe suspicious wood gently rather than assuming every dark mark is rot. Wood that is soft, crumbly, deeply split or no longer holds its shape needs more than filler and paint. Likewise, a loose window detail, failed flashing, overflowing gutter or open roofline joint needs correction before the finish work starts.
Start above the failed spot and work outward. Check gutters and downspouts, roof edges, caulk joints, sill slopes, hose bibs, landscaping and hardscape that splashes water back toward the house. The wood rot repair guide explains why a repair made before the moisture source is addressed often becomes the same repair again.
For a small, sound repair, use materials and methods suited to that location, then allow them to cure. For a broad soft area, a deteriorated sill, a rail or detail tied to a window or door assembly, a professional assessment is the better call. The visible trim may be reporting a problem behind it.
Handle Older Paint Carefully
Scraping and sanding loose paint is a normal part of preparation, but older homes need an extra pause. If the house was built before 1978, the EPA advises treating renovation work that disturbs painted surfaces with lead-safe care. Read the agency’s lead-safe renovation guidance before disturbing older coatings, and arrange appropriate testing or qualified help when the scope is uncertain.
For sound, non-lead-related preparation, remove only the material that has lost adhesion. Feather the edges of remaining paint so the new finish does not telegraph a sharp ridge. Sand bare or rough areas smooth enough for the coating system, then remove dust thoroughly. Aggressive sanding cannot turn compromised wood into sound trim, and it can create more cleanup than the repair needs.
Protect nearby glass, landscaping, siding and walkways as you work. A controlled preparation area is easier to clean and makes it less likely that debris ends up where it should not.
Clean, Dry and Prime the Right Areas
Trim can collect chalking paint, mildew, pollen, salt air residue and ordinary dirt. Wash it with a method appropriate for the material and product system, rinse as directed and give it time to dry. The Sherwin-Williams exterior preparation guidance likewise starts with a clean, dry surface and calls for exposed wood to be sanded, patched where needed and primed.
Prime bare wood, patched spots and areas where the old coating has been removed. A compatible primer creates a more uniform base and supports adhesion where the surface has changed. It is not automatically necessary to prime every inch of sound, previously painted trim, so follow the primer and topcoat instructions rather than applying a generic rule.
Caulk belongs after the surface is clean and the repair plan is clear. Use a paintable exterior product for appropriate small gaps, and let it cure. Do not use caulk as a shortcut over rot, a failed joint or a place that needs to drain.
Choose a Real Painting Window
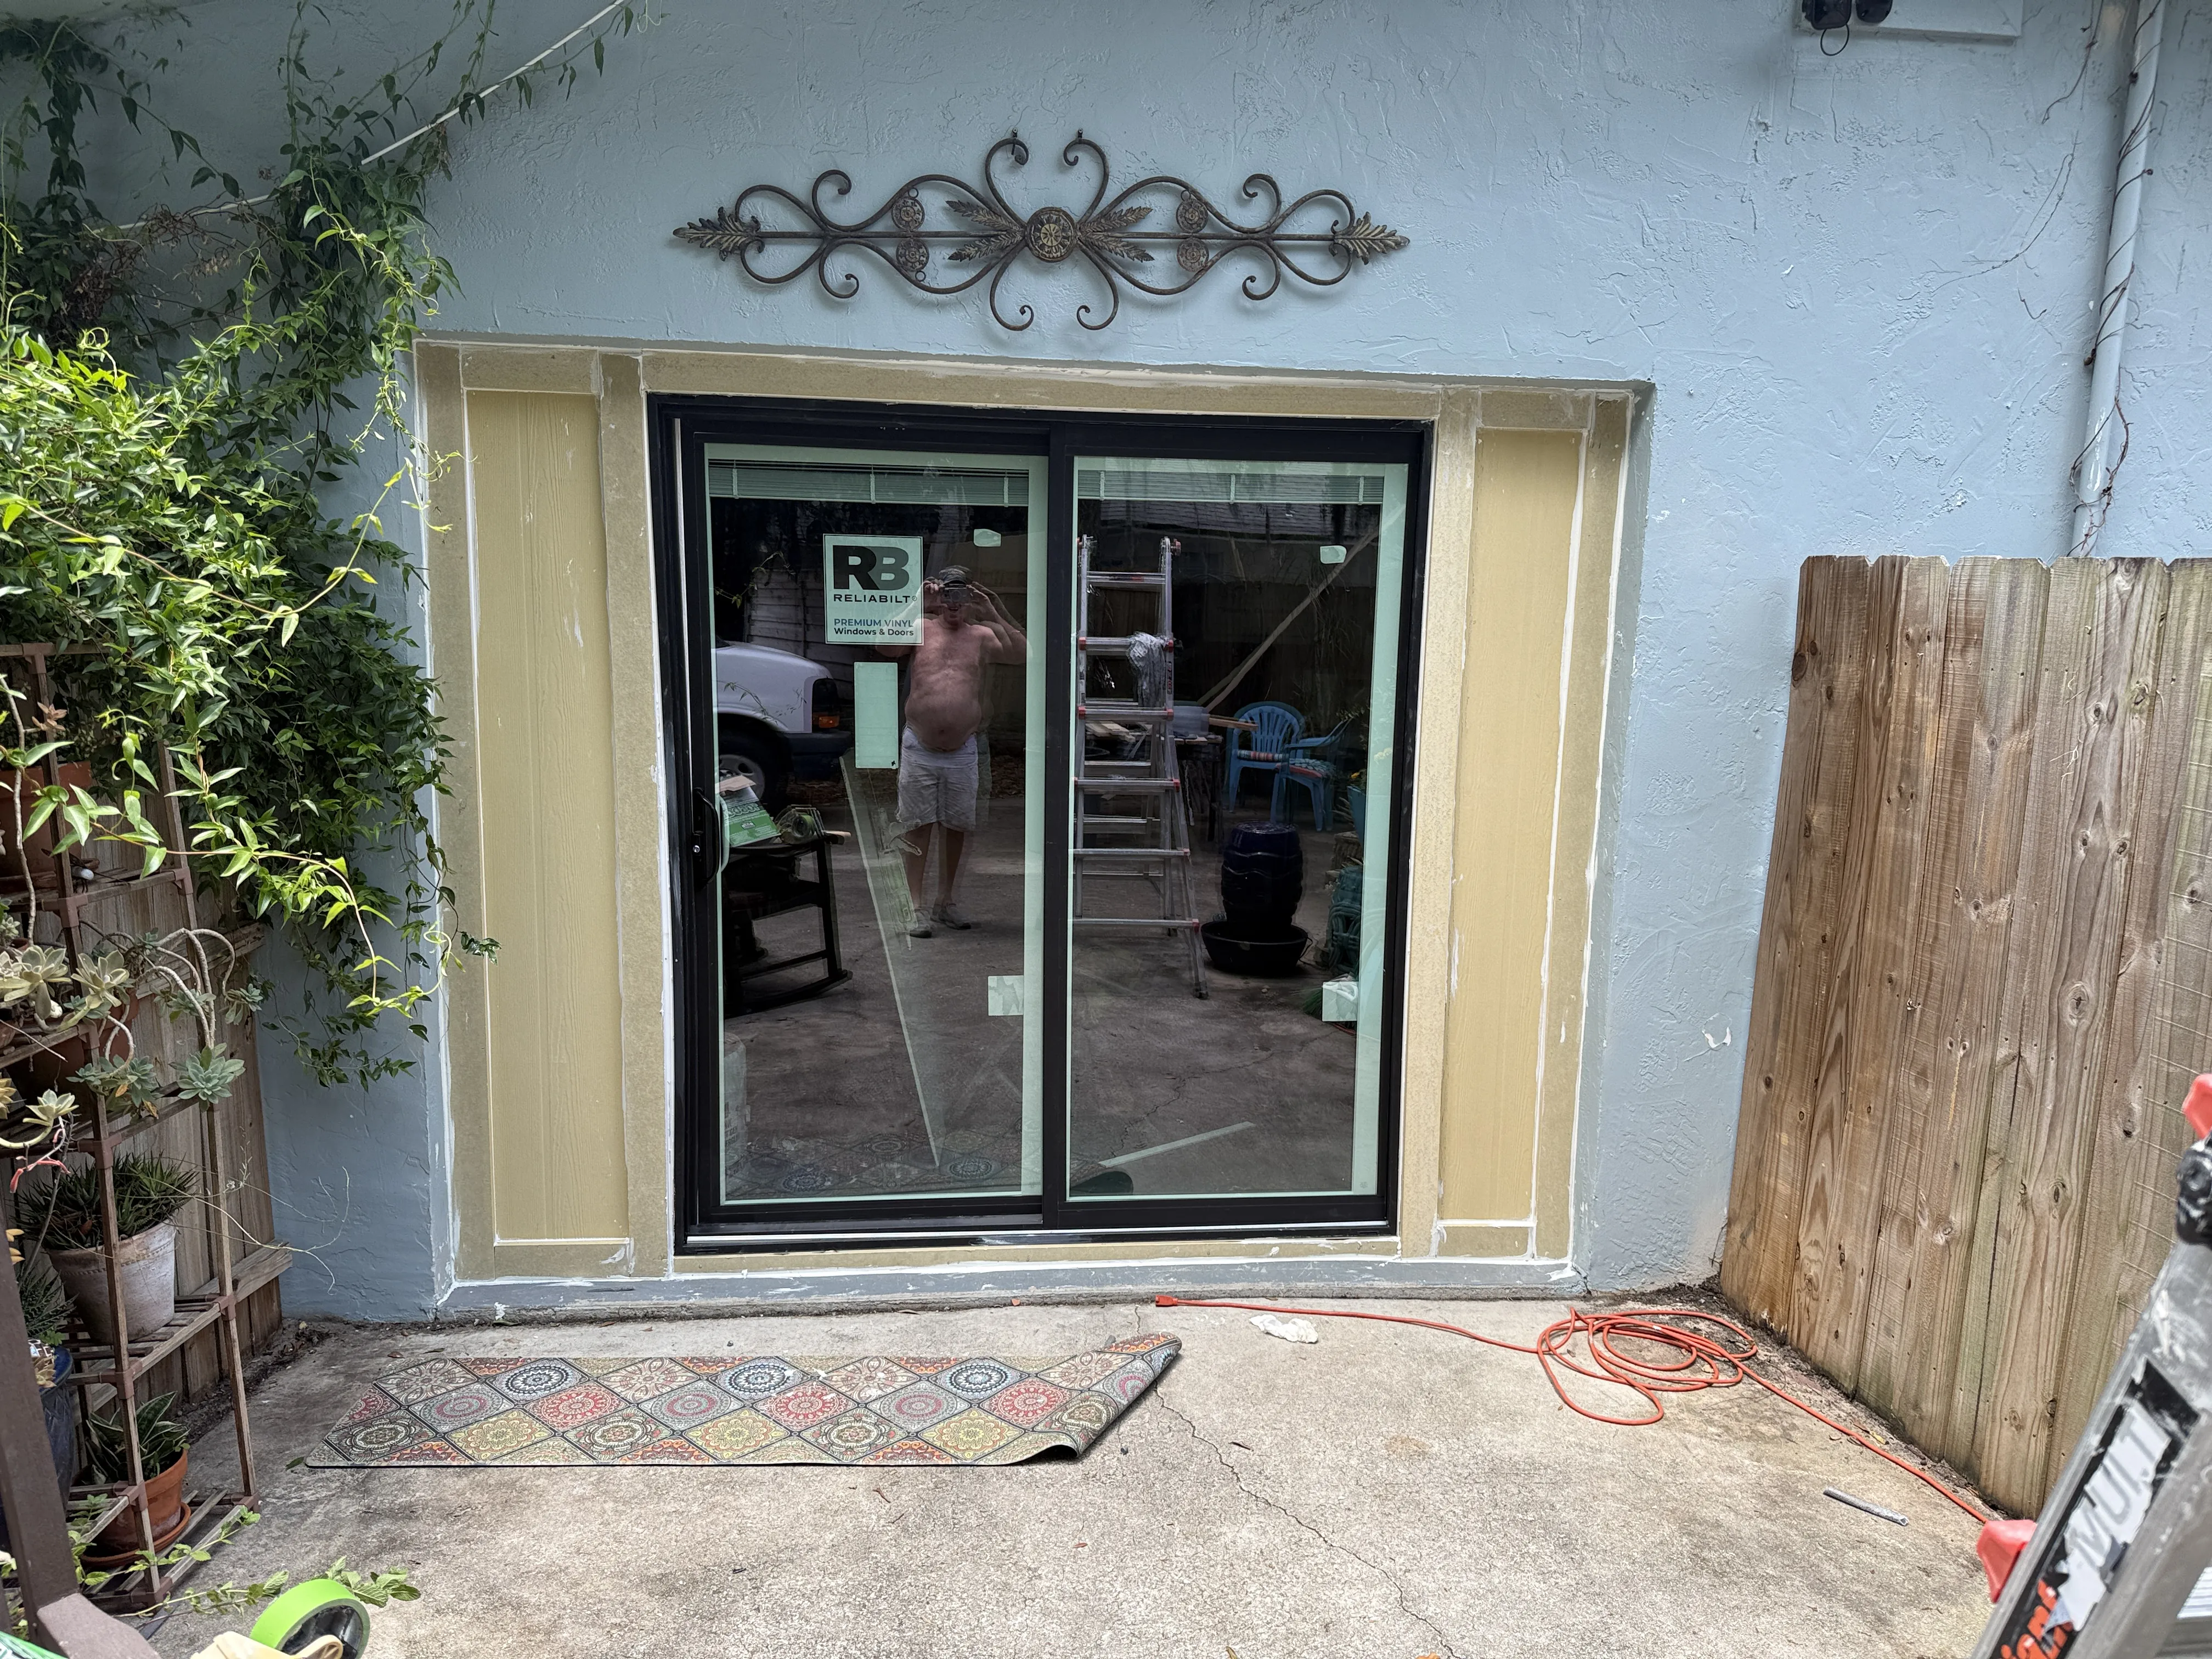
Florida trim does not dry at the same speed as the broad face of a sunny wall. End grain, joints, lower trim, shaded corners and details near windows can hold moisture after the surface looks ready. Check recent rain, humidity, direct sun, evening dew and the time the specific paint needs before another moisture event.
The exact label controls temperature, application, recoat and rain-resistance timing. Sherwin-Williams notes that exterior prep should avoid rain, fog and conditions below the product’s stated temperature range. Behr’s exterior trim guidance also recommends working out of direct sun and within the coating’s stated conditions. The practical takeaway is to give the paint a complete workable window, not simply a dry-looking morning.
For more detail, use the site’s guides to painting after rain, high-humidity exterior work and hot-weather painting. Each condition changes the timing decision in a different way.
Apply Thin, Even Coats
Once the trim is prepared and the window is right, work in manageable sections. An angled brush gives control around window and door details. A small roller can help on broad, flat fascia or trim boards, followed by light brush work where a consistent finish calls for it. Keep a wet edge and avoid loading so much paint that it gathers in corners or along lower edges.
Many exterior trim systems use satin or semi-gloss because they give the detail a defined, cleanable finish. That is a finish choice, not a repair strategy. Choose an exterior coating compatible with the material and the primer, and apply the number of coats the product specifies. The Sherwin-Williams exterior-painting guide similarly recommends two coats and says each coat needs to dry fully before the next.
Start high and work down where practical so drips are found before they land on a completed lower section. Check corners, lower edges, board ends and the shadow line under a sill before moving on. Those are the areas that can look thin from another angle.
Set Up the Work Before Opening the Paint
A calm setup protects the house and makes the finish easier to control. Gather the specific primer and topcoat, a quality angled brush, a small roller and cover for wider flat boards, a scraper, appropriate sandpaper, clean rags, a drop cloth, painter’s tape where it helps, a stable ladder and the safety equipment the product label calls for. Keep a small bucket or paint pail close enough that you are not climbing while carrying an open gallon.
Work one elevation or one connected trim area at a time. Begin with the inspection and repairs, then clean, let the area dry, prepare loose edges, prime and caulk where needed, and finish only after the primer and caulk have met their cure times. That sequence may sound slower than jumping straight to paint, but it avoids revisiting the same location with a brush while another layer is still setting.
Mask with judgment. Tape can protect a clean glass edge or a material that should not receive paint, but it cannot replace surface preparation or careful cutting-in. Remove tape according to the product directions while the paint is at the right stage, and do not pull it across a soft edge. On high trim, stop when stable access is no longer possible. No clean paint line is worth an unsafe ladder position.
A Simple Exterior Trim Painting Checklist
Before the project: identify the trim material, photograph the condition, check for soft wood and open joints, read the primer and paint labels, and look at the forecast beyond the first coat. If the home is older or the paint history is unclear, settle the lead-safety question before scraping or sanding. Choose a dry window that includes the stated recoat and rain-resistance periods.
During preparation: correct the moisture source, repair soundly, remove loose paint, feather rough edges, clean away dust and residue, and allow the trim to dry. Prime bare wood and repairs as the system requires. Caulk only sound, appropriate gaps after the surface and repair plan are ready, then allow the product to cure.
During painting: work in smaller sections, keep coats even, respect the label’s coverage rate and watch the lower edges, corners and board ends. Check the surface from more than one angle before moving on. After the final coat, keep windows, doors, furniture and foot traffic away from fresh paint for the specified time. A short visual check after the next rain can also help catch a water path before it becomes another failure.
Common Exterior Trim Mistakes
Painting over recurring damage. Peeling at the same window corner or roofline usually deserves an inspection of the water path first.
Sealing damp wood. A board can feel dry while joints, end grain and shaded sections are still holding moisture. Let the slowest-drying area set the schedule.
Using caulk to hide a failed detail. Caulk helps close appropriate small gaps. It cannot stabilize rotten wood or correct movement and drainage problems.
Skipping spot primer on bare areas. Freshly exposed wood and repairs need the base coat the paint system calls for, not a rushed finish coat.
Working around a marginal forecast. Paint needs the full dry period on its label. A few clear hours are not automatically enough in humid, changeable weather.
When Good Fellas Can Help
Good Fellas can look at exterior trim as part of the larger exterior, including preparation, paint failure, minor repairs and the details around windows, doors and rooflines. That condition-first approach helps make the scope clear before a new finish goes on. See the exterior painting service, exterior home repair and the repair and refresh project for related work.
When you are ready to talk through trim painting, request a quote with daylight photos of the whole elevation, close photos of any peeling or soft areas, and a note about when you first noticed the issue. That makes the first conversation more useful and helps separate a straightforward repaint from a repair that needs more attention.
Frequently Asked Questions
Do I need to prime exterior trim before painting?
Prime bare wood, repairs and areas where the old coating has been sanded through. Sound, previously painted trim may not need a full primer coat, but the exact paint system and surface condition should decide. Primer is not a substitute for cleaning, drying or correcting a failed joint.
What paint finish is best for exterior trim?
Many exterior trim systems use a satin or semi-gloss finish because it is easier to clean and gives the trim a defined edge. Choose an exterior product intended for the trim material and follow its label. A sheen cannot protect a damp or failing surface underneath.
Should exterior trim be caulked before painting?
Paintable exterior caulk can seal appropriate gaps around sound trim after the surface is prepared. It should not be used to hide rot, bridge a moving joint or trap moisture. Let it cure according to its instructions before painting.
Can I paint exterior trim after rain?
Wait until the trim, joints and surrounding material are truly dry, then use the paint label and forecast to confirm the full drying window. Shaded edges, end grain and trim near windows can stay damp after the broad face looks ready.
When should I call a professional for exterior trim?
Ask for an assessment when wood is soft or crumbling, paint failure keeps returning, water is getting in around a window or roofline, access is difficult, or the work affects structural-looking details. Those are repair and water-management questions before they are painting questions.