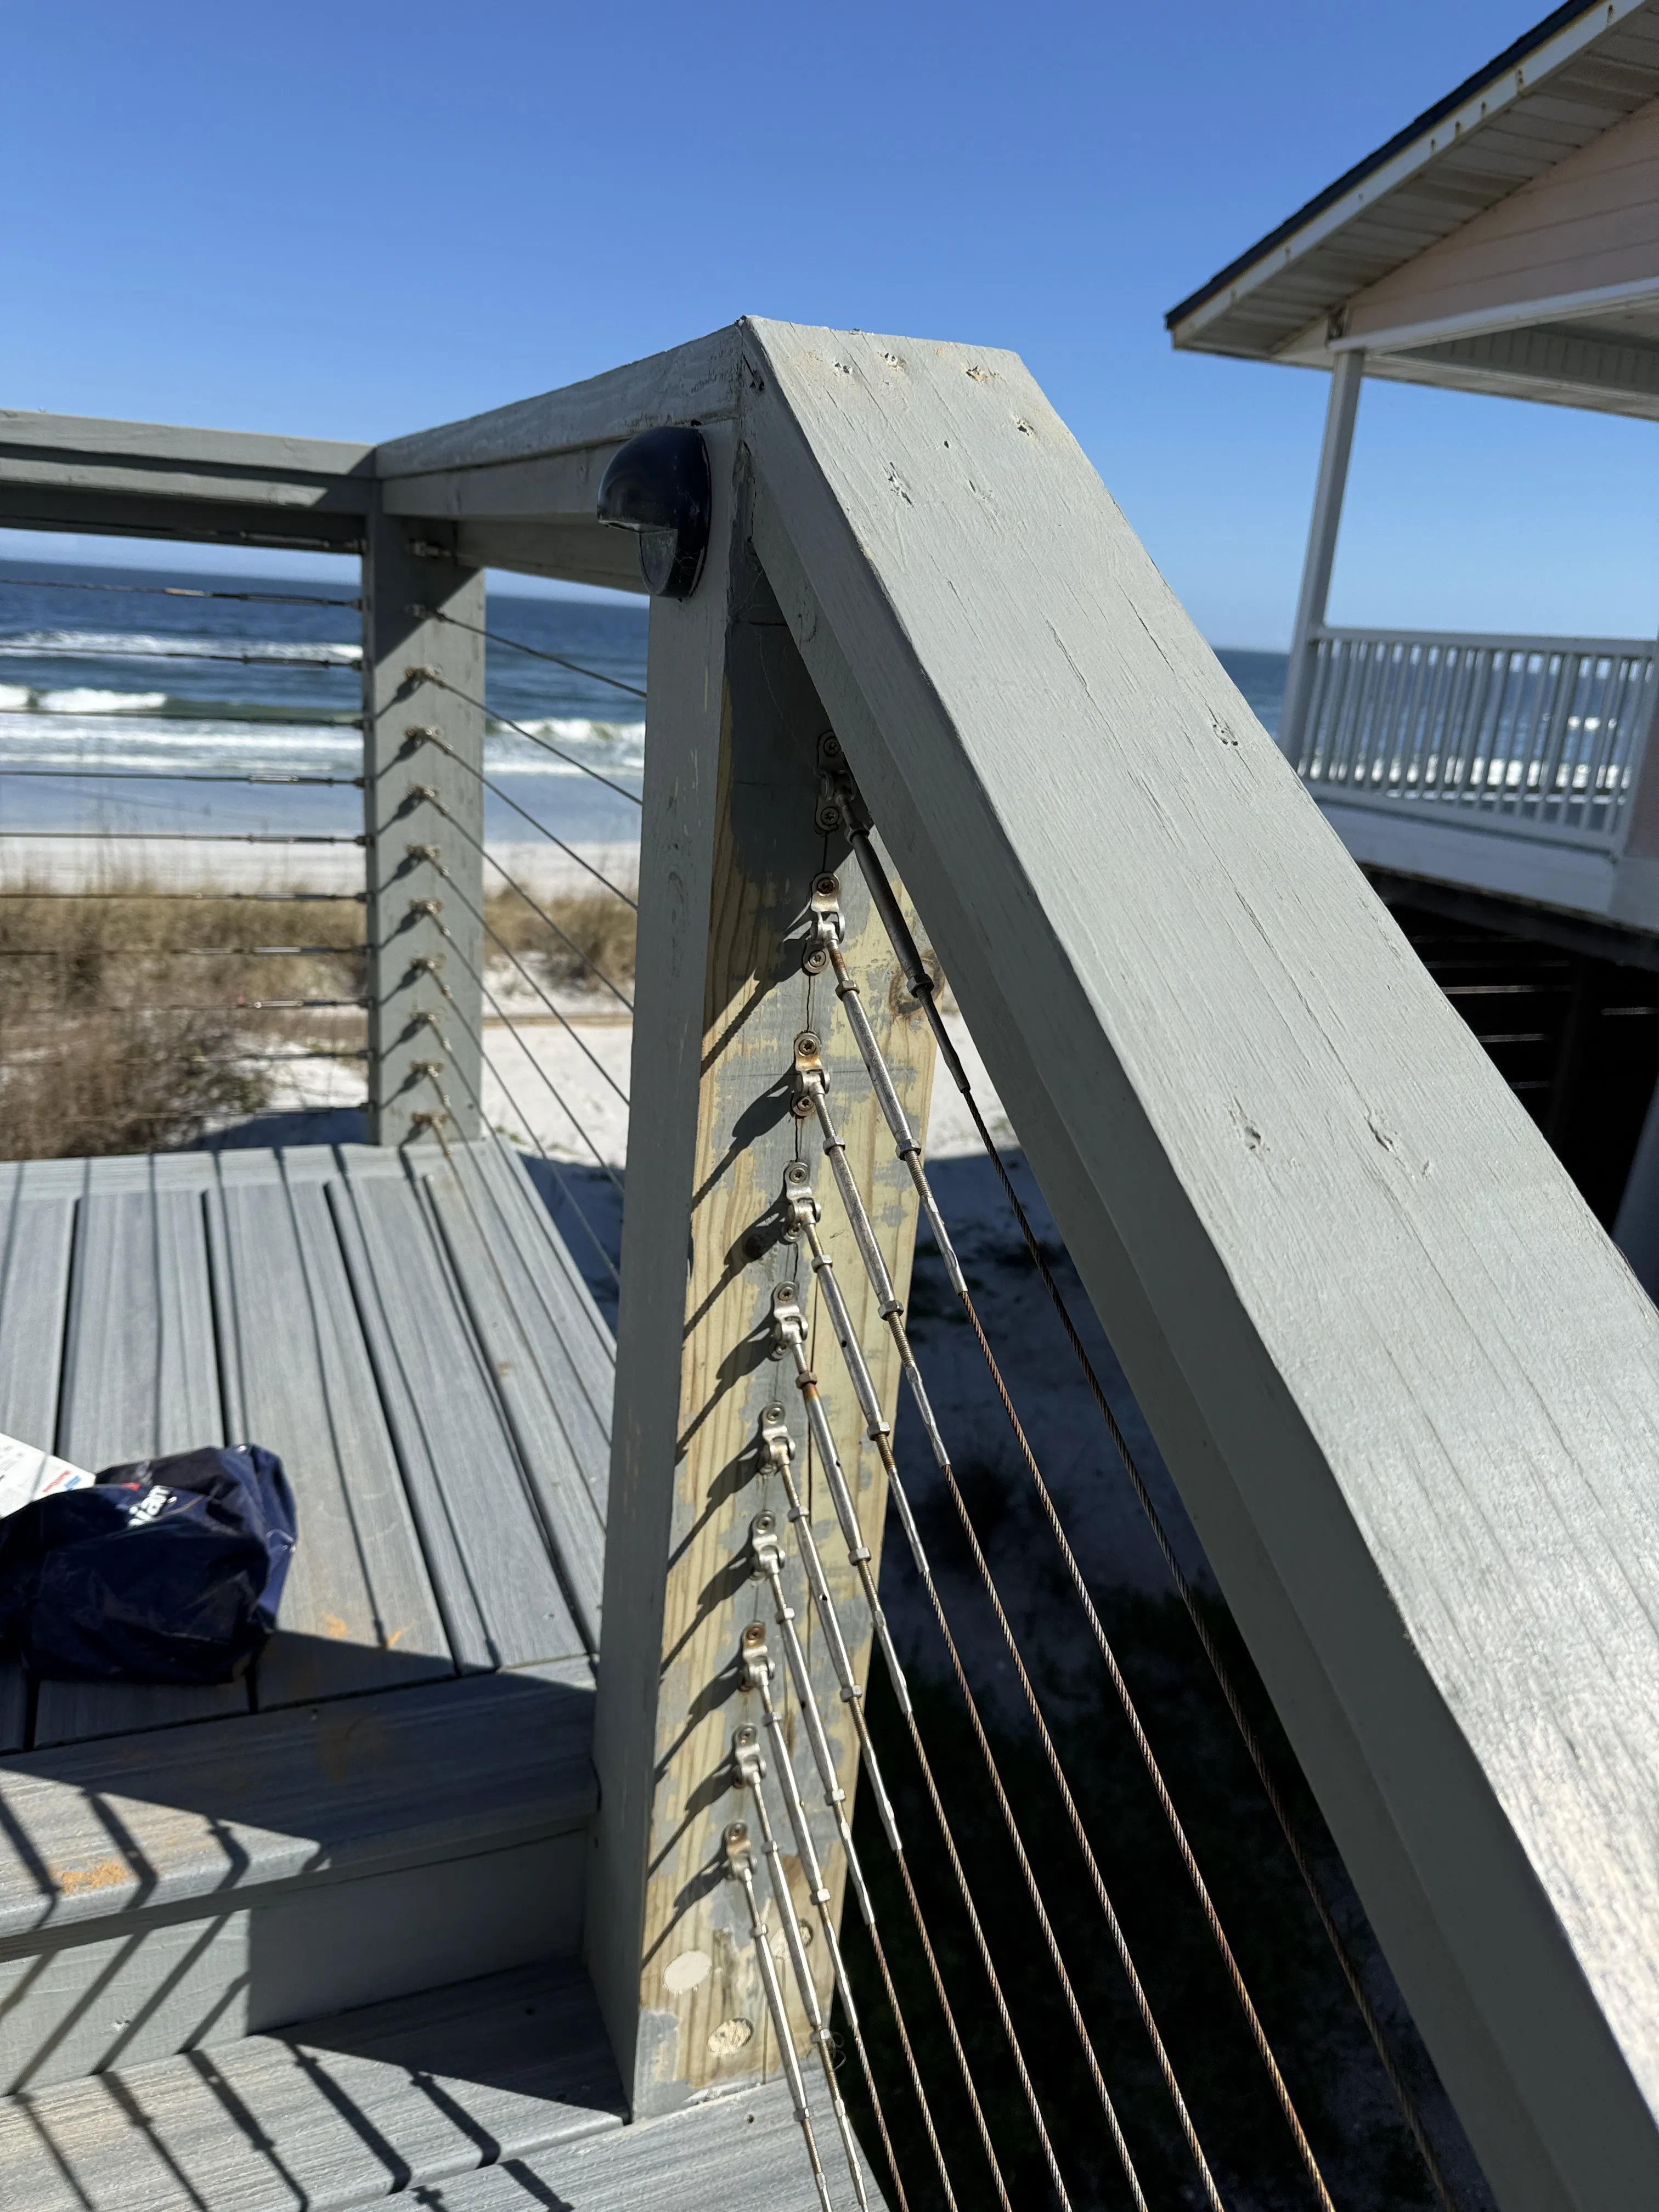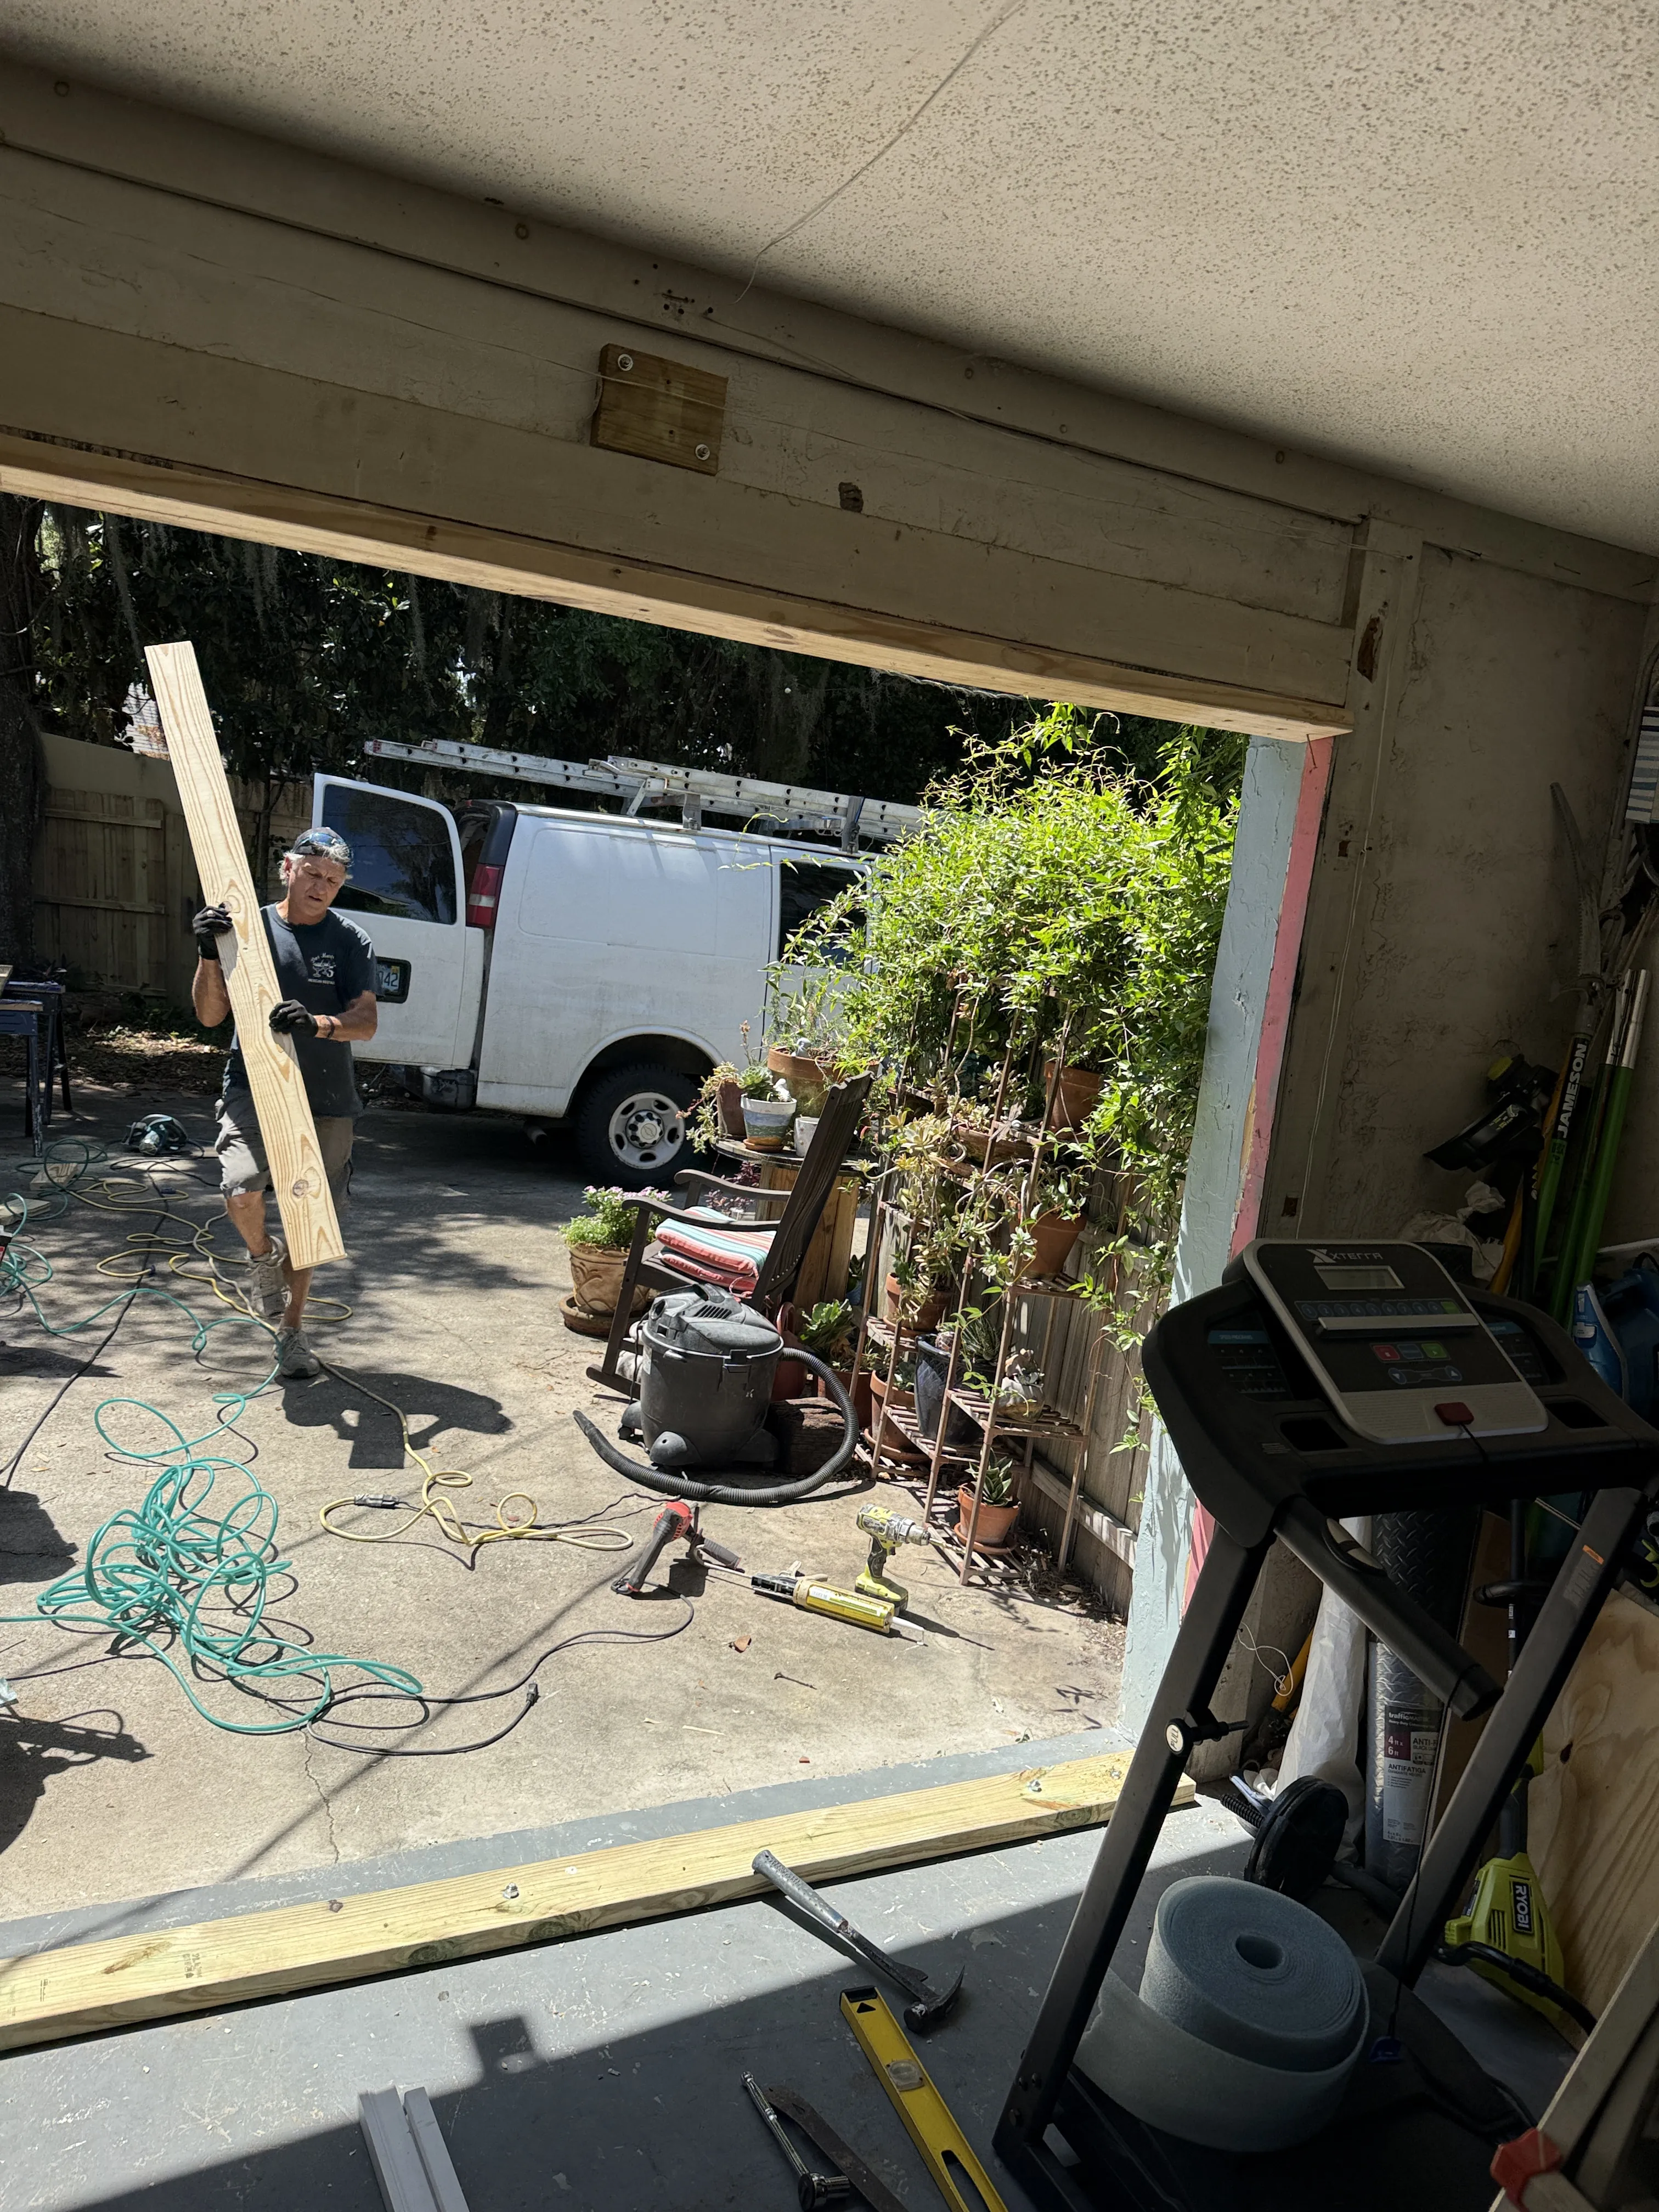
Wood rot is easy to mistake for a paint problem at first. A small bubble beside a window, a dark line at the bottom of trim or a seam that will not stay caulked can look minor from the driveway. In Florida, repeated sun, rain, humidity and wind-driven water can turn a small opening into a larger repair if the wood keeps getting wet.
The useful goal is not to cover the spot quickly. It is to find out where water is getting in, determine whether the remaining wood is sound, and choose a repair that restores the detail before a new finish goes on. That approach protects both the appearance of the house and the work that follows it.
Start With the Water, Not the Filler
Wood decay needs moisture. The University of California’s wood-decay guidance notes that decay commonly appears at joints that trap water and dry slowly, and specifically calls out window details where water can wick into a corner joint. Before deciding whether a board needs a patch or replacement, look above, behind and around the visible damage for the reason it stayed wet.
Common starting points include open caulk joints, failed paint edges, a cracked sill, roof or gutter runoff, a splash zone near the ground, a drip edge that is missing its job, or a horizontal ledge that holds water. A repair made before that path is corrected is likely to become the same repair again. The site’s exterior-paint preparation checklist is a useful companion when the condition involves more than one small spot.
How to Tell Whether Exterior Wood Is Actually Rotting
Look closely in strong daylight, especially at the lower ends of trim, window and door corners, fascia, porch details and boards near gutters. Peeling paint, a soft edge, a darkened area, cracked caulk that reopens, a spongy feel or a screwdriver that sinks into wood more easily than expected are all reasons to investigate. Rot can sit behind an apparently intact painted surface, so a light probe at a suspicious area tells more than paint color alone.
Keep the inspection gentle. The aim is to understand the extent of damage, not to pry apart a window or remove material that may be doing more than it appears. If the wood is associated with a railing, porch support, deck frame, door frame, roof edge or another detail that may carry weight or protect the building envelope, pause before treating it as a cosmetic repair.
Paint bubbles deserve the same skepticism. They may point to heat, adhesion or moisture, but recurring bubbles around joints and trim should prompt a closer look at the wood and the water path. Read the guide to bubbling exterior paint before assuming another coat will solve the failure.
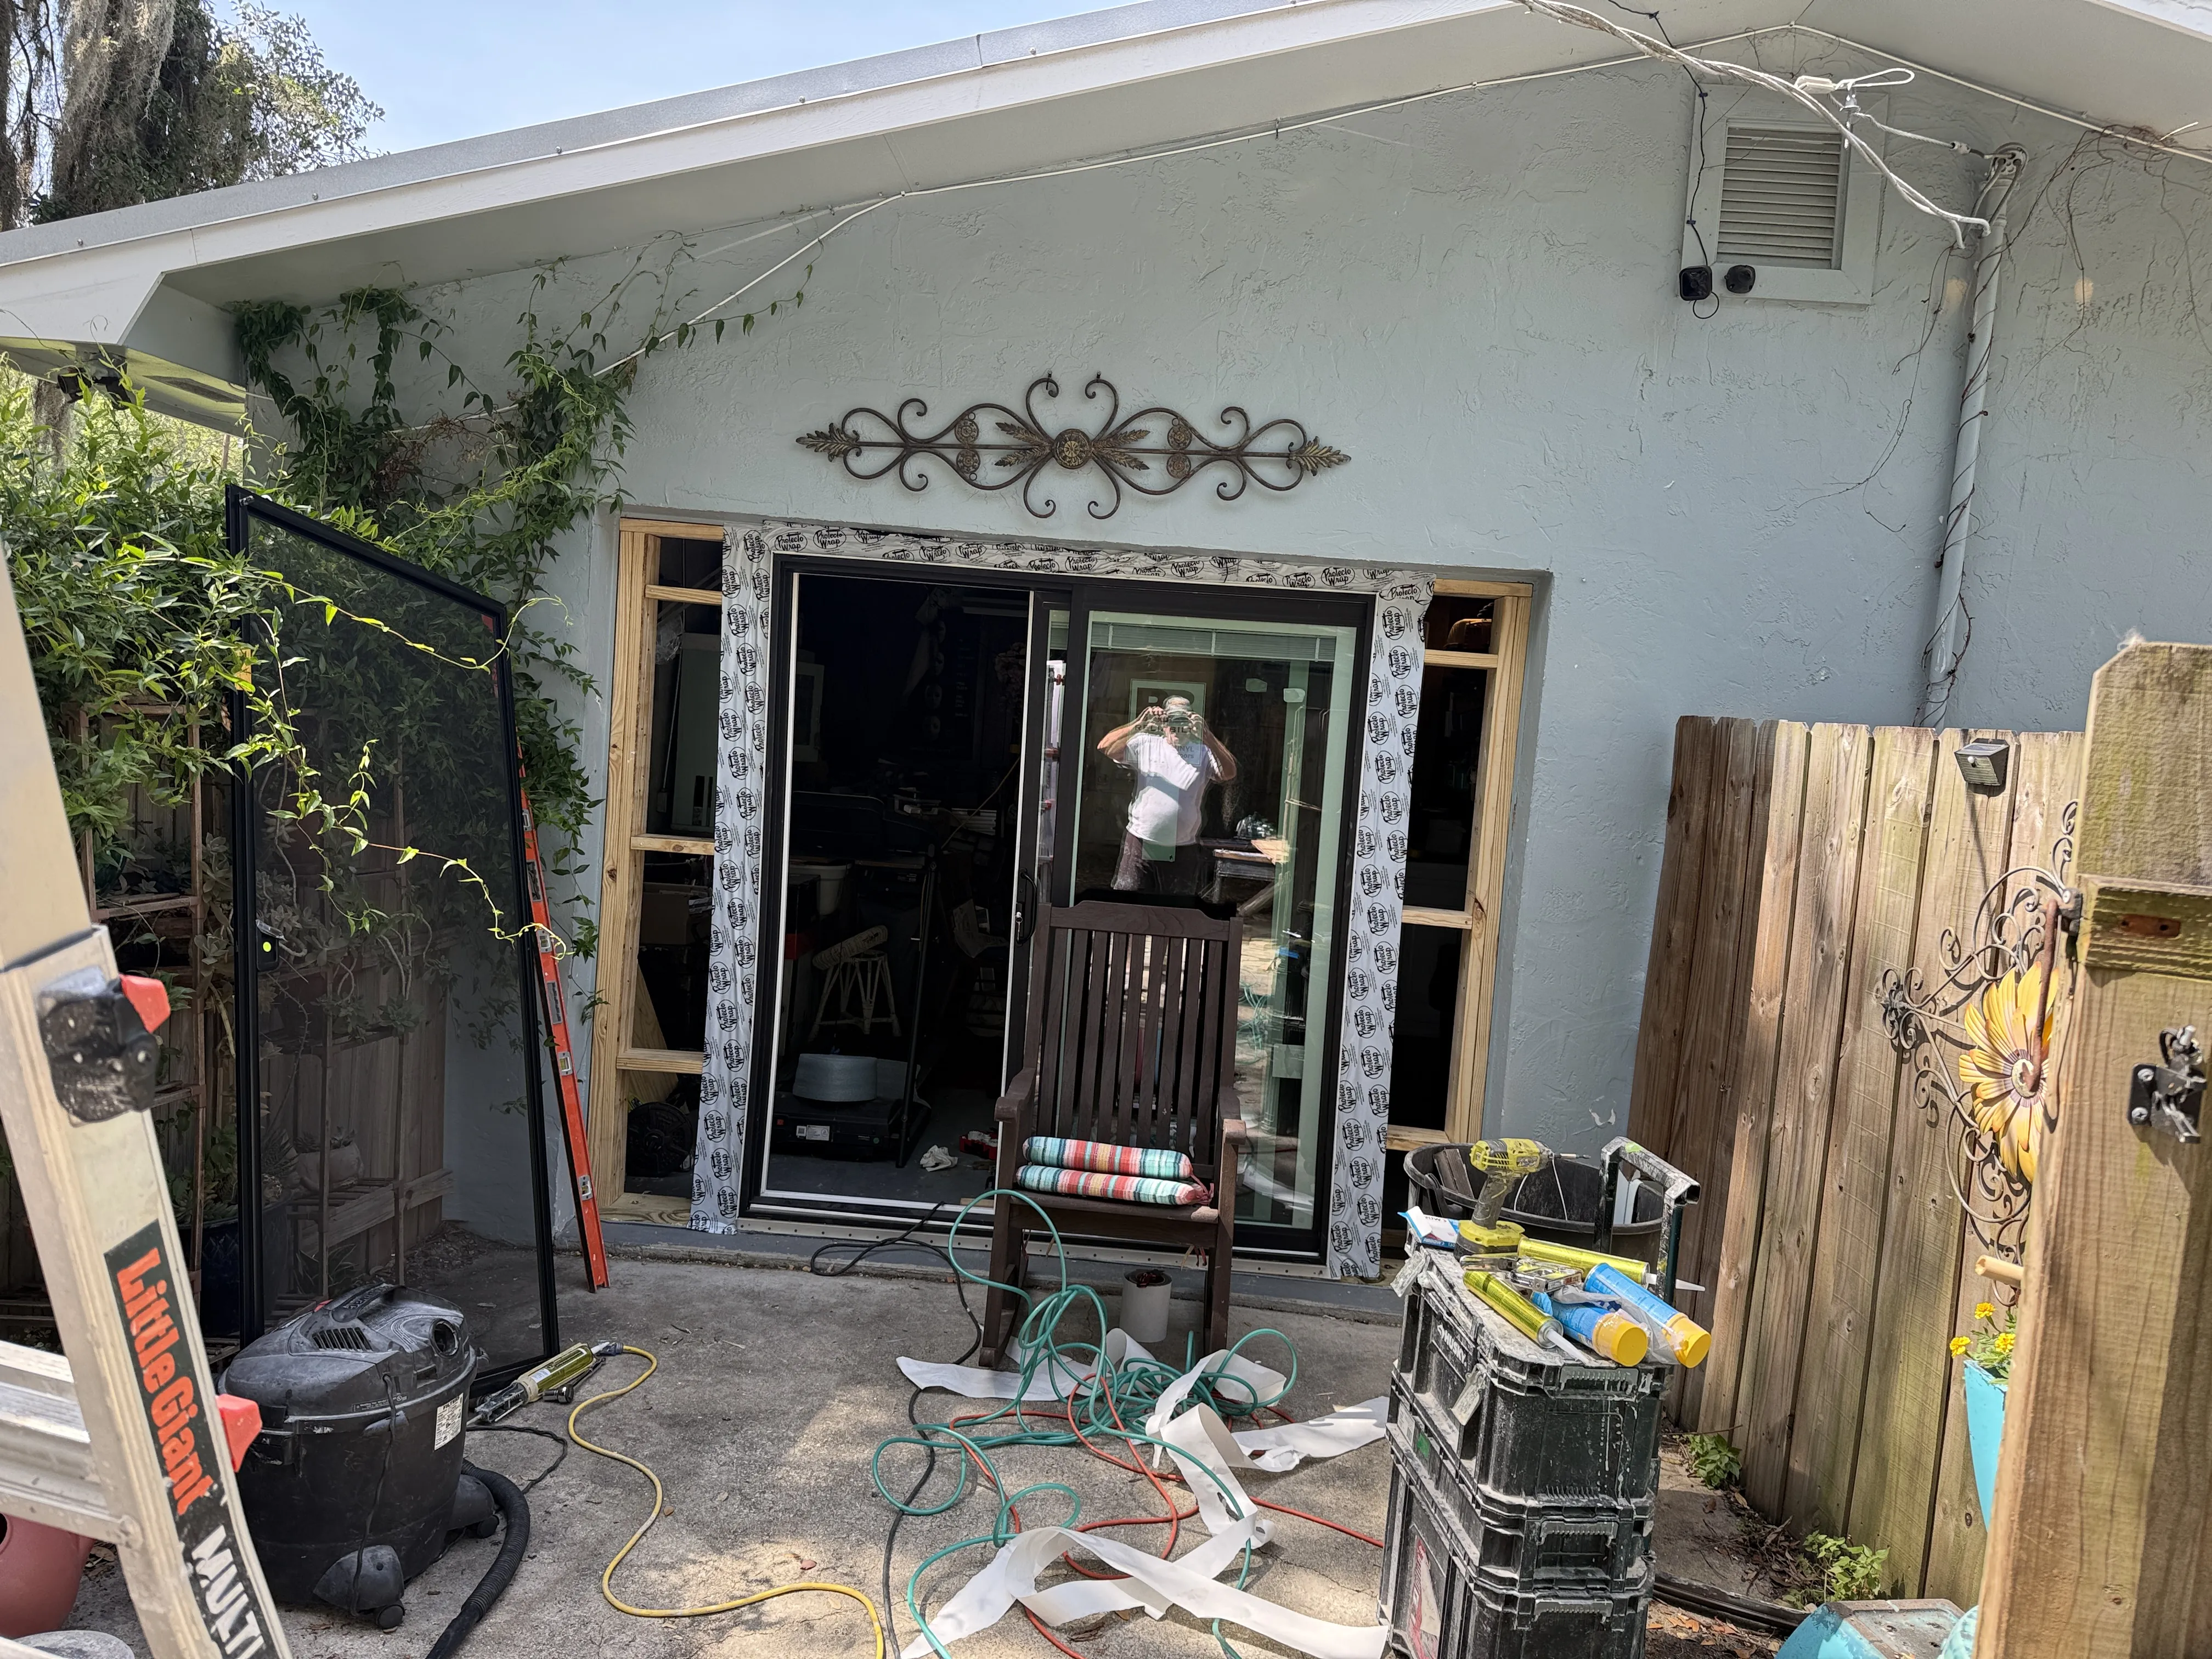
When a Small Patch Can Be a Sensible Repair
A small, contained area on nonstructural trim can sometimes be repaired rather than replacing an entire piece. That decision depends on what is left after decayed material is removed. The surrounding wood needs to be dry, firm and well bonded, and the detail needs a way to stay dry after the repair. For a small repair, an exterior-rated wood repair epoxy may be appropriate when used according to its specific directions.
That is not a shortcut for soft wood. Even product guidance for epoxy repair begins with removing unsound material and preparing a clean, dry surface. A repair compound shapes a sound, prepared void. It does not turn broad, wet or crumbly wood back into reliable trim. If the decay extends through the member, reaches a joint, or returns after an earlier patch, replacement is usually the more honest conversation.
For many homes, the best repair is a carefully fitted replacement section, sealed and detailed so water sheds away. That can preserve the rest of a sound trim board while addressing the damaged portion. The exact approach depends on the profile, location and condition of the surrounding material, which is why a close inspection matters more than a one-size-fits-all product list.
When Replacement Is the Better Call
Replacement becomes the safer option when the wood is deeply soft, widely damaged, split through a joint, hard to keep dry, or tied to a part of the home that needs to remain stable. A broad patch on a failed sill, railing, post, fascia connection or door-frame detail can look finished for a while without solving the weakness beneath it.
Take a broader view of the assembly. Wood around a window may be trim, but it can also be the visible clue to a failed seal, flashing detail or water entry behind the exterior. Wood near a deck can involve boards, railings, fasteners or framing. The University of California advises checking the source of water and diverting it before repairing decay, while the U.S. Department of Energy’s window rehabilitation guidance treats damaged frames, sills and sashes as items that may need repair or replacement based on their condition.
Do not rely on a surface check alone where safety is involved. If a porch or deck feels springy, a rail moves, a support is soft, a door or window no longer operates normally, or you see staining inside the home, bring in a qualified professional before removing or covering anything. The same caution applies to older paint: for homes built before 1978, the EPA’s lead-safe renovation guidance should be part of the plan before sanding, scraping or disturbing painted wood.
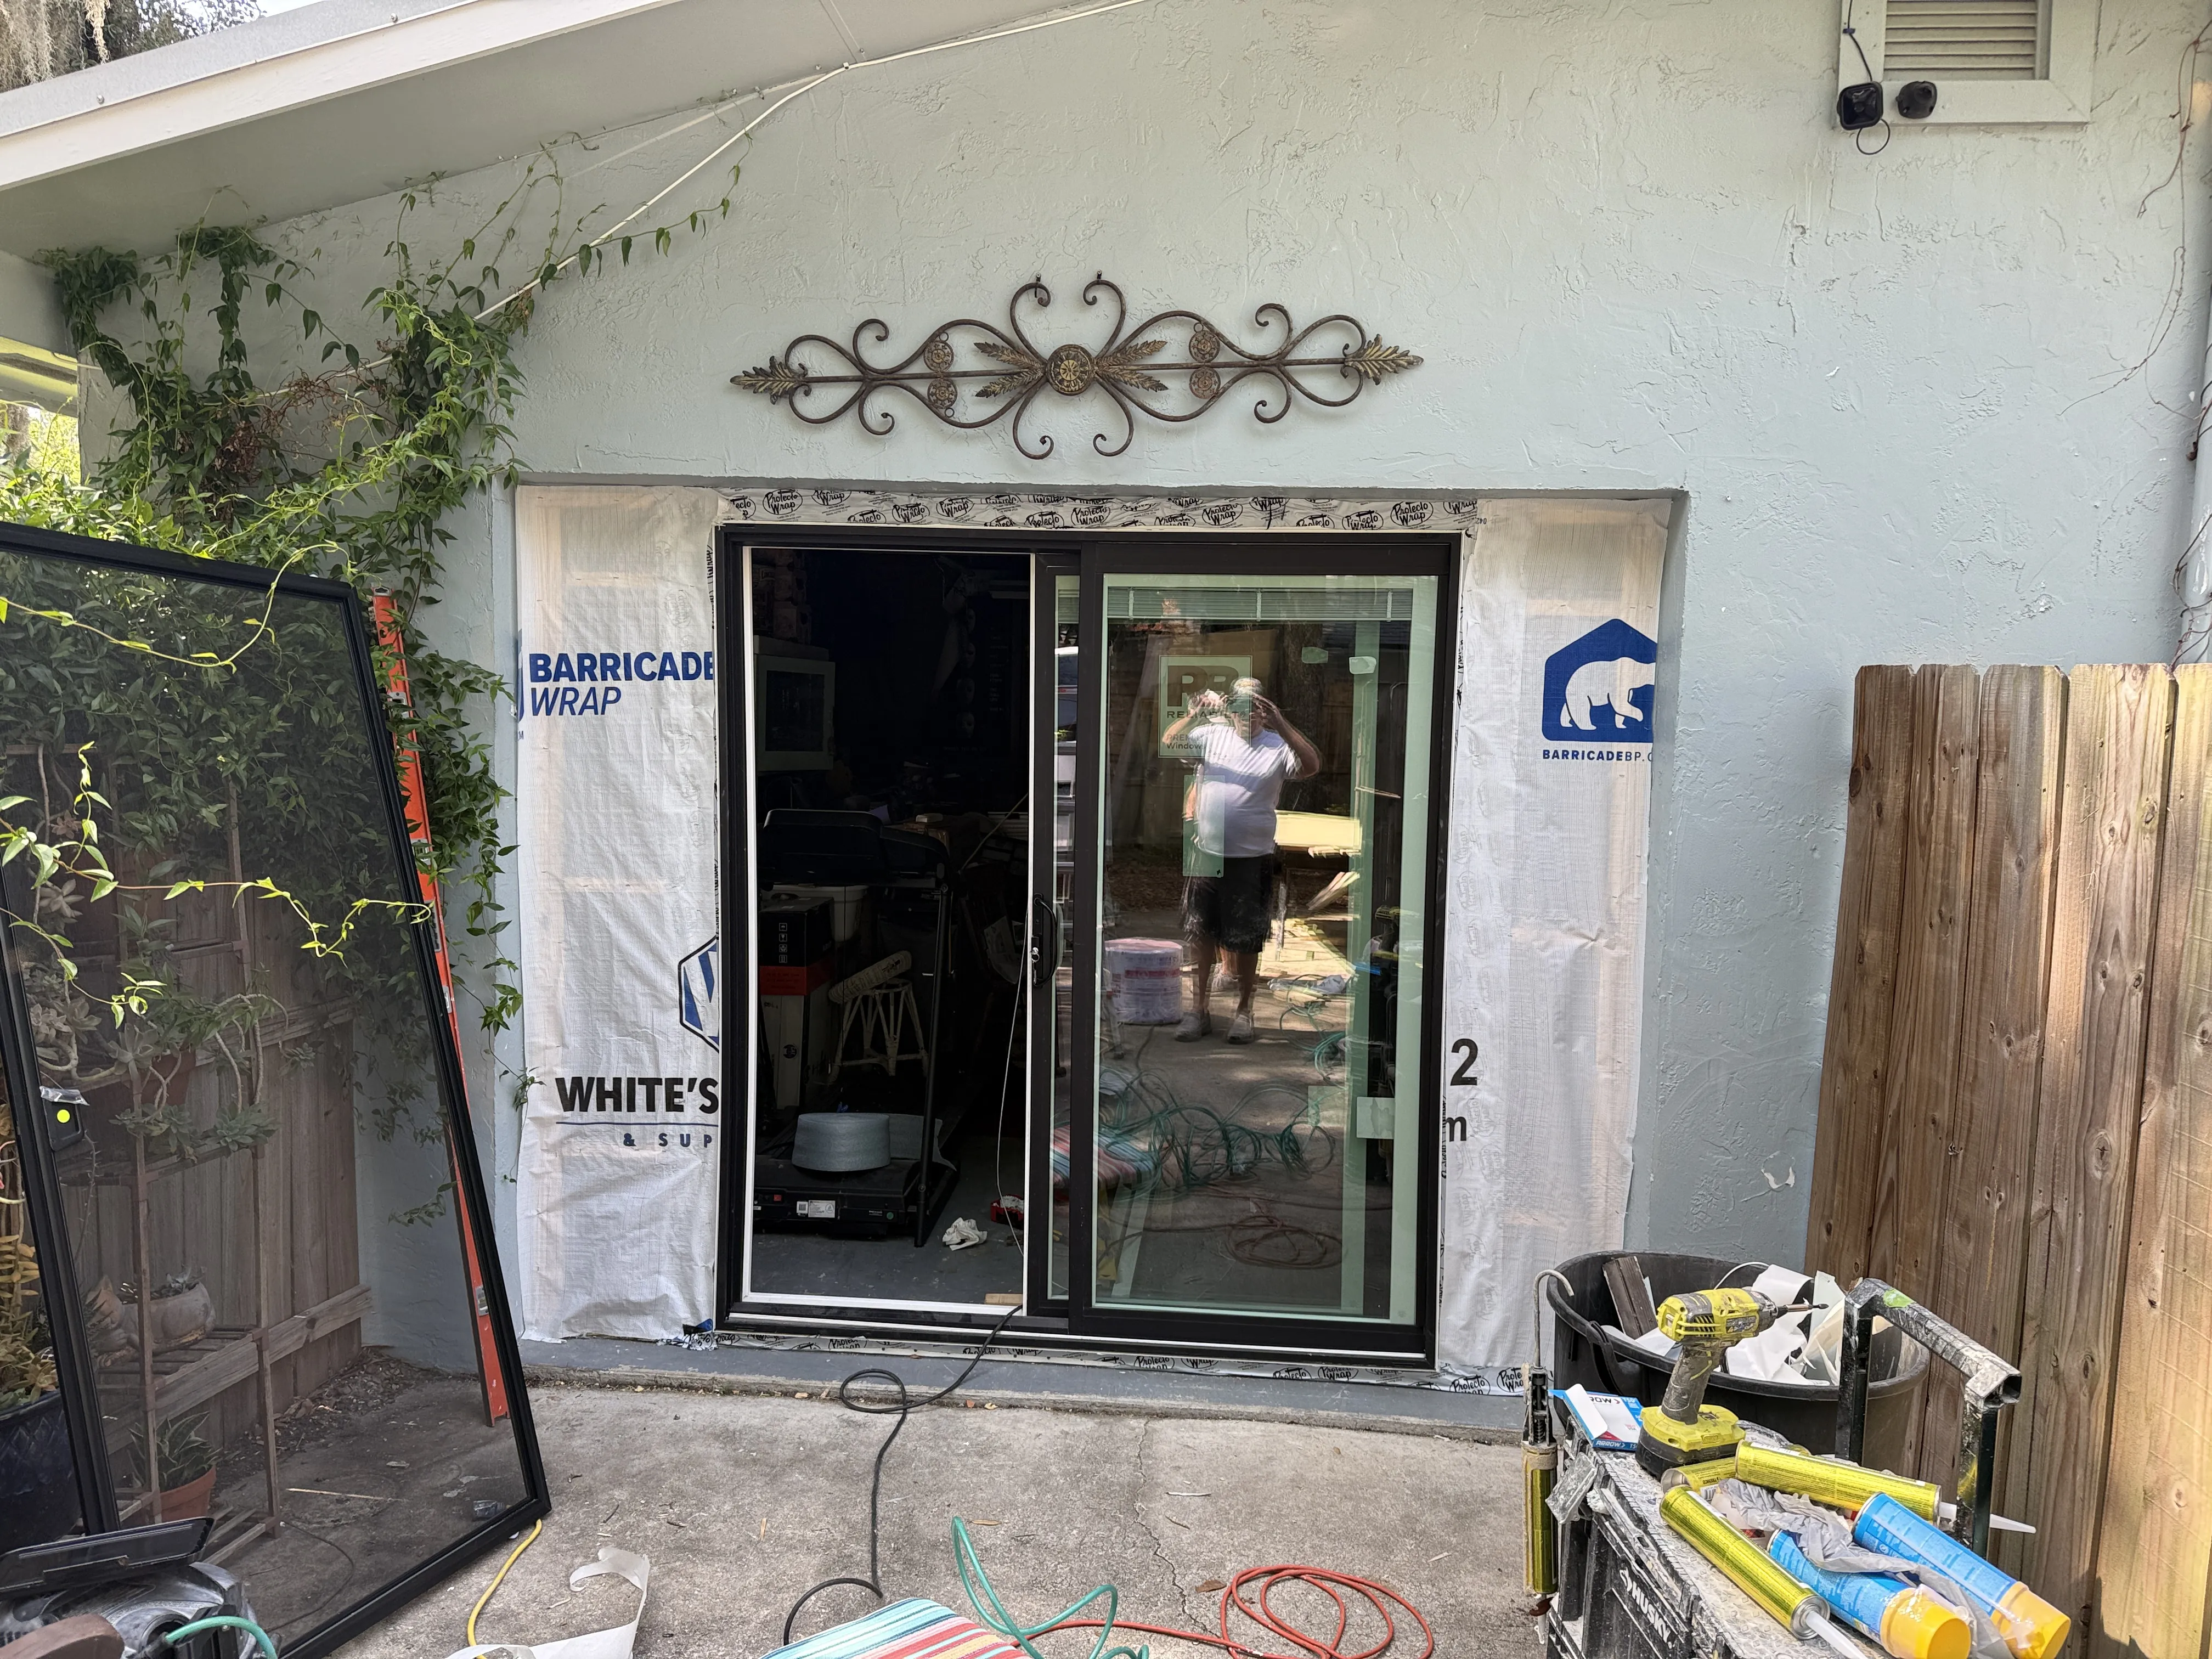
A Practical Repair Sequence
1. Document the condition. Take wide photos to show where the damage sits on the house, then close photos of seams, failed paint, soft wood and any nearby water path. That makes it easier to compare the condition later and gives a repair conversation real context.
2. Find the water source. Check rooflines, gutters, downspouts, wall penetrations, caulk joints, sill slopes and places where landscaping or hardscape splashes water back onto the house. Correcting drainage, flashing or an open joint is part of the repair, not an optional add-on.
3. Define the sound material. A careful inspection separates a small surface failure from a board, joint or assembly that is compromised deeper inside. Do not guess at load-bearing parts or take apart window and door details without a plan to restore their weather protection.
4. Repair or replace with compatible materials. Use a method suited to the location and scope, then allow repairs and sealants to cure according to their instructions. Exterior wood needs a paint system that matches the surface and conditions, not a rushed final coat.
5. Prime, seal and paint after the repair is dry. Bare wood, repaired areas and fresh replacement material commonly need proper priming before finish paint. The peeling-paint guide explains why sound preparation matters before a fresh coat makes the area look finished.
Florida Details That Make Prevention Worthwhile
Florida homes do not get a long break from moisture. Afternoon rain, humid mornings, salt air near the coast and intense sun can challenge paint, caulk and exposed end grain in different ways. The condition to watch is not simply “old paint.” It is a place where water gets in and does not get a dependable chance to leave.
Make exterior inspection part of seasonal maintenance. Walk around after a hard rain, notice whether water pours from a gutter seam or lands on trim, and look for caulk gaps and paint edges that are opening. Check horizontal ledges, window corners, the bottom of door trim, porch details and places where a roofline meets a wall. Small corrections made while the wood is still sound are generally easier to plan than a larger replacement after decay spreads.
Weather also matters when it is time to finish the repair. A dry-looking board can hold moisture after rain or morning dew, especially near joints and shaded trim. Use the after-rain painting guide and the exact paint label to plan a truly dry window rather than painting by the clock.
Questions to Ask Before Approving the Work
A good repair scope should make the cause as clear as the visible repair. Ask what is believed to be letting water in, how far the damage extends, which material will be repaired or replaced, and how the repaired area will be sealed and prepared for paint. Those questions are not nitpicking. They separate a condition-first repair from a surface-only touch-up.
It also helps to ask what nearby details need attention while access is available. If one lower window corner has failed because water has been collecting at a joint, inspect the matching corners, nearby trim and the drainage above it. That does not mean every board needs replacement. It means the repair plan should recognize patterns instead of treating each visible spot as unrelated.
For a paint scope, confirm whether loose material, bare wood, caulk joints, primer and final coats are included. Clear preparation details make it easier to compare proposals fairly. The Florida exterior-paint cost guide explains why preparation and repairs can change a useful estimate more than square footage alone.
What Not to Do With Suspect Wood
Do not seal a damp area under paint, caulk or filler simply because rain is coming. Moisture left behind can keep the failure going out of sight. Do not keep adding caulk to a joint that has opened because the wood beneath it is moving or decaying. And do not turn a small probe into aggressive demolition around windows, doors or trim where the weather barrier may be exposed.
For exterior paint, avoid using a dry forecast as the only test. The surface, its joints and its shaded edges need to be dry enough for the coating system. High humidity can slow that process, which is why the high-humidity painting guide emphasizes the product label, surface condition and the available dry window.
Finally, do not treat every dark spot as rot and every soft-looking detail as a simple filler job. Wood can be stained, weathered or damaged in different ways. A careful inspection reduces the chance of making a cosmetic repair that masks a water-management or safety issue.
When to Ask for a Professional Assessment
It is reasonable to ask for help when damage is more than a small, isolated trim repair, when the source of moisture is unclear, or when the work touches a window, door, deck, roofline or structural-looking detail. It is also useful when the repair needs to blend into existing trim, connect to broader exterior painting or coordinate with several small fixes around the home.
Good Fellas can look at the repair in the context of the exterior: where water is getting in, what needs to be corrected before paint, and whether a focused repair or a larger scope makes more sense. Explore exterior home repair, exterior painting and the repair-and-refresh project for examples of condition-first work. When you are ready, request a quote with a few daylight photos and a note about when you first noticed the problem.
Frequently Asked Questions
Can I paint over rotted wood?
No. Paint can protect sound wood, but it cannot restore wood that has become soft, crumbling or poorly bonded. Find and correct the moisture path, remove failed material and make a sound repair before priming and painting.
When can wood rot be repaired with epoxy?
A small, contained area may be a candidate when the surrounding wood is dry and solid and the detail is nonstructural. The decayed wood still needs to be removed and the repair product must be used exactly as directed. A broad, deep or load-bearing failure needs a different assessment.
Does soft wood around a window mean the whole window needs replacement?
Not automatically. The damage may be limited to trim, a sill detail or another repairable exterior component. It can also extend behind the trim or relate to flashing, caulk, siding or a window problem, which is why the water source and soundness of nearby material should be checked before deciding the scope.
What is the first thing to do when I find wood rot?
Treat it as a moisture investigation first. Note where the damage is, look above and around it for open joints, failed caulk, roof or gutter runoff and places where water can sit, then protect the area from further wetting while you plan the repair.
Is wood rot a safety issue?
It can be. Rot in a handrail, porch support, deck framing, load-bearing trim detail or any area that feels unstable should be evaluated before it is used or covered. Do not assume a cosmetic surface repair is adequate where the wood may carry weight or affect a window, door or exterior wall assembly.